


Key takeaways
- User errors, not system faults, can be the biggest contributors to wasted rendering costs.
- Choosing the correct upload method based on your software ensures smoother rendering.
- Skipping test renders can lead to failed outputs, re-renders, and unexpected charges.
- Misunderstanding how nodes and priorities affect costs often results in overspending.
- Advanced features like node grouping and FPE allow for fine-tuned cost control.
- Clear, visual tutorials often outperform written documentation for new users.
TL;DR
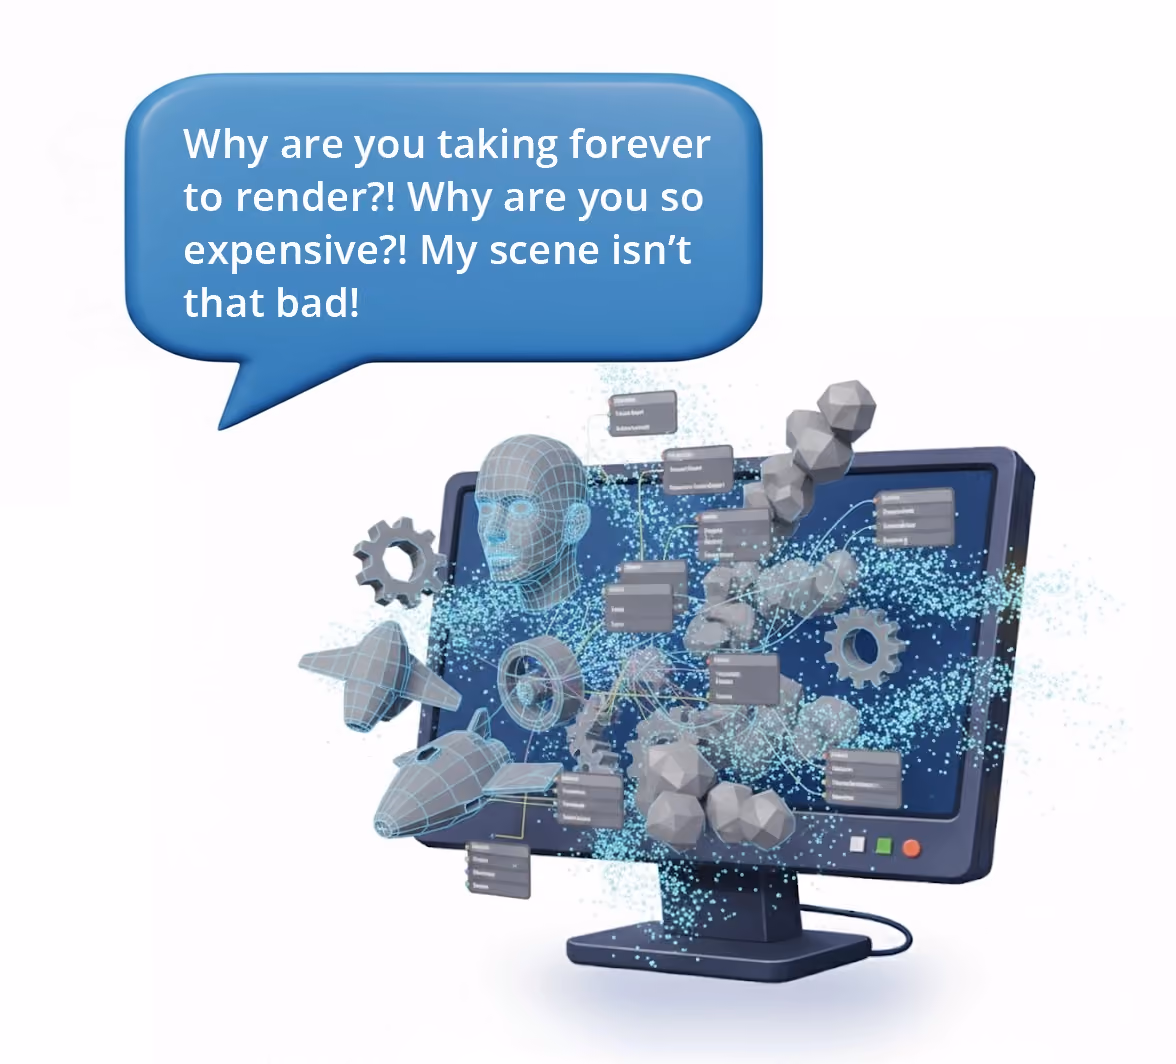
Most users spend more than they need to on GarageFarm due to skipped test renders, incorrect tool usage, or poor understanding of how rendering priorities and node settings actually work. With a few smart workflow changes, it's possible to reduce costs significantly while still delivering high-quality renders on time.
Most rendering issues are user-related, not technical
When projects break, it’s rarely because the platform failed. It's usually because of preventable mistakes in scene setup, submission, or tool selection. Simple choices like which upload method to use, or whether to cache simulations before rendering, can make a major difference.
The platform provides reliable infrastructure, but the results depend on how well-prepared the input is. Rushing through the submission process or guessing your way through settings can cost more than the actual rendering.
Use the right upload tool for your software
GarageFarm offers a dedicated plugin for each supported 3D package, as you can see here on the supported apps page. These plugins are built to handle asset linking, dependency packaging, and proper scene preparation. They are designed to prevent the most common upload-related issues, especially for complex projects with multiple textures, caches, and simulation files.

Choosing renderBeamer or Web Manager instead of the plugin for your software is also a common mistake from users, particularly for first-time users, when uploading. The correct steps to follow would be to select the plugin first, which will then be automatically sent to renderBeamer, then to the Web Manager.
Below is a brief rundown on what each tool is used for:
Test renders are essential, not optional
It’s surprising how often users skip test renders. Even on simple scenes, skipping a test can be risky. You don’t know how your scene will behave on a new machine, under different rendering conditions, or across distributed systems. Certain assets could accidentally be unchecked, materials can act differently or be missing, lighting might need adjustments, and many more.
A test render not only catches errors, but it also gives you a reliable cost estimate. This is especially helpful for projects with tight budgets or looming deadlines. Spending a few cents on a preview can save you hundreds in avoidable rerenders.
Limiting nodes can cost more, not less
Many users try to reduce rendering expenses by restricting the number of nodes used. At first glance, this might seem efficient. But when you limit resources, rendering takes longer. And when billing is based on machine usage over time, this leads to inflated costs.
“It’s not always about using fewer resources, it’s about using them smarter.”
Balancing node count and job size is a much more effective way to optimize performance. Sometimes, giving your job more nodes at a lower priority will save money and finish faster than using fewer nodes at a higher rate.
Know what priority levels really mean
Rendering priority is one of the most misunderstood features. Many assume that choosing the highest priority level means the job will be rendered faster overall. In reality, it just affects queue position, not necessarily rendering time.

If the farm is under heavy load or your scene is particularly complex, priority might not improve turnaround time in the way you expect. Instead, you’ll just pay more for a slight advantage in scheduling.

Choosing low or medium priority is often sufficient for most tasks. Reserve high priority for deadline-sensitive work where every minute counts. Understanding this can reduce your final invoice without compromising quality.
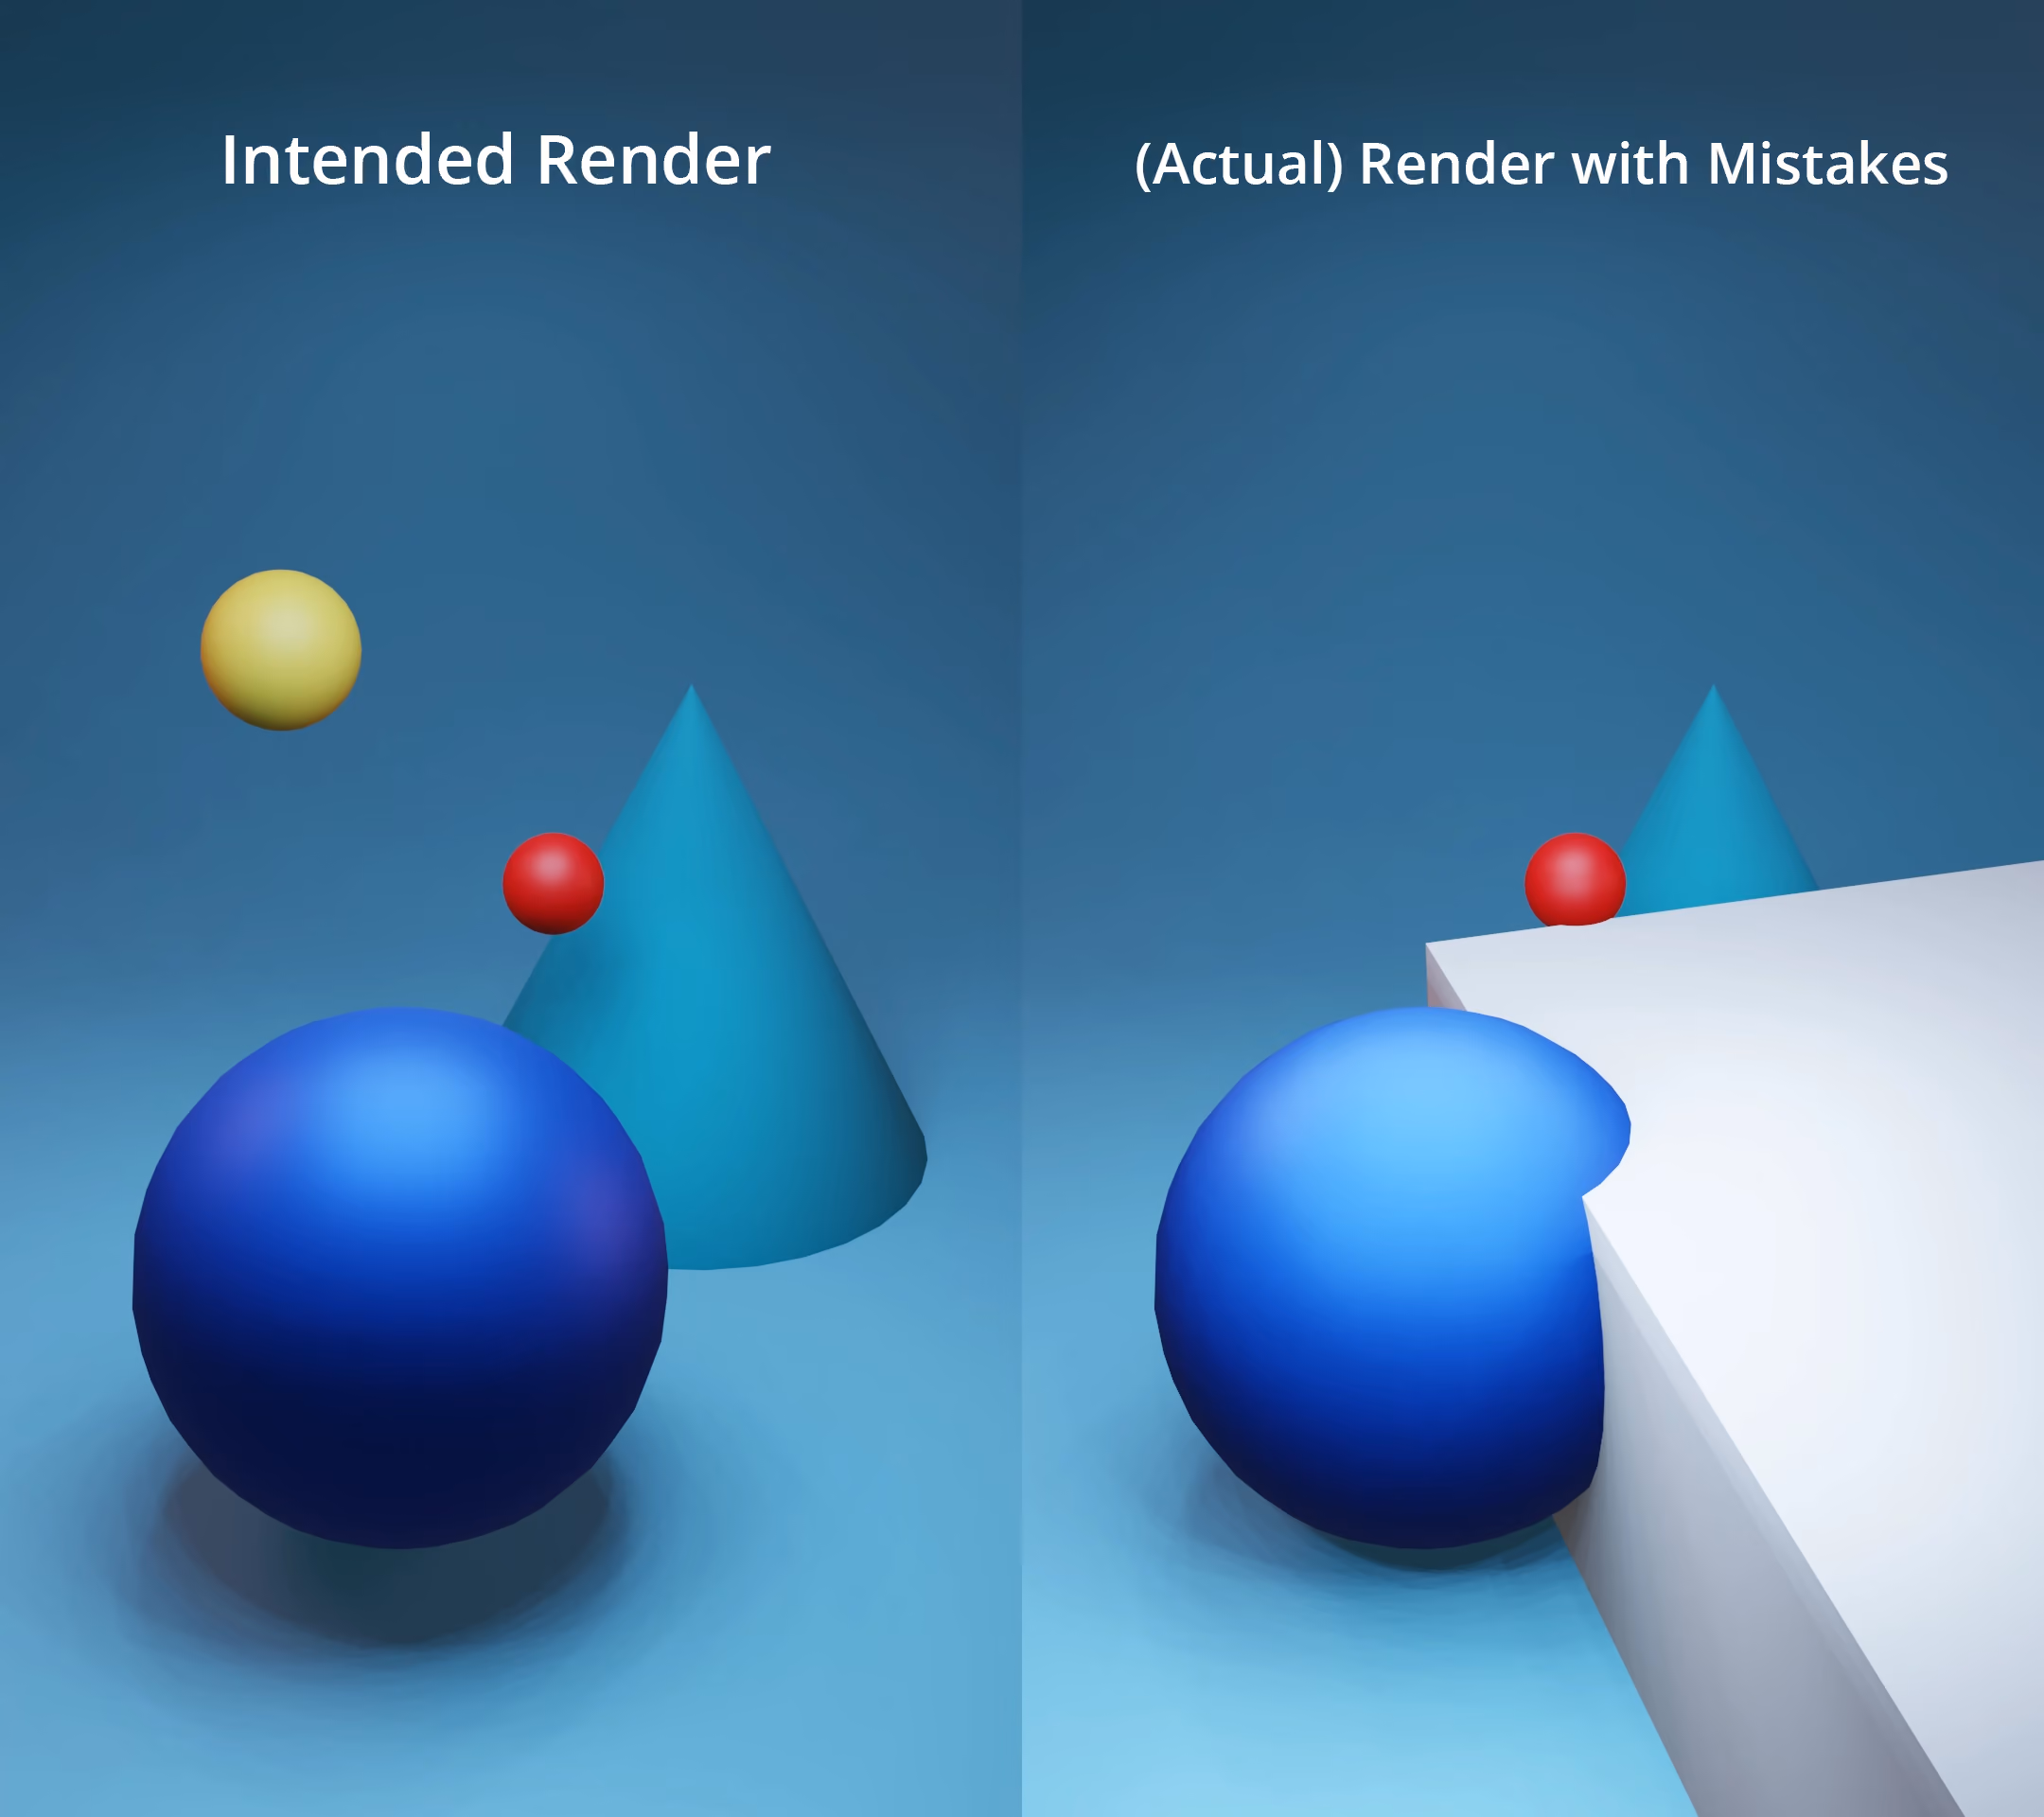
Cache your simulations before uploading
Uncached simulations are one of the top causes of failed renders. Particle systems, fluids, soft-body physics, and similar effects need to be baked or cached locally before submission. If not, the farm either spends valuable time calculating them during rendering or fails to reproduce the correct results.

Caching or Baking is more than a technical step. It’s a cost control strategy. It also makes previews more accurate, gives you more consistent results, and reduces the risk of frame mismatches.
Take advantage of FPE and node group settings
GarageFarm includes several advanced options that are often overlooked, like Frames Per Execution (FPE) and node group selection. These let you fine-tune how your render is distributed across the farm. For scenes with complex setups or long render times per frame, this can reduce overhead and idle time. Node groups help allocate resources based on memory or performance requirements.
If your project requires a lot of RAM or VRAM, selecting an appropriate node group ensures you get machines that can handle it without crashing. These settings are not just technical. They are financial levers that can make your budget go further. In short:
Tutorials are more effective than long-form docs
A large number of users simply do not read technical documentation. It’s too long, too dense, or poorly formatted for visual learners. Instead, they look for clear video guides, step-by-step workflows, or interactive onboarding experiences.

GarageFarm offers tutorials on their YouTube channel, tailored to each major software pipeline. These short, focused videos help users avoid mistakes before they happen. Taking fifteen minutes to watch one can prevent hours of confusion later.
Don’t rely on general AI tools for specific rendering advice
While AI tools like ChatGPT are useful for general tips, they don’t replace documentation specific to rendering platforms. They can lack up-to-date information on how certain systems like GarageFarm work, especially when it comes to pricing, plugin behavior, and cloud infrastructure.

When rendering at scale, relying on generic advice can lead to misconfigurations that ruin entire projects. Always double-check with official tutorials, forums, or support when using any cloud rendering platform. GarageFarm also offers 24/7 technical, human support, so you can be assisted right away and with more accuracy (no more shouting at ChatGPT to do things right!).
Final thoughts
Rendering with GarageFarm can be extremely cost-efficient if approached correctly. The platform gives users a high level of control, but with that control comes responsibility. Knowing how to use the available tools and when to use them separates professional workflows from costly mistakes.

Understanding features like plugin upload, test renders, caching, node management, and priority levels will not only help you finish your work faster, but also keep your rendering bills predictable and reasonable. Each decision before submission impacts your outcome far more than most users realize.
The smartest way to save money isn’t by cutting corners. It’s by learning how to avoid wasting resources in the first place.
Register Now and Get $50 FREE Credits!