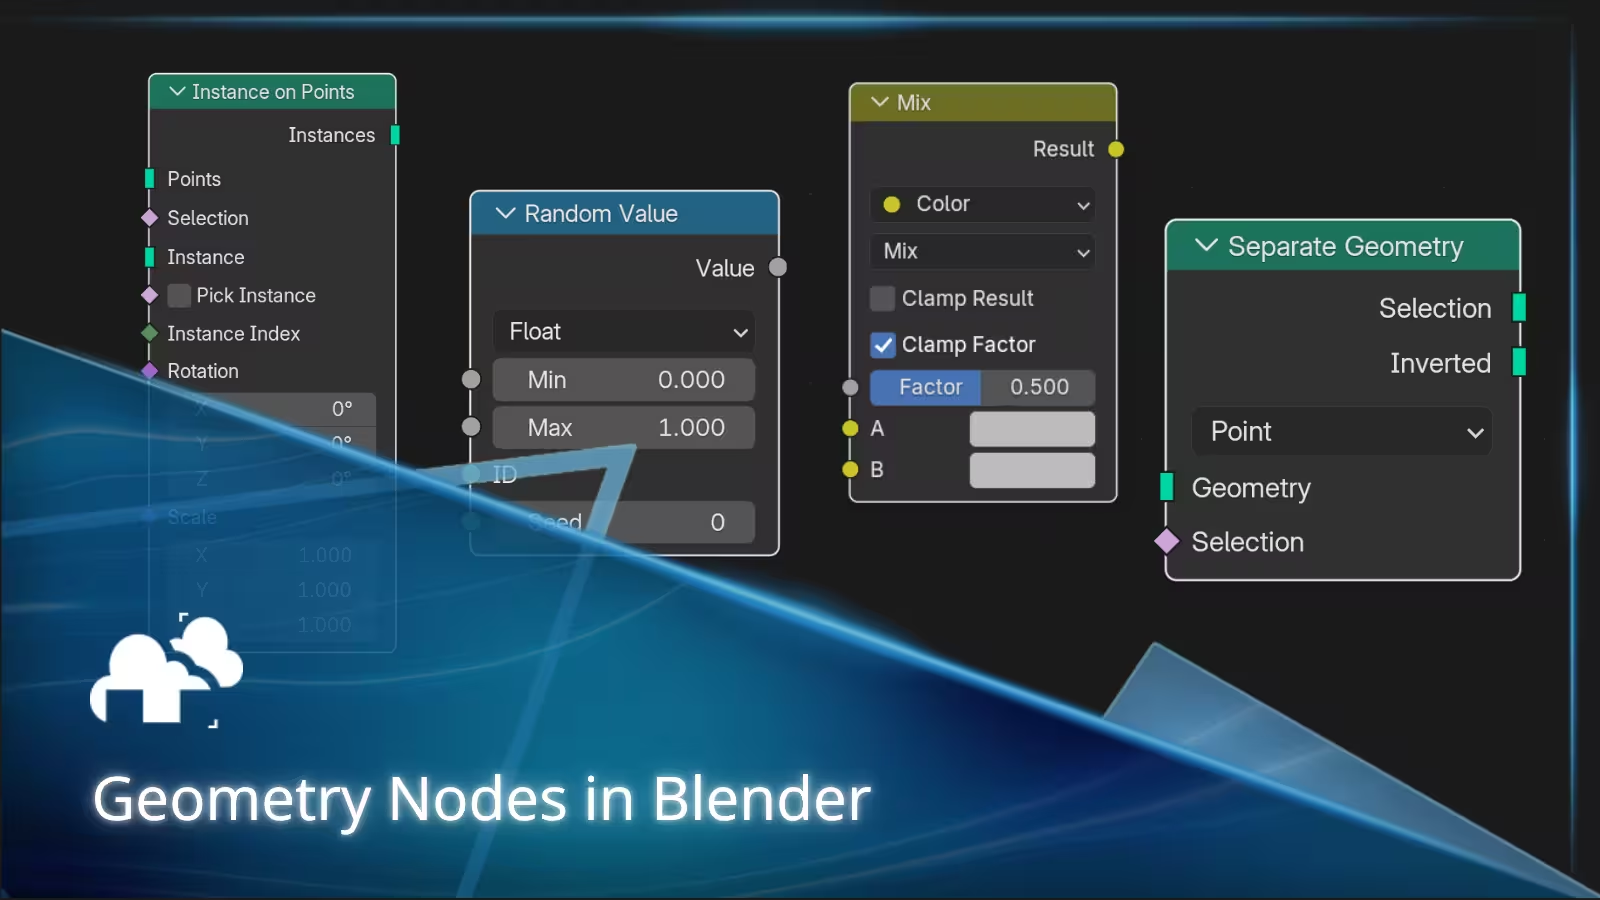
Geometry Nodes is one of Blender's most useful tools for procedural modeling. Instead of manually building every repeated object, variation, distribution, or deformation, you can create a system that generates and changes geometry according to rules you control.
That can mean something simple, such as scattering rocks across a surface, or something much more involved, such as generating fences, cables, modular buildings, animated patterns, or reusable parametric models.
The advantage is not just speed. A good Geometry Nodes setup stays editable. Change a count, distance, seed, curve, or dimension and the result updates without rebuilding the model from scratch.
This guide explains what Geometry Nodes are in Blender, how the system works, the essential nodes worth learning first, how instancing and scattering work, and how to build setups that remain practical when scenes become more complex.
Key takeaways
- Blender Geometry Nodes makes procedural modeling more flexible and repeatable.
- Fields and attributes control how values change across different parts of geometry.
- Distribute Points on Faces and Instance on Points form the basis of many scattering workflows.
- Instances should usually remain instances for as long as possible to keep scenes efficient.
- Node groups can turn procedural setups into reusable modeling tools.
- Geometry Nodes is particularly useful for parametric modeling, repeated structures, controlled variation, and systems that need frequent revisions.
- Organized node trees are easier to debug, reuse, animate, and prepare for rendering.
TL;DR
Blender Geometry Nodes is a node-based system for creating and modifying geometry procedurally. Rather than editing every vertex, face, or object manually, you build rules that determine how geometry should be generated, distributed, transformed, selected, or changed.
For beginners, the most useful concepts to learn are geometry flow, fields, selections, attributes, points, curves, and instances. Nodes such as Join Geometry, Transform Geometry, Set Position, Distribute Points on Faces, Instance on Points, Realize Instances, Separate Geometry, Delete Geometry, and Random Value already cover a large number of practical workflows.
The goal is not to use Geometry Nodes for everything. It is most useful when a setup benefits from repetition, variation, exposed parameters, reusable logic, or frequent changes.
What are Blender Geometry Nodes?
Blender Geometry Nodes is a visual procedural modeling system that lets you generate and modify geometry by connecting nodes.
Instead of manually editing every vertex, edge, face, curve, or object, you define a series of operations. Blender evaluates those operations and produces the resulting geometry.
For example, rather than manually duplicating 200 rocks across a landscape, you can build a system that:
- distributes points across the terrain,
- places rock instances on those points,
- varies their scale and rotation,
- excludes certain areas,
- and lets you change the overall density with a single value.
The same approach can be applied to fences, buildings, vegetation, cables, repeating details, motion graphics, abstract forms, and many other types of procedural geometry in Blender.
Geometry Nodes is generally used through a modifier, so the original object can remain intact while the procedural system generates or changes the final result.
Geometry Nodes and parametric modeling in Blender
Geometry Nodes can also be used for parametric modeling in Blender.
In a parametric setup, important dimensions or design decisions are controlled by values rather than being permanently modeled into the mesh.
A procedural fence, for example, might expose:
- total length
- post spacing
- fence height
- number of horizontal rails
- random variation
- material selection
Changing one parameter can update the rest of the model automatically.
This is particularly useful for assets that need multiple versions or that are likely to change during production.
Geometry Nodes does not turn Blender into a traditional CAD package, but it gives artists a powerful way to build parameter-driven models using Blender's existing geometry, curves, modifiers, and object system.
Why use Geometry Nodes?
Geometry Nodes is most useful when a project involves repeated elements, frequent design changes, controlled variation, or logic that would be tedious to reproduce manually.
Faster variations
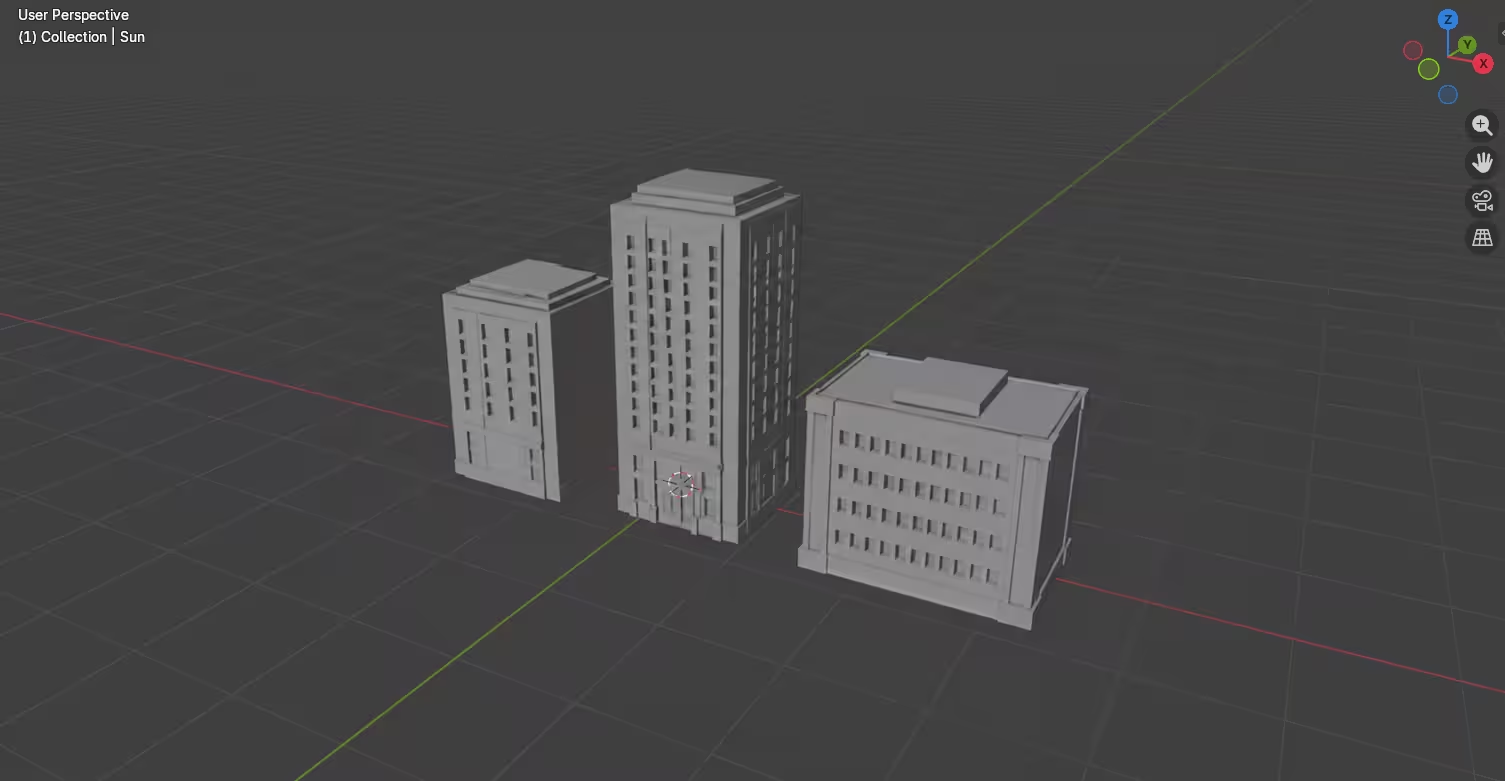
A procedural setup can expose controls for size, count, spacing, shape, density, seed, and randomness.
Instead of rebuilding an asset each time someone asks for another version, an artist can adjust those inputs and generate alternatives from the same system.
This is useful for:
- architectural elements
- environment assets
- fences and railings
- vegetation
- roads and cables
- modular structures
- motion graphics
- product variations
- abstract procedural designs
Consistent results
Rules help repeated parts follow the same structure.
If 100 windows need identical spacing, for example, a procedural setup can calculate their positions rather than relying on manual duplication. If the wall length changes later, the window system can adapt with it.
The same principle works for tiles, panels, posts, stairs, lights, bolts, rocks, trees, and other repeated elements.
Reusable systems
A well-designed Geometry Nodes group can become a reusable tool rather than a one-off node tree.
Controls can be exposed in the modifier so another artist does not need to understand the entire graph. They only need to adjust the parameters relevant to the asset.
This is one of the bigger practical advantages of procedural modeling.
In our conversation with procedural artist Erin Woodford, better known as Erindale, he described procedural systems as becoming much more intuitive once you understand what the values represent and how they affect each other. He also pointed out that procedural workflows can save time because artists can generate what they need instead of repeatedly searching for or rebuilding suitable assets.
That distinction matters. The value of procedural modeling is not simply that nodes look more technical than traditional modeling. The payoff comes when the system solves a task that would otherwise need to be repeated.
How Geometry Nodes works
Geometry Nodes is usually added to an object through a Geometry Nodes modifier.
Geometry enters the node tree through the Group Input, passes through operations that generate or modify data, and eventually reaches the Group Output.
A simple tree might look conceptually like this:
Original geometry → Generate points → Instance objects → Add variation → Output geometry
More complicated systems may branch into several operations before combining the results again.
How to open Geometry Nodes in Blender
For a basic setup:
- Select an object.
- Switch to the Geometry Nodes workspace.
- Click New to create a Geometry Nodes modifier and node group.
- Blender creates a Group Input and Group Output automatically.
- Add nodes between them to generate or modify the geometry.
You can also add a Geometry Nodes modifier manually from the Modifiers tab and choose an existing node group.
Nodes and sockets

Each node performs a particular operation.
A node may:
- create geometry
- transform geometry
- create points
- calculate a value
- make a selection
- read information from an object
- place instances
- convert curves
- assign materials
- delete geometry
Sockets carry information between those nodes.
Depending on the node, a socket may contain:
- geometry
- integers
- floating-point values
- vectors
- rotations
- colors
- Boolean values
- strings
- objects
- collections
- materials
Understanding what information a socket expects is often more important than memorizing individual nodes.
Group inputs
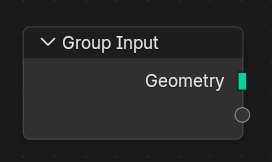
Group Inputs let you expose important controls outside the node tree.
If you are creating a building generator, for example, you might expose:
- width
- floor count
- floor height
- window spacing
- seed
- facade variation
Those values then appear in the Geometry Nodes modifier.
The user gets a simple interface while the underlying node group handles the more complicated logic.
Understanding geometry components
Geometry Nodes can work with different types of geometry, and choosing the correct type helps keep a setup efficient and easier to understand.
Meshes
Meshes contain vertices, edges, faces, and face corners.
They are suitable for familiar modeling operations such as extrusion, subdivision, deletion, deformation, and topology-based selections.
Curves
Curves are particularly useful for procedural paths.
They work well for:
- cables
- pipes
- roads
- rails
- vines
- ropes
- trim
- paths
- procedural profiles
A curve can remain lightweight while you manipulate its points, radius, tilt, or shape, then be converted into visible geometry when needed.
Points
Points represent positions in space without requiring full mesh geometry.
They are extremely useful for procedural scattering.
For example, Distribute Points on Faces can create points across a surface. Those points can then be passed into Instance on Points to place objects at each location.
Instances
Instances are references to existing geometry rather than fully independent copies.
That makes them ideal for repeating:
- rocks
- plants
- trees
- buildings
- lights
- props
- modular parts
A scene containing thousands of instances can be considerably more manageable than a scene containing thousands of fully duplicated meshes.
Volumes
Volumes represent information throughout three-dimensional space rather than only on a surface.
They are useful for effects involving density, fog, smoke, and other volumetric data.
Fields, attributes, and selections
Fields are one of the concepts that initially makes Geometry Nodes seem harder than it really is.
A regular value is simply one value.
A field can produce different values depending on which part of the geometry Blender is currently evaluating.
Imagine connecting Random Value to the Scale input of Instance on Points.
You are not necessarily giving every instance one identical scale. The field can be evaluated independently for each point, producing controlled variation across the distribution.
This is what makes workflows such as random position, random rotation, random scale, gradients, masks, and geometry-dependent calculations possible.
Geometry Nodes attributes
Attributes are pieces of information associated with geometry.
Depending on the geometry type, information may exist on:
- points
- edges
- faces
- face corners
- splines
- instances
Examples include position, normal direction, IDs, material information, custom values, and selections.
Modern Geometry Nodes workflows often expose this information through fields rather than requiring artists to manage attributes as manually as earlier versions of the system did.
Nodes such as Capture Attribute and Store Named Attribute are useful when data needs to be preserved or explicitly stored for later parts of the node tree.
Selections
Many nodes contain a Selection input.
A selection determines which elements an operation should affect.
For example, you could:
- delete only points above a certain height
- scale only selected instances
- assign a material to particular faces
- distribute objects only on upward-facing terrain
- separate geometry according to a condition
Good selection logic is what turns many simple node operations into useful procedural systems.
Essential Geometry Nodes for beginners
You do not need to learn every Geometry Nodes node before building useful setups.
A smaller group of nodes appears repeatedly across practical projects.
Join geometry
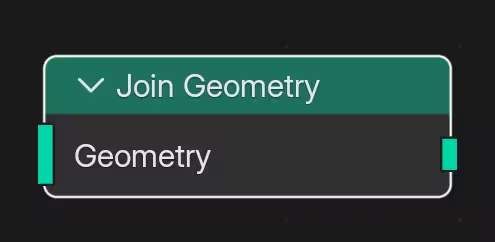
The Join Geometry node combines multiple geometry inputs into a single output.
A procedural building, for example, might generate walls, windows, roof elements, and decorative details separately before joining them into the final result.
It is one of the simplest nodes in Geometry Nodes, but it appears in many larger systems.
Transform geometry
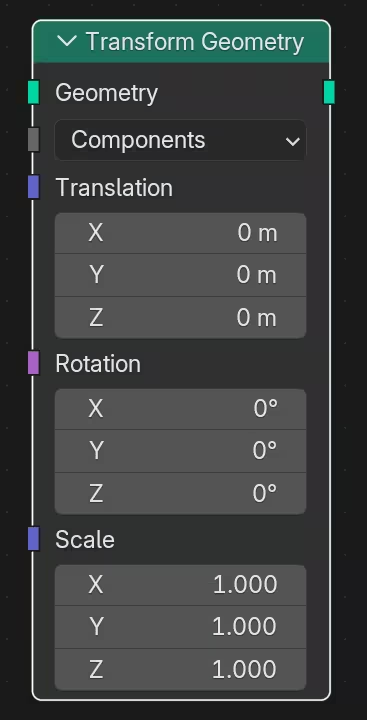
The Transform Geometry node moves, rotates, or scales an entire geometry component.
It is useful when you want to transform the complete incoming geometry rather than calculate a different transformation for individual points.
Set position

The Set Position node changes the position of points in geometry.
It can be used for:
- waves
- noise deformation
- procedural bending
- surface displacement
- shape variation
- animated movement
The Offset input is particularly useful because it lets you move points relative to their existing positions.
Set Position can also form part of more advanced deformation tools. In our guide to bending objects in Blender, for example, Geometry Nodes is used as the procedural option when a bend needs to become a reusable or parameter-driven system rather than a one-time edit.
Distribute Points on Faces
Distribute Points on Faces generates points across the surface of a mesh.
It is one of the most useful nodes for building scattering systems.
A terrain can be fed into the node, producing points that can later hold rocks, plants, trees, buildings, or other instances.
Density can be controlled with values, textures, attributes, or selections, giving you more control than simply scattering objects everywhere.
Instance on points
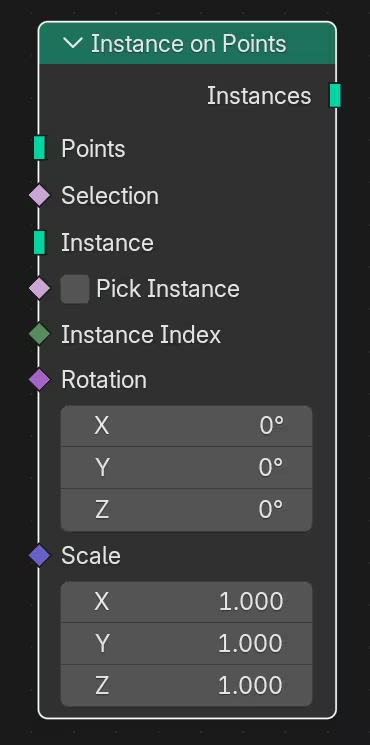
The Instance on Points node places geometry, objects, or collections on points.
A very common Geometry Nodes chain is:
Mesh → Distribute Points on Faces → Instance on Points
Once the instances exist, you can control their:
- rotation
- scale
- source object
- source collection
- selection
This combination forms the basis of many Blender Geometry Nodes scattering setups.
Rotate Instances and Scale Instances
Rotation and scale are often varied after objects have been instanced.
For natural scattering, identical orientation is usually what makes repetition most obvious.
Random values can drive rotation and scale so that rocks, vegetation, debris, or other objects feel less uniform while still remaining controlled by the node system.
Realize instances
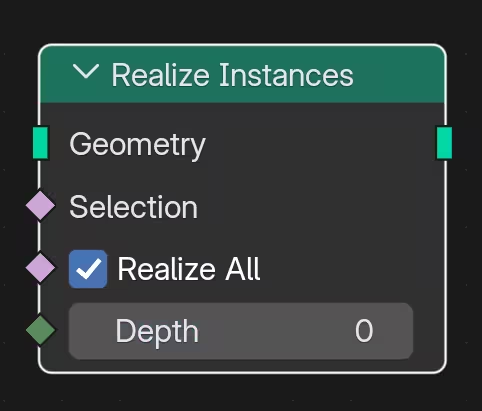
The Realize Instances node converts instances into actual geometry.
This can be necessary when later nodes need to edit the internal geometry of every instance.
But realizing instances too early is a common performance mistake.
If Blender can continue working with lightweight references, keep the objects instanced. Once thousands of instances are converted into real mesh data, the amount of geometry Blender has to evaluate can grow quickly.
A useful rule is:
Keep geometry instanced until you have a specific reason to realize it.
Separate geometry

The Separate Geometry node divides geometry according to a selection.
One output contains the selected elements and the other contains the inverted selection.
It is useful when two groups need different processing before being combined again.
Delete geometry
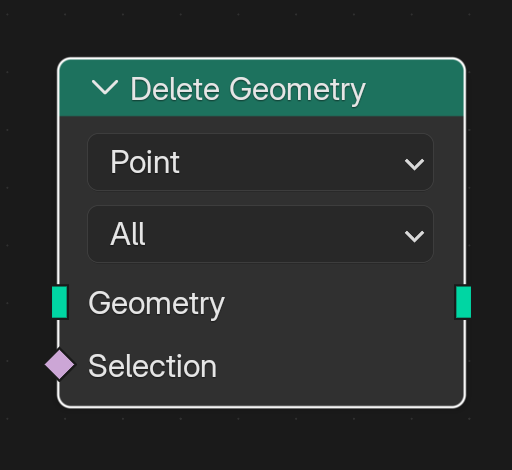
The Delete Geometry node removes elements selected by another part of the node tree.
This makes it useful for:
- procedural cutoffs
- pattern creation
- removing points
- excluding areas from a scatter
- creating gaps
- conditional generation
Random value

The Random Value node generates controlled random data.
It can produce numbers, vectors, colors, Boolean values, and other data types.
In an object scatter it might control:
- random position
- random rotation
- random scale
- object selection
- material variation
Randomness works best when it supports art direction. Completely uncontrolled variation often produces a less convincing result than randomness constrained within useful ranges.
Object Info and Collection Info
Object Info lets a node tree reference another object and access useful information from it.
Collection Info can bring collections into a Geometry Nodes system, making it particularly useful when instances should be chosen from several possible objects.
A rock scattering tool, for example, can instance a collection containing several different rock models instead of repeating only one.
Scattering objects with Geometry Nodes
Object scattering is one of the clearest ways to understand how several Geometry Nodes concepts work together.
Suppose you want to scatter rocks across a landscape.
A simple version might work like this:
- Feed the terrain into Distribute Points on Faces.
- Control the density of the generated points.
- Use a selection to exclude areas where rocks should not appear.
- Feed a rock object or collection into Instance on Points.
- Add random rotation.
- Add controlled random scale.
- Keep the objects instanced unless later processing requires real geometry.
From there, the system can become much smarter.
You might reduce density on steep slopes, prevent rocks from appearing near a road, use larger rocks in particular regions, or choose between several rock models.
The important point is that the system remains editable. Changing the terrain or density does not require manually repositioning hundreds of objects.
Building reusable node groups
Node groups can collect several connected operations into a reusable unit.
Instead of copying a complicated block of nodes repeatedly, you can convert that logic into a node group with clearly defined inputs and outputs.
Choosing useful controls
Expose the controls that represent meaningful artistic decisions.
For a procedural fence, those might be:
- fence length
- fence height
- post spacing
- post scale
- rail count
For a rock scatter:
- density
- minimum scale
- maximum scale
- rotation variation
- random seed
Avoid exposing every internal value just because you can.
A good procedural tool hides implementation details and exposes the decisions a user actually needs to make.
Naming inputs clearly
Use names that describe the result rather than the mathematics behind it.
Fence Height is clearer than Float 003.
This becomes even more important when a node group is shared with another artist or reopened months later.
Saving Geometry Nodes groups as assets
Reusable node groups can be marked as assets and organized through Blender's Asset Browser.
This allows you to build a library of procedural tools such as:
- scatter systems
- generators
- selections
- deformers
- curve tools
- modular construction systems
Over time, Geometry Nodes can become less about rebuilding graphs and more about combining a library of tools you already understand.
Organizing node trees
A procedural system is only useful if you can still understand it later.
As a Geometry Nodes tree grows, organization becomes part of the workflow.
Use frames and labels
Frames can divide a graph into logical sections such as:
- input
- point generation
- selection
- scattering
- variation
- materials
- output
Labels can explain why a node exists when its purpose is not obvious from the node name alone.
Keep a consistent flow
Try to keep the main flow moving from left to right.
This is not a technical requirement, but it makes graphs considerably easier to read.
Inputs and source data can stay near the left, processing in the middle, and final geometry near the right.
Separate major tasks
If one part of a graph has its own clear purpose, consider moving it into a node group.
This reduces visual clutter and creates reusable components.
Use reroute nodes carefully
Reroute nodes can clean up long connections and reduce tangled wires.
They should make the graph easier to follow rather than simply adding more visual elements.
Common Geometry Nodes mistakes
Geometry Nodes performance problems often come from a few workflow decisions rather than one unusually expensive node.
Realizing instances too early
This is one of the most common avoidable problems.
If you scatter several thousand objects and immediately realize all of them, Blender now has to handle their full geometry.
Keep them instanced until an operation genuinely requires access to their mesh data.
Generating more geometry than the final image needs
Procedural systems make it very easy to create huge amounts of geometry.
That does not mean all of it contributes visibly to the final result.
If distant vegetation, tiny surface details, or hidden objects do not affect the shot, generating them at full complexity adds scene weight without improving the image.
Building everything before testing anything
Start with the smallest working system.
If you are creating a scatter, first distribute points.
Then instance one object.
Then add rotation.
Then add scale.
Then add selections.
This makes it much easier to identify which step caused a problem.
Ignoring transforms
Object scale and rotation can influence distances, distributions, deformation, and generated sizes.
Apply transforms when appropriate, or deliberately account for them in the node tree.
Mixing geometry domains without understanding them
A value evaluated on points does not automatically behave the same way when used on faces, edges, curves, or instances.
When something produces unexpected results, check which domain the data belongs to and how Blender is transferring or evaluating that information.
Exposing too many controls
A node group with 40 unexplained inputs is not automatically more flexible than one with eight good controls.
Expose the parameters that affect useful decisions and keep implementation values inside the node tree.
Practical Geometry Nodes examples
The best way to learn Geometry Nodes is to build small systems where several nodes work together.
Procedural fence
A fence generator is a good beginner project because it combines repetition with clear design constraints.
A basic version might use a curve or length value to determine where posts should appear, then instance posts at regular intervals.
From there you can expose:
- total length
- post spacing
- height
- rail count
- materials
This is a useful example of Blender parametric modeling because changing one input can update the entire structure.
Rock scatter
A rock scatter is one of the best ways to learn:
- Distribute Points on Faces
- Instance on Points
- Collection Info
- selections
- Random Value
- Rotate Instances
- Scale Instances
Start with completely random placement, then add more art direction by controlling where rocks can appear.
A production-friendly version would normally keep those rocks instanced for as long as possible.
Cable generator
Curves make Geometry Nodes particularly useful for cables and similar assets.
A cable generator can use a curve as its main path, create a profile for thickness, add connectors or clamps at specific points, and expose the dimensions as parameters.
Because the path stays editable, reshaping the cable does not require rebuilding its full mesh.
Modular building
Architecture is a natural application for Blender Geometry Nodes because buildings often contain repeated structures.
A building generator might control:
- number of floors
- floor height
- facade width
- window count
- window spacing
- balcony placement
- roof type
- seed-based variations
This does not mean every building should be procedural. A unique hero asset may be faster to model traditionally.
Geometry Nodes becomes especially valuable when you need families of related buildings, quick design variations, or a system that must adapt to different dimensions.
Procedural deformation
Geometry Nodes can also build reusable deformation tools.
Set Position can move individual points according to coordinates, curves, textures, vectors, or mathematical functions.
This can create waves, bends, ripples, noise, and other procedural shape changes.
Unlike a one-off manual edit, exposed parameters can make the same deformation system reusable across several assets.
Motion graphics and animation
Geometry Nodes values can also change over time.
You can animate parameters controlling:
- scale
- position
- density
- selections
- instance rotation
- procedural growth
- deformation
- visibility
This makes Geometry Nodes useful for motion graphics as well as static modeling.
When Geometry Nodes is the right choice
Geometry Nodes is a strong option when:
- a design contains repeated elements
- several versions of the same asset are needed
- the design will probably change
- a process needs controlled randomness
- parameters should remain editable
- the same logic needs to work on multiple objects
- a tool needs to be reused across projects
- manual placement or duplication would take too long
Procedural tools have an upfront cost. Building a flexible generator can initially take longer than modeling one fixed object.
The payoff comes when the system is reused or revised.
If you want a broader look at where procedural modeling sits alongside Blender's other capabilities, our guide to what Blender is used for covers modeling, animation, rendering, VFX, motion graphics, product visualization, architecture, and other parts of a Blender workflow.
When traditional modeling may be easier
Geometry Nodes is not automatically the best modeling method.
Traditional modeling may be faster when:
- the object is completely unique
- the design is unlikely to change
- only one version is needed
- the form depends heavily on manual sculpting
- creating procedural rules would take longer than creating the final asset
A chair that needs one fixed shape does not necessarily need a parametric generator.
A row of chairs whose count, spacing, models, orientation, and layout need to change repeatedly might.
Use Geometry Nodes when the procedural logic provides practical value, not simply because the task can technically be done with nodes.
Geometry Nodes and rendering performance
Procedural modeling can generate complex scenes surprisingly quickly.
That makes performance worth considering before the scene reaches final rendering.
Keep instances as instances
Instancing is one of Geometry Nodes' biggest performance advantages.
If hundreds or thousands of objects are repeated, keeping them instanced avoids creating unnecessary independent mesh data.
Only use Realize Instances when a later operation actually requires access to the geometry inside those instances.
Watch geometry counts
Procedural tools can quietly generate more geometry than expected.
A small change in density multiplied across a large surface can add hundreds of thousands of points or instances.
A building generator can multiply a detailed window model across an entire city block.
A vegetation setup can fill areas that are not visible to the camera.
Check what the system is producing rather than assuming a node tree is lightweight because it is procedural.
Test representative frames
For animated Geometry Nodes setups, test frames from different parts of the animation.
A system that is lightweight on frame 1 may generate much more geometry later if counts, distributions, simulations, or animated parameters change.
Prepare procedural scenes before rendering remotely
When a complex Geometry Nodes scene is ready for final output, check:
- Blender version compatibility
- linked assets
- external files
- collections used by the node tree
- caches where applicable
- render-time subdivision
- instance counts
- representative frame render times
This is particularly important when sending a scene to a Blender render farm, where a small setup problem can be repeated across many frames.
We regularly see the difference between a scene that is visually complex and one that is unnecessarily heavy. With Geometry Nodes, those are not always the same thing. A scene containing large numbers of well-managed instances can remain practical, while realizing the same objects too early can increase memory requirements and scene evaluation for no visual benefit.
That is why optimization should focus on what the node tree actually produces, not simply on how many nodes the graph contains.
Final thoughts
Blender Geometry Nodes gives artists a way to turn repetitive modeling tasks into editable systems.
You do not need to understand every node before it becomes useful. Start with the flow of geometry, then learn how fields, selections, attributes, points, curves, and instances affect that flow.
Nodes such as Distribute Points on Faces, Instance on Points, Random Value, Set Position, Join Geometry, Transform Geometry, Separate Geometry, Delete Geometry, and Realize Instances already provide enough building blocks for a wide range of practical projects.
From there, the bigger skill is learning when procedural modeling is actually worth using.
A simple fixed asset may still be faster to model traditionally. A fence that needs ten variations, a building that must respond to changing dimensions, or an environment containing thousands of controlled instances is where Geometry Nodes starts to earn its place.
Build the smallest version that works, expose only the controls that matter, keep repeated geometry instanced where possible, and add complexity only when the project needs it. That approach produces Geometry Nodes systems that are easier to understand, easier to reuse, and far easier to carry through production.
Register Now and Get $50 FREE Credits!