When diving into the world of 3D modeling and texturing, one of the most fundamental techniques you'll encounter is UV Mapping. Whether you’re working on a detailed character model, an intricate prop for a game, or a scene for an animation, understanding UV mapping is essential to ensuring that your textures fit seamlessly onto the 3D model’s surface. In this article, we will explore what UV mapping is, why it's crucial in 3D workflows, and how mastering this process will allow you to create more professional, realistic 3D models and textures.
What Is UV mapping and why does it matter in 3D?
Understanding the basics of UV mapping
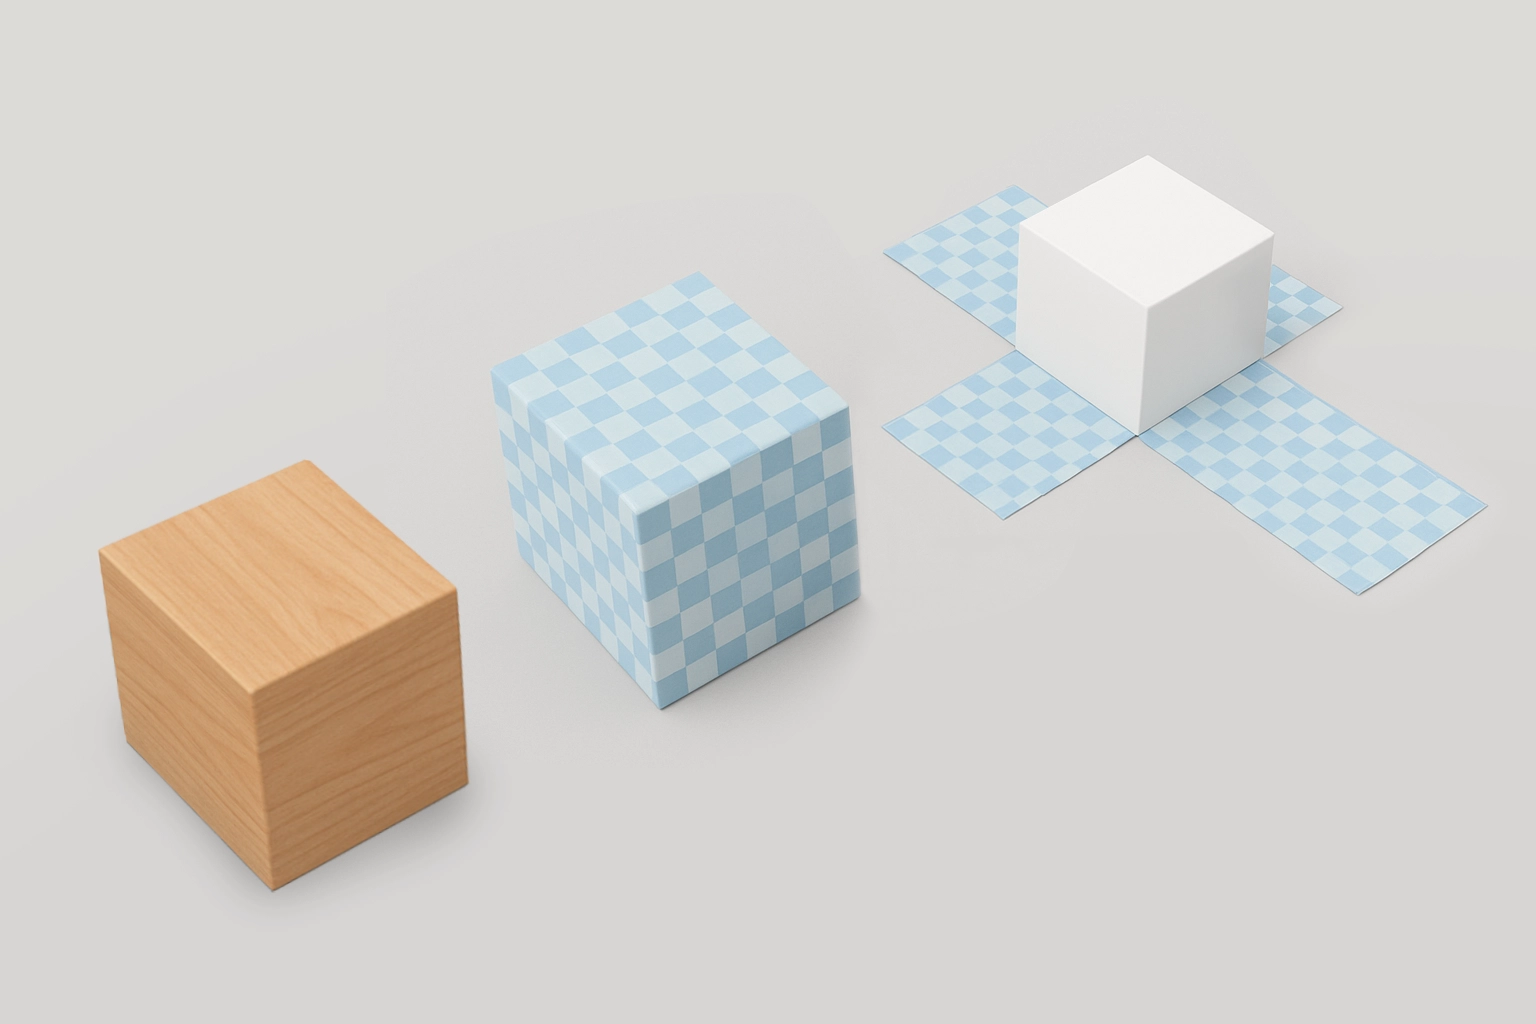
A UV map is essentially a 2D representation of a 3D model’s surface. Think of it as a flat version of your model’s surface that you can apply 2D textures to. The reason it’s called “UV” is because in the context of 3D modeling, the U and V axes are used to define the coordinates of the 2D map, unlike the traditional X, Y, and Z axes, which represent 3D space.
To visualize it, imagine taking the skin of an object and cutting it along specific lines, then flattening it out. This gives the artist the ability to apply textures, like color maps, bump maps, and normal maps, to the 3D model. The UV map serves as a blueprint that tells the software how to "wrap" these textures around the 3D object.
Why does this matter?
Without proper UV mapping, textures can end up looking warped, stretched, or misaligned. The UV mapping process is critical in ensuring that textures are applied to the surface of a 3D model in a way that doesn’t distort or break the immersion of the model.
The role of UV mapping in realistic 3D models
Imagine you’re modeling a human character for a game or a film. The texture needs to accurately depict skin, clothing, and other details like wrinkles, pores, and tattoos. Without UV mapping, these textures would either look stretched or compressed, especially in complex areas like the joints, face, or hands. This would disrupt the realism of the model, making it look artificial.
Texture maps, UVs, and the role of the UV editor
In the UV mapping process, the goal is not just to unwrap the 3D model’s surface into a flat 2D space. You also need to define the way texture maps are applied. A texture map is a digital image that is wrapped onto the surface of the 3D model based on the coordinates provided by the UV map.
What are texture maps?
Texture maps can come in many different forms, each serving a different purpose. Each of the maps relies on the UV map to determine how the 2D texture wraps around the 3D model’s surface. The UV Editor is where you can lay out the model’s UV map and make adjustments to fit the texture perfectly. Below are a few common types of texture maps:

- Diffuse or Base Color Map: This is the most basic texture type and defines the color of the model’s surface. It’s essentially a 2D image that determines the look of the material.
- Normal Map: Used to simulate small surface details like bumps or wrinkles without altering the actual geometry. A normal map adds depth to the model by affecting how light interacts with the surface.
- Metallic Map: Determines which parts of the surface behave like metal. White areas on the map indicate metallic surfaces, while black areas represent non-metallic or dielectric materials.
- Roughness Map: Controls how smooth or rough the surface appears by influencing how light scatters across it. A lower roughness value makes the surface appear shiny and reflective, while a higher value gives a more matte appearance.
- Ambient Occlusion Map (AO Map): Adds soft shadows to the texture to simulate areas where light has a harder time reaching, giving depth and realism to the model.
The importance of the UV editor
The UV Editor in software like Blender, Maya, or 3ds Max is a specialized tool that lets you manipulate the UV layout of a 3D model. It’s essentially a 2D canvas where you can view and edit the UV islands (the individual pieces of the unwrapped model). Using the UV Editor is an essential step for fine-tuning how your textures will appear on the 3D model. It helps ensure that the UVs are optimized for the best visual results and the editor is where you’ll see the relationship between the 3D model and its corresponding texture image. In the UV Editor, you can perform several tasks:
Select and Scale UV Islands
This allows you to scale and place UV islands efficiently within the UV space, making sure the texture is applied evenly across the surface.
Pack UV Islands
Packing arranges the UV islands to make the best use of the available texture space, reducing texture waste and improving performance in rendering.
Fix UV Distortion
The UV Editor allows you to identify areas where the texture is stretched or compressed, enabling you to tweak the layout to reduce or eliminate distortion.
Apply Seams and Unwrap Models
You can mark seams where the 3D model will be "cut" in order to unwrap it. This helps in creating more efficient UV layouts.
Manual vs. Auto UV mapping: pros and cons
When it comes to UV mapping, there are two primary approaches you can use: manual UV mapping and automatic UV mapping. Both approaches have their advantages and disadvantages depending on the complexity of your model and the time you have to complete the project.
Manual UV mapping
Manual UV mapping gives you complete control over the UV layout process. This is especially useful for complex models or when you need to create custom UV maps. Here’s how you might approach manual UV mapping:
Steps in manual UV mapping
- Mark Seams: The first step is to mark seams on your 3D model. These seams represent where the mesh will be "cut" during the unwrapping process. You want to place seams in natural areas of the model, like the edges of clothing or the back of the character, where they won’t be noticeable.
- Unwrap the Model: After marking the seams, you can then unwrap the model using the software’s UV mapping tools. The goal is to flatten the 3D model into 2D space while minimizing distortion.
- Adjust the UV Layout: Once the model is unwrapped, you can scale, rotate, and position the UV islands in the UV Editor to fit the available space. You should aim for a balanced and even layout to ensure that the texture is applied uniformly.
Pros of manual UV mapping
- Control: You have full control over the final UV layout.
- Flexibility: Manual mapping is ideal for complex models or when you need to create highly detailed textures.
Cons of manual UV mapping
- Time-Consuming: This process can be very slow, especially for complex models.
- Requires Expertise: You need a good understanding of the UV mapping process to avoid mistakes and achieve the best results.
Automatic UV mapping
On the other hand, automatic UV mapping tools are designed to save time by generating the UV map for you. In many cases, these tools can give you a good starting point, which you can fine-tune later. Software like Blender, Maya, and 3ds Max have built-in tools that can automatically unwrap models.
How automatic UV mapping works
- Projection Mapping: Automatic UV tools work by projecting the 3D model onto a 2D plane. Depending on the settings, the software can perform various types of projections, like cylindrical projection or spherical projection, based on the geometry of the model.
- Quick and Efficient: This method allows you to generate a UV layout in seconds, which is perfect for simpler models or when you need to work quickly.
Pros of automatic UV mapping
- Speed: Automatic UV mapping is much faster than manual unwrapping.
- Ease of Use: It’s beginner-friendly and doesn’t require much technical skill.
- Good for Simple Models: Great for low-poly or non-detailed models that don’t need custom UV layouts.
Cons of automatic UV mapping
- Less Control: Automatic UV mapping doesn’t provide the level of control you get with manual unwrapping.
- Limited Flexibility: Custom adjustments might be needed to optimize the UV layout, and these adjustments can take time.
When to use manual vs. automatic UV mapping
Use manual UV mapping when working on complex models that require high precision or custom texture placements (e.g., character models, vehicles, architectural details).But for quick, simple models where high precision isn’t required or for background assets in larger scenes where texture quality is less important, use automatic UV mapping.
How to unwrap and mark seams effectively
The key to a successful UV map lies in the unwrap process. This involves "cutting" the 3D model along specific lines (called seams) to allow it to be flattened into 2D space. Understanding how to mark seams and unwrap the model effectively is critical for minimizing texture distortion and optimizing the model for texturing.
Marking seams
The placement of seams is one of the most critical aspects of UV mapping. You want to place seams where they are either not visible or easy to hide in the final render. Some common places to mark seams include:
- Edges of the model: For example, if you’re unwrapping a character, placing seams along the edges of the clothes, hair, or arms makes sense.
- Hidden areas: If you’re working on a character or a prop, consider marking seams in areas that won’t be seen by the camera, like the back, under the arms, or between the legs.
Unwrapping the model
Once seams are marked, the next step is to unwrap the model. The unwrap process essentially flattens the 3D mesh into a 2D plane. You can do this manually by selecting the seams and using unwrapping tools available in most 3D software.
Avoiding distortion
One of the most common problems in UV mapping is texture distortion, which happens when the UV islands are stretched or compressed. To avoid this, try to scale and align the UV islands to make sure that the texture fits properly across the surface. Keep an eye on areas that might have unusual stretching, like curved surfaces or sharp angles.
Common texture issues and how UV mapping solves them
Even after you’ve carefully mapped out the UVs, there are still several common texture issues you might face. Thankfully, proper UV mapping can help solve these problems.
Texture stretching
Texture stretching occurs when the 2D texture is applied unevenly across the 3D surface. This typically happens when UV islands are “stretched” out or too small or too large in comparison to others. It’s essential to ensure the seams are marked correctly and that the scale of the islands in the UV Editor are a consistent size, so that the texture wraps around the 3D surface without distortion.
Seam visibility
Seams are necessary for unwrapping the model, but they can sometimes become visible in the final render. To minimize seam visibility, place the seams in less noticeable areas, like under the arms, between the legs, or at the back of the model. Additionally, using higher-resolution textures and painting over seams in texture painting tools can also help to hide them.
Texture tiling
When a texture is stretched over a large area, it can become repetitive, causing a noticeable tiling effect. This is common when the texture doesn’t have enough variation or when the UV islands are too small. To avoid this, ensure that your UV layout is optimized, and consider using procedural textures or detail maps to add more complexity to the surface.
Conclusion
UV mapping is a crucial step in the 3D modeling and texturing process. Whether you are working with a complex character, an environment, or a product for a game, knowing how to properly unwrap your models and apply textures is key to creating realistic 3D art. Mastering the techniques of manual and automatic UV mapping, effectively placing seams, and using the UV Editor efficiently will give you more control over how your models are textured. By avoiding common texture issues like stretching, seams, and tiling, you’ll be able to create seamless and immersive 3D models that stand out in both still and animated renders.
Register Now and Get $50 FREE Credits!