


Ever since Adobe acquired Allegorithmic (the creators of Substance), users have been contemplating whether it’s worth sticking to the software or if it’s time to switch to alternative software like Quixel Mixer. Today, we’ll be taking a look at the most useful tips to know for switching to Quixel Mixer coming from Substance Painter.
Comparison

Before we begin, however, we first have to lay down the strengths and weaknesses of each software. When choosing texturing software, there are 3 main features that every artist must think about. They are:
For most artists, this is the most important factor when it comes to choosing a product. Not a lot of beginners are willing to spend money when starting out in their 3D art journey. This is why a lot of beginners in 3D tend to flock towards Blender instead of 3ds Max and Maya, purely because of the initial paywall that they have to get through after the typical 30-day free trial that comes with most paid software. And with that in mind, Yes, Quixel Mixer is free to use, and already comes with a decent library of materials from Megascans.
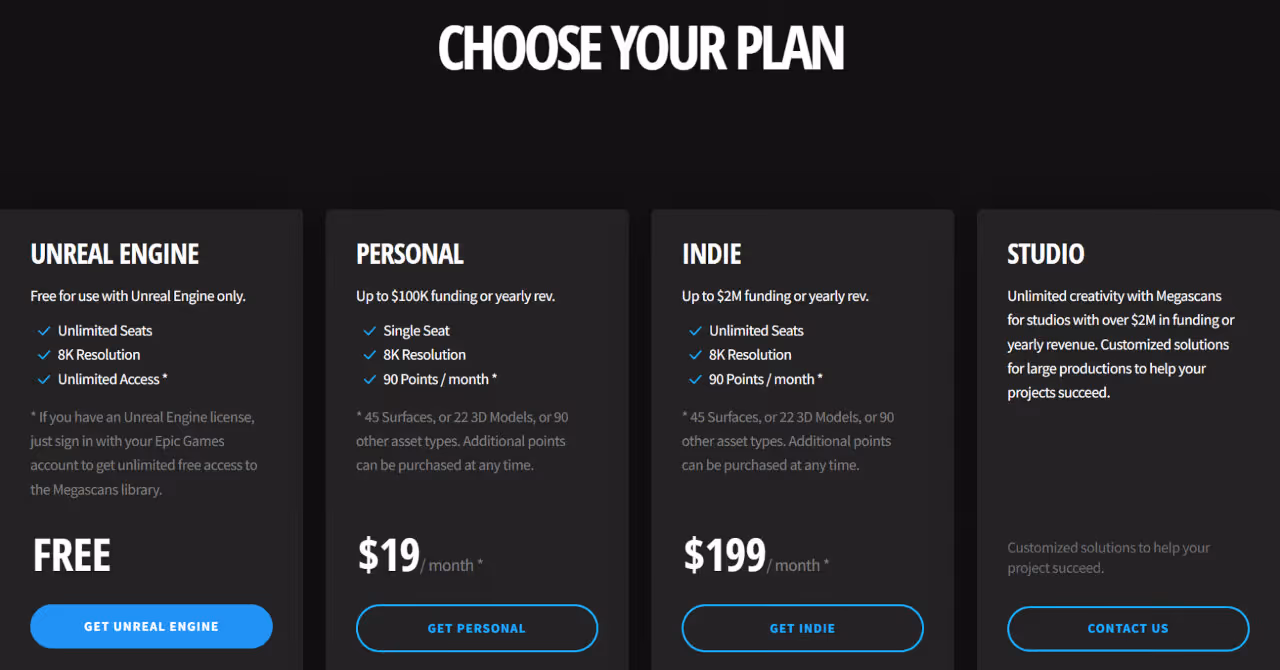
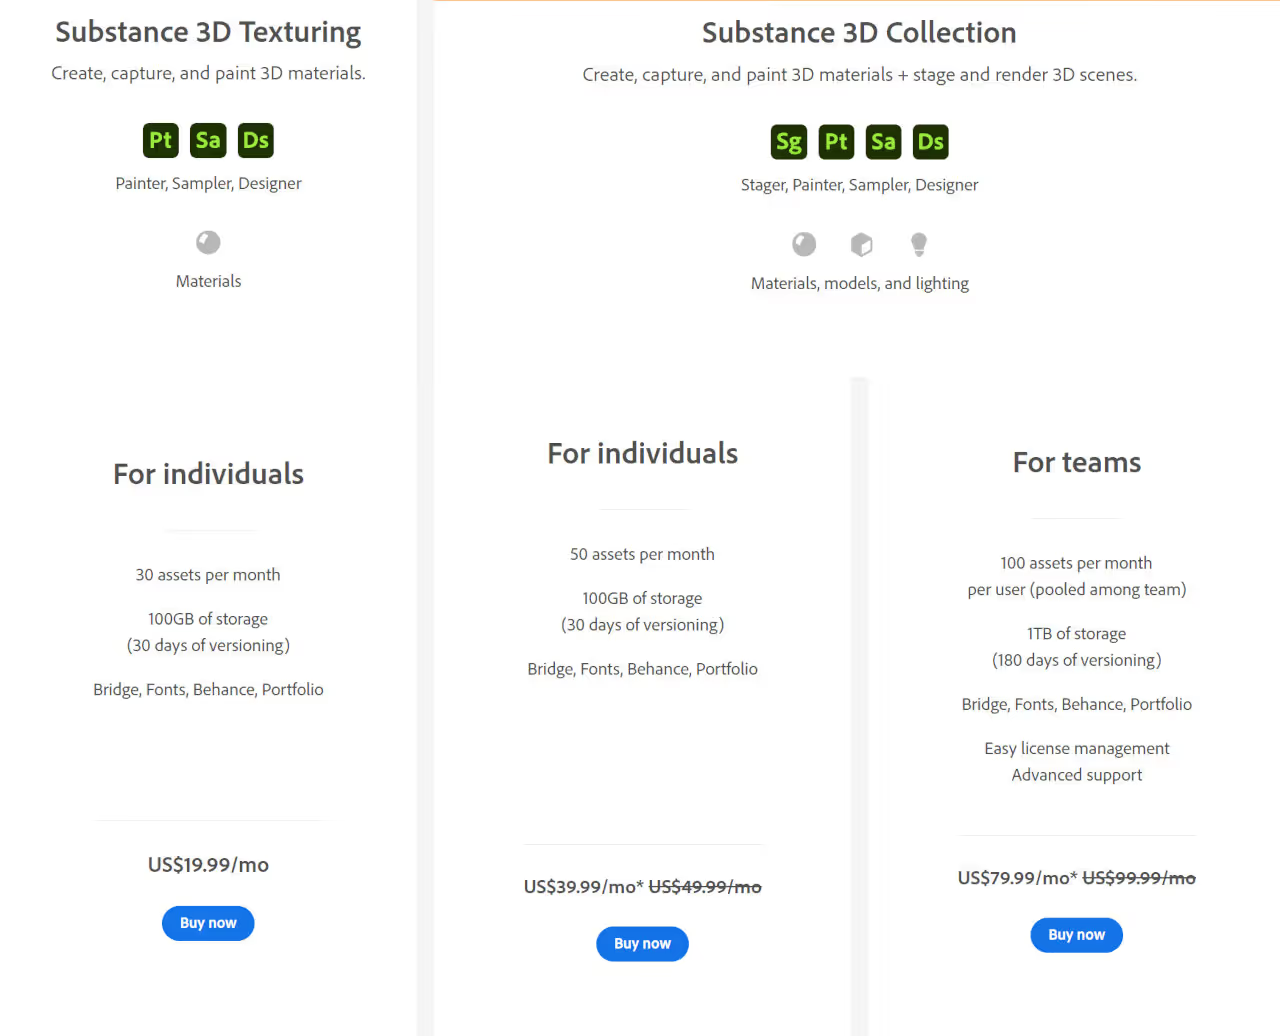
The caveat here is that while you can access the entire Megascans library for free, you can only do so within Unreal Engine. If you were a hobbyist or freelance artist, you would need to subscribe to a paid plan that fits your needs and revenue bracket. The personal plan for Quixel Mixer costs $19/month, which is the same price as the indie license for Adobe Substance 3D Painter.
If you’re just starting out with texturing 3D assets and you don’t want to spend anything, starting out with Quixel Mixer would make the most sense cost-wise. However, if you are planning to use it for production use, they both cost the same. This is where ease of use and the quality of the material library will dictate which you will end up using.
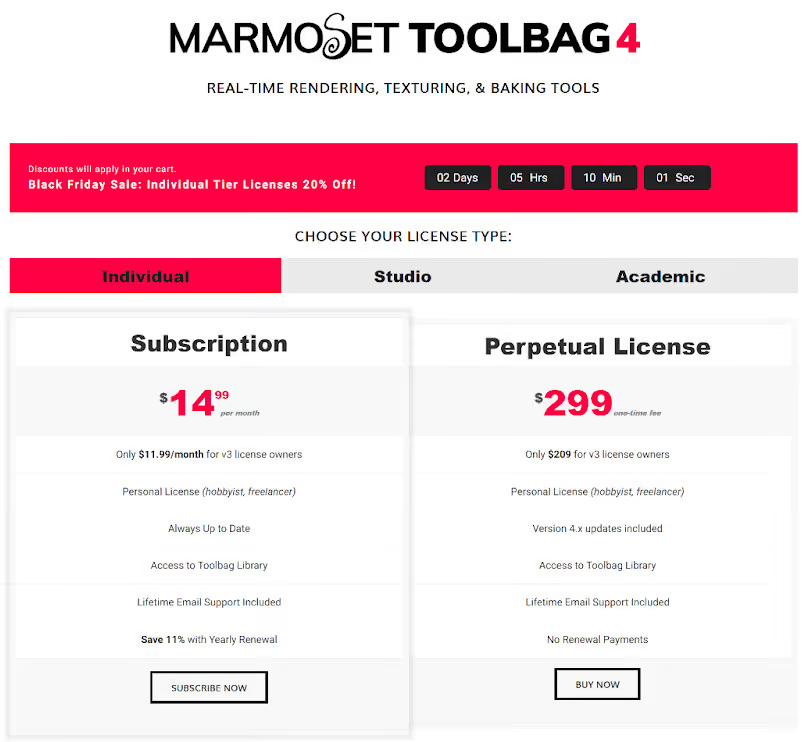
When it comes to ease of use, it’s a bit more straightforward. In order to use smart materials, the user needs to bake mesh maps in order to drive the different layers in a material. As of the time of this writing, Quixel Mixer doesn’t have a built-in baker yet while Substance Painter ships with one. This means that if you want to bake maps for Mixer, you would need to use a 3rd party baker such as Marmoset Toolbag (for which you’d have to pay a separate subscription for or purchase a perpetual license) or use free software such as XNormal.
Another aspect to consider would be the actual texturing experience itself. For the most part, they can both do the same functions. The difference would be in small details such as the way certain functions are named for example.
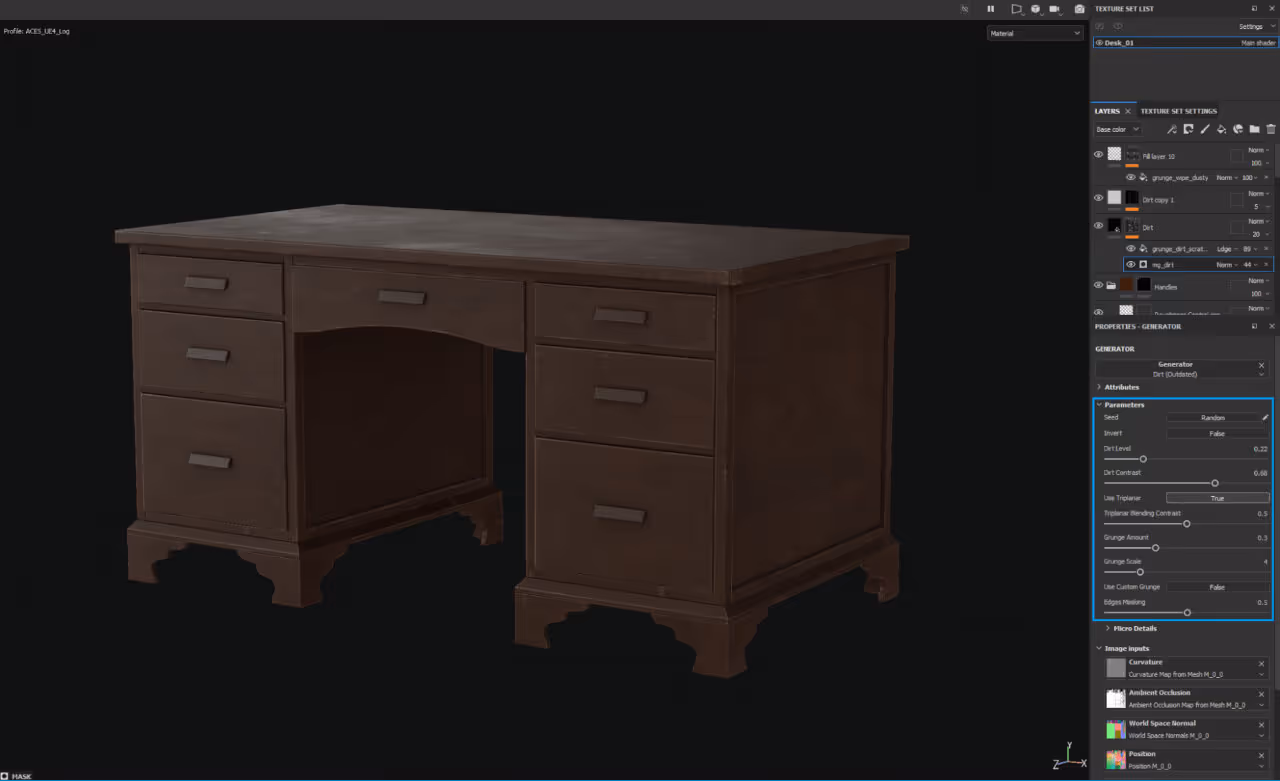
A lot of the parameters are labeled clearly and as you’re texturing your asset, you know exactly what you’re modifying.
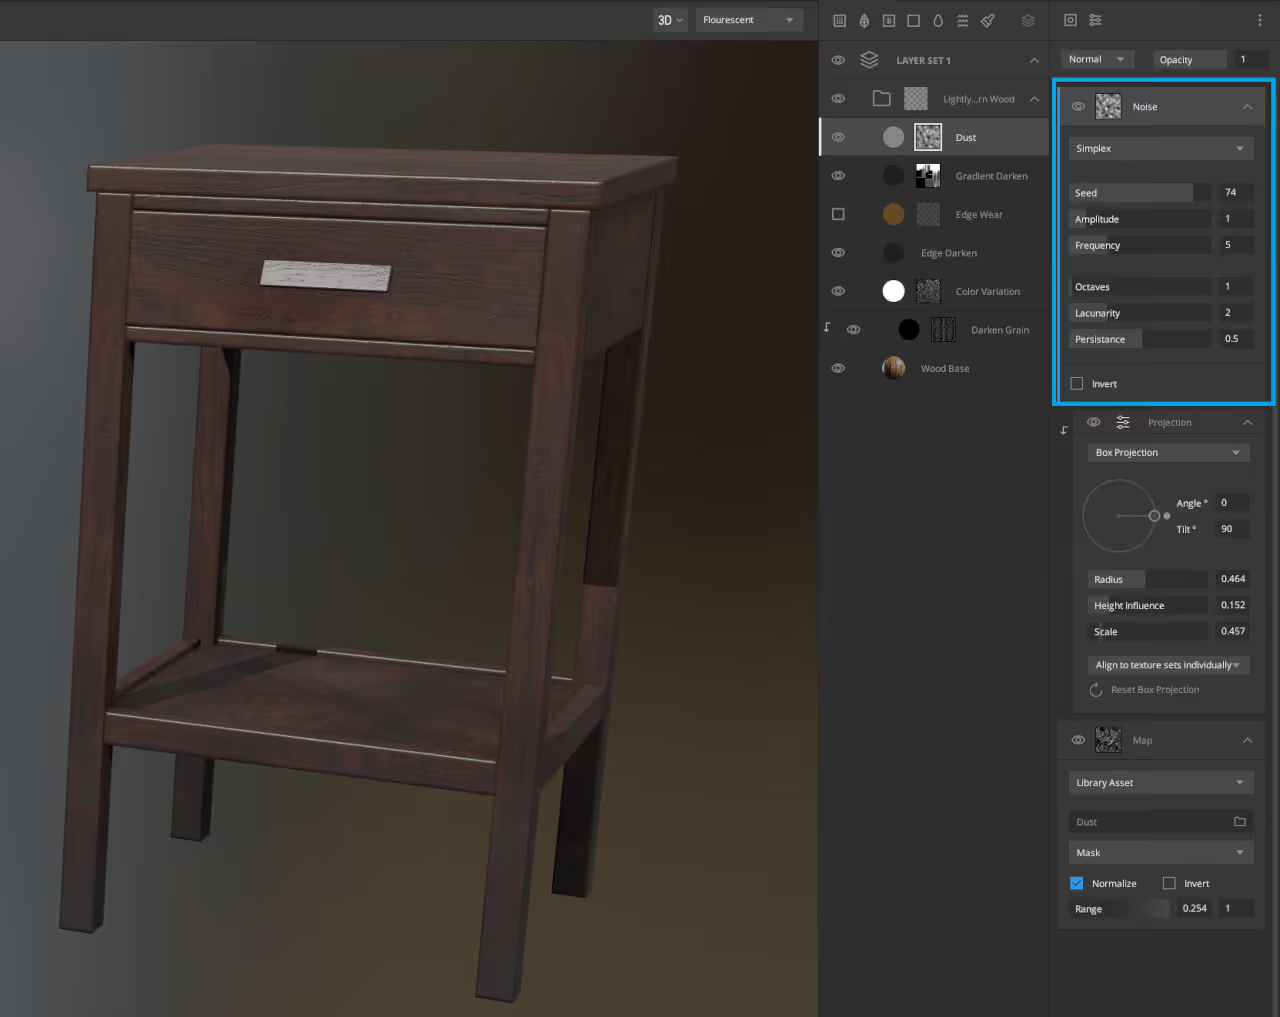
Compare that with what you would find in Quixel Mixer, however, and for certain parameters it can get confusing as to what they do. Other than that, it’s mostly going to be based on preference with regards to the user interface, keyboard shortcuts, and techniques.
Here is where it gets really interesting. Both software come with a material library straight out of the box. The difference between them would be the way these materials were created. For Substance, the procedurally-generated materials are authored inside another software called Substance 3D Designer.
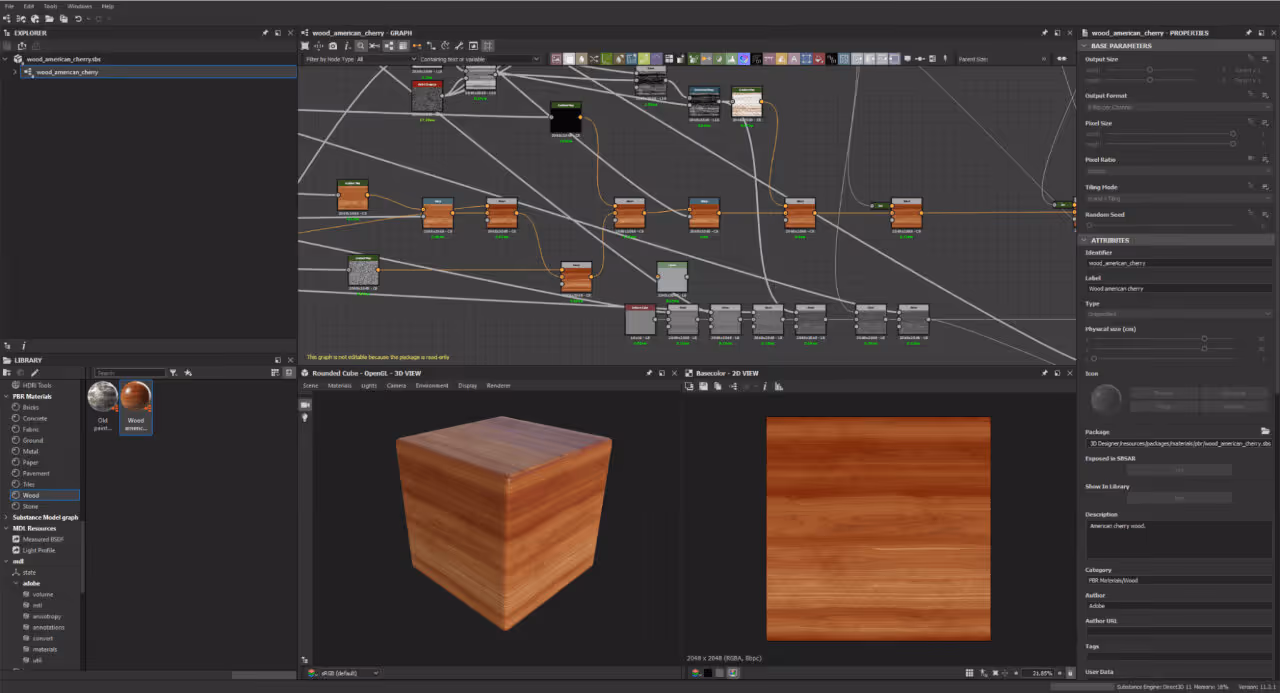
Because they’re all procedurally generated, that means that it’s very easy to modify parameters such as the base color, roughness, etc. based on your needs.
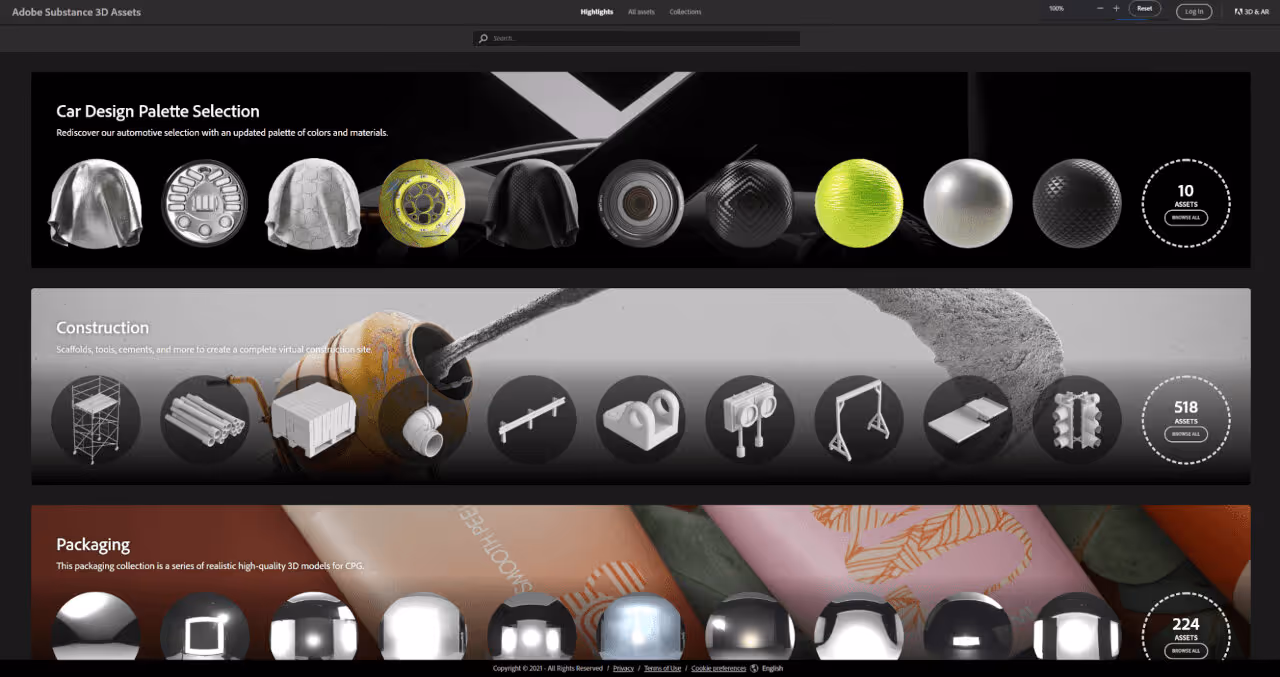
Allegorithmic also has a material library called Adobe Substance 3D Assets where you can purchase not only materials but also 3D assets and HDRIs. The difference with Quixel, however, is that their materials are all based on scan data.
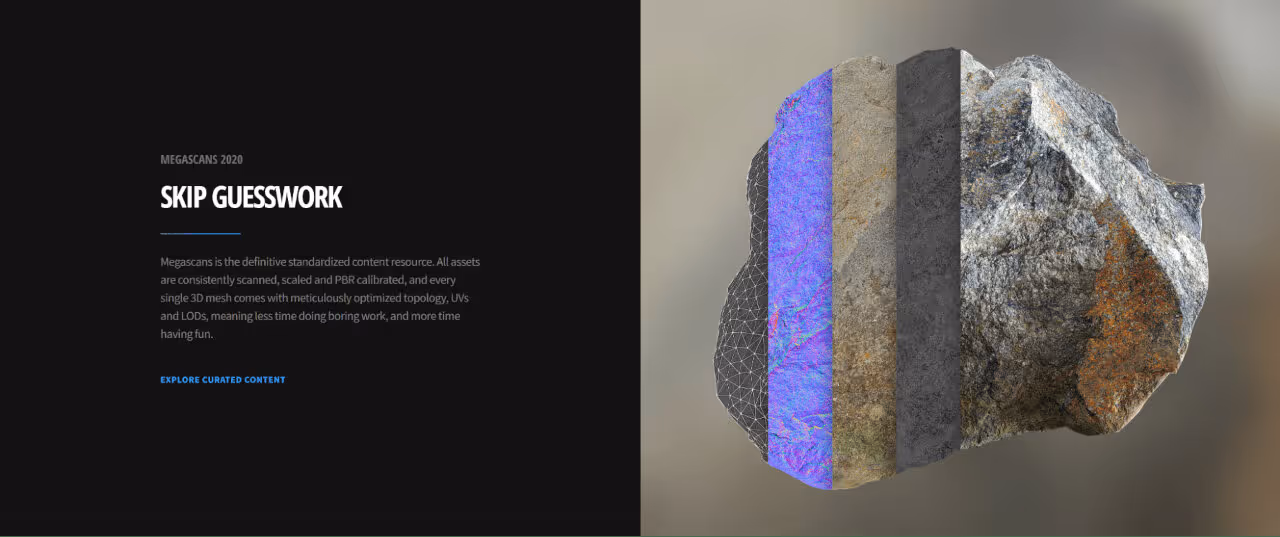
This gives their assets an unprecedented amount of realism compared to what you could find with Substance, at the cost of not being able to modify the parameters as freely as you could with Substance materials.
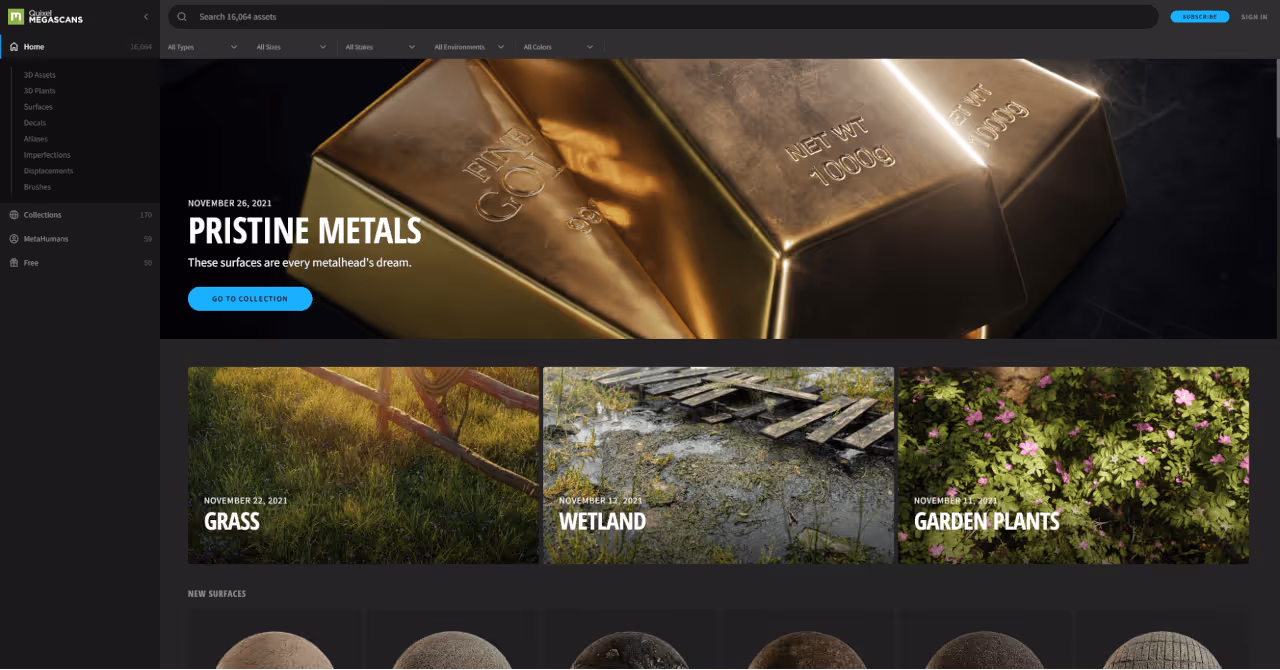
They also have a store called Megascans where you can download 3D assets, materials, and even humans. At this point, it’s really up to the user whether they want to go with the customizability of Substance materials or the realism from Megascans materials.
One last factor to consider is that Substance products are considered the industry standard since they’ve had more time to establish the brand. If you’re learning how to texture with the hopes of working at a studio or with a team, having experience with Substance is going to be more attractive to put on your resume. However, if all you really care about is the art that you want to make, and that the Quixel ecosystem has everything you need and more, then that should work out just fine for your needs.
With all that said, you should have a very good idea as to what you’re getting into before continuing with this tutorial. Now let’s get to the top tips for switching sides to the Quixel ecosystem.
Project Setup
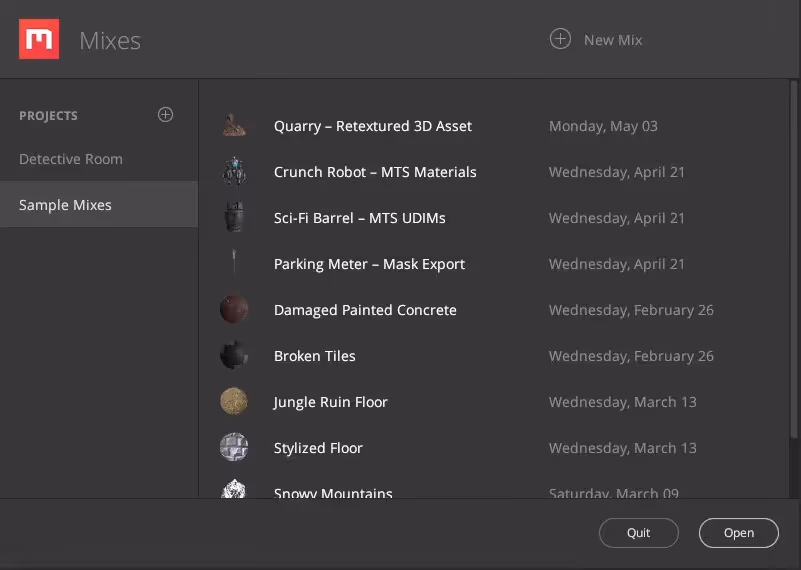
When you first open up Quixel Mixer, you'll see the project manager pop up. The projects on the left are basically just folders to help keep your assets organized.
- Add in a project
- Click on “New Mix”
- Name it whatever you want
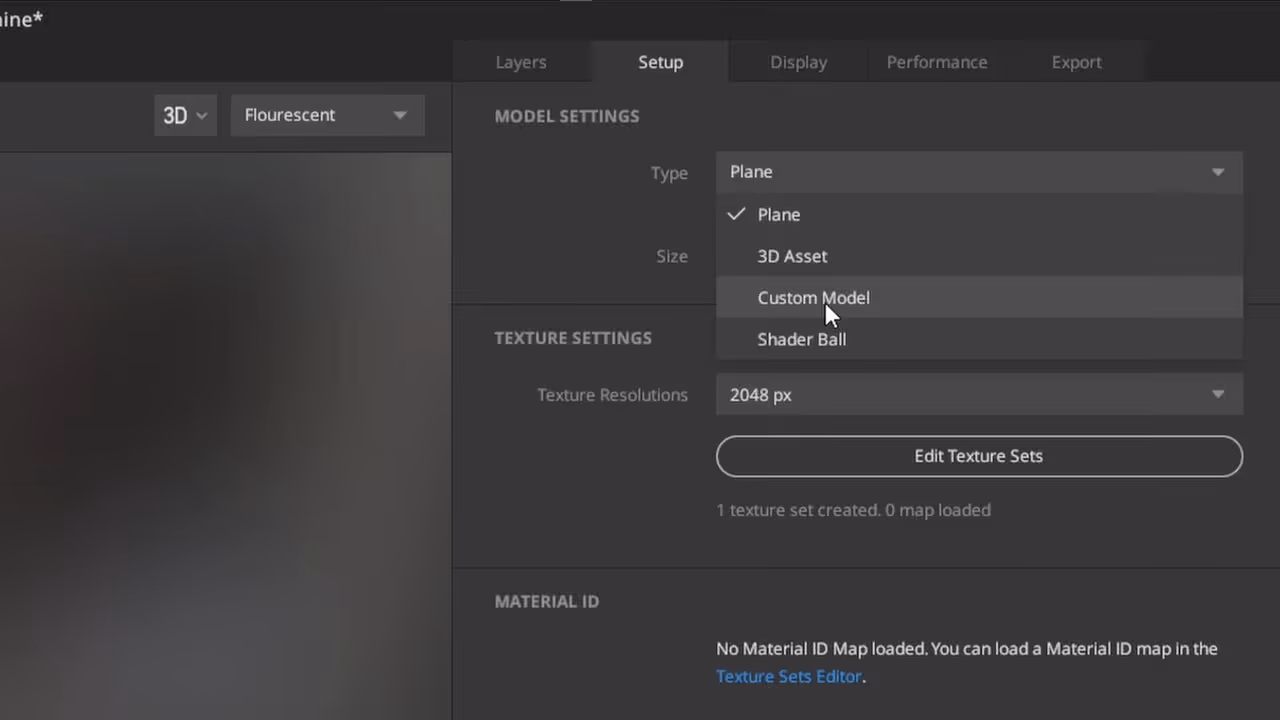
To import your mesh, just click on this drop-down list > ”custom model", then click on your mesh.
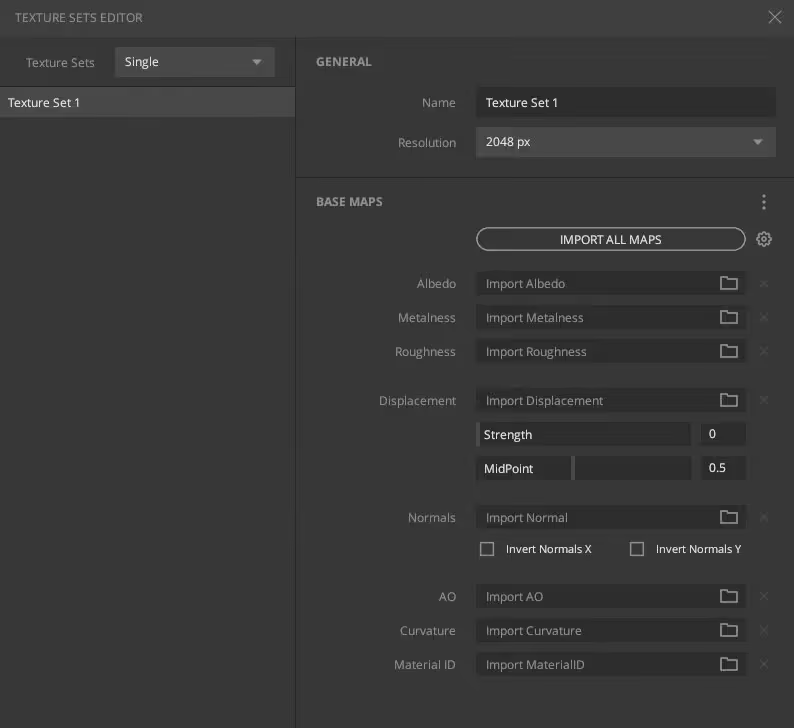
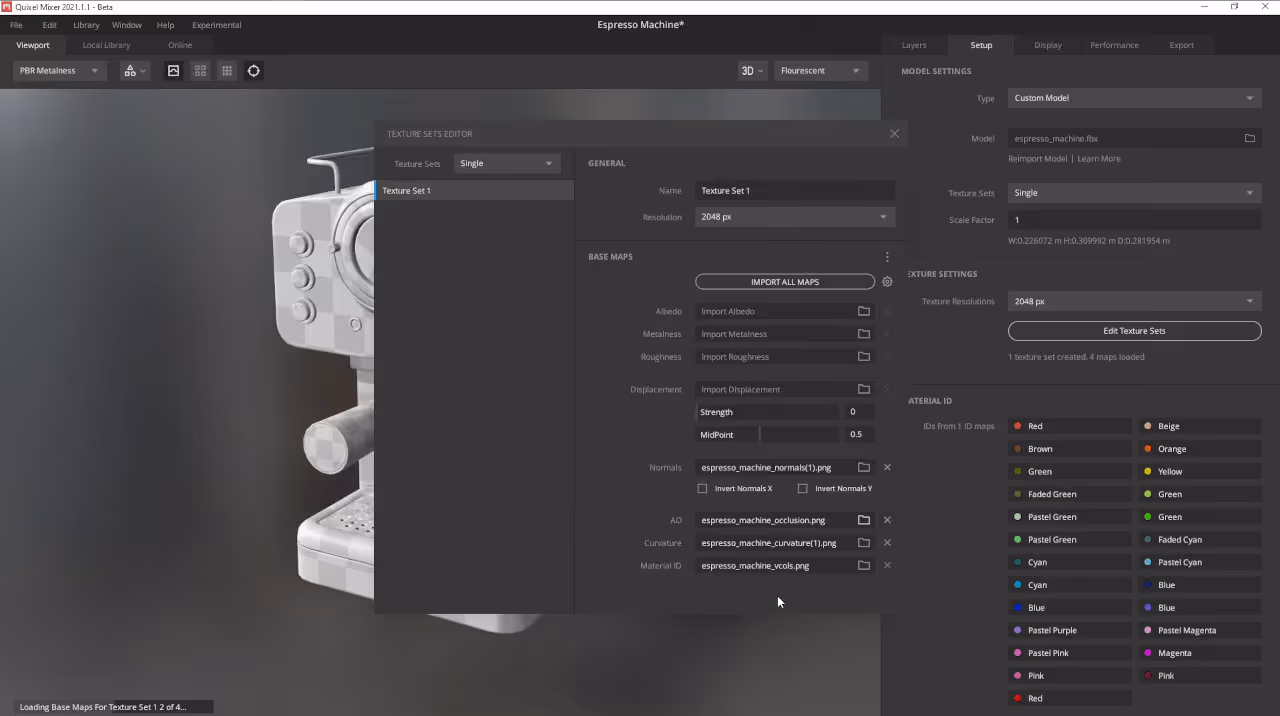
To import our baked maps, click on "edit texture sets". Based on the inputs here, we're going to need a normal, ambient occlusion, curvature, and material ID map.

The thing is, Quixel Mixer doesn't have a built-in baker yet unlike Substance 3D Painter and Designer. That means we're going to need to rely on external bakers for our maps. I prefer Marmoset Toolbag because it's way faster and much easier to use but we're going with XNormal because it's free.
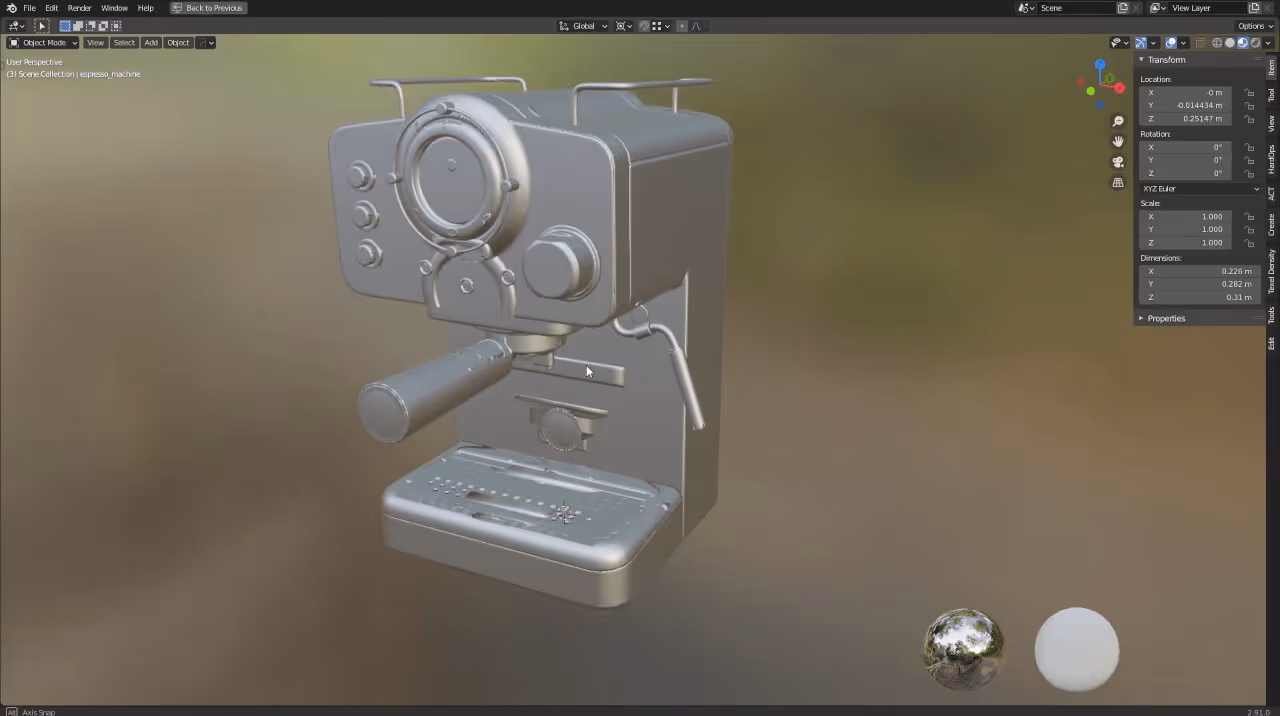
Inside Blender, we have our low poly and high poly meshes split into parts with each part sharing the same origin points.
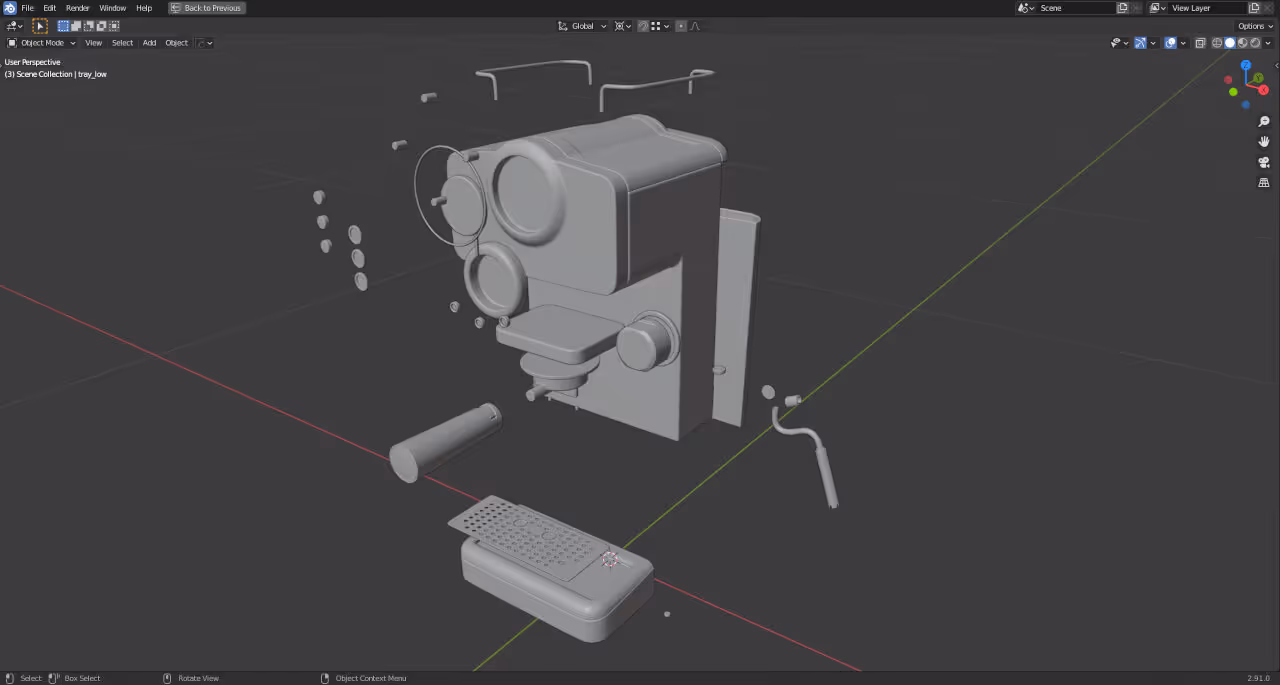
To have a cleaner bake, we need to explode the mesh. Just go to search, type in pivot > and click on locations only. Switch your transform pivot point to 3D cursor, and then scale.
The goal here is to make sure that nothing's overlapping, just select the parts and scale them until they don't overlap anymore. Once that's done, export the low and high poly meshes as objs.
Tip #1: Baking with XNormal
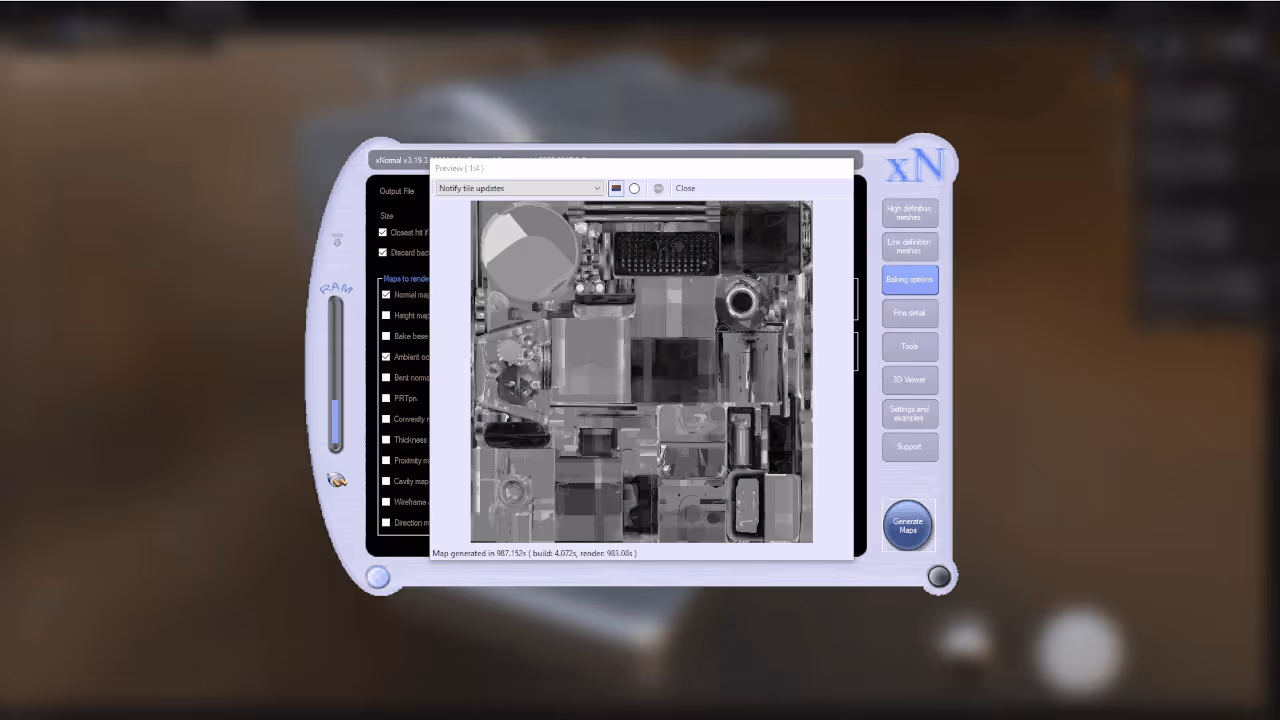
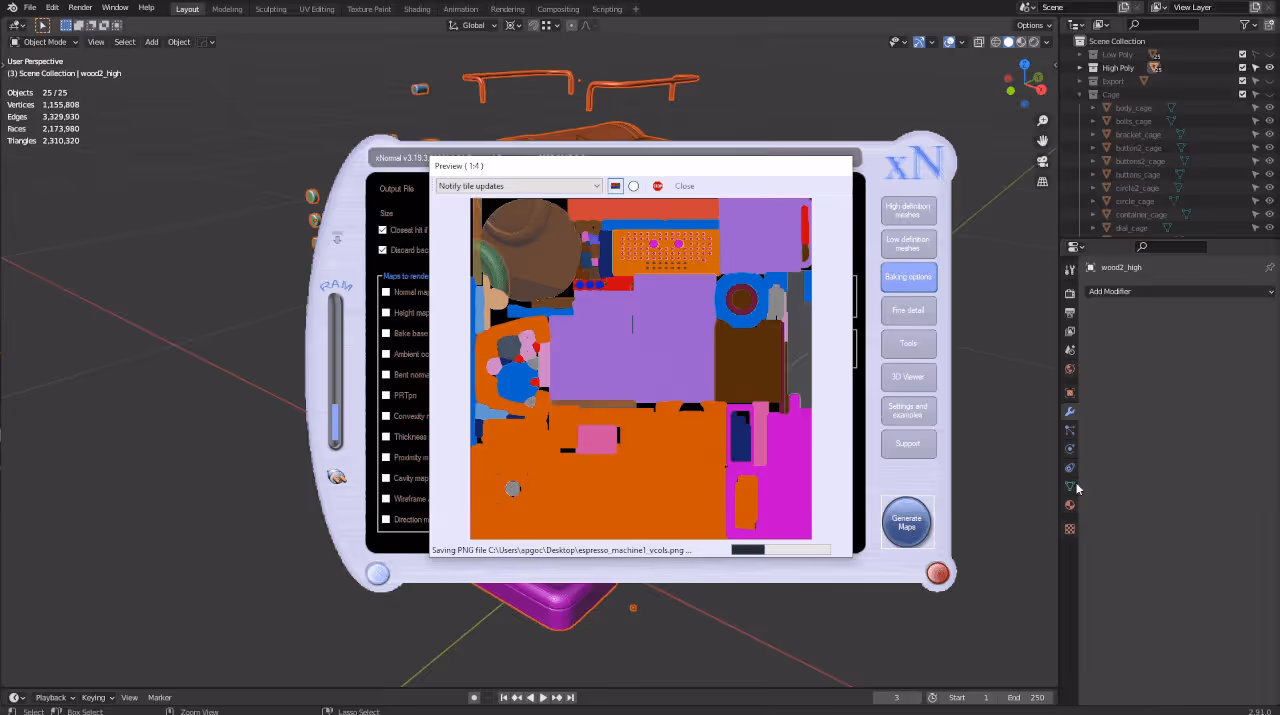
To bake these inside XNormal, click on "high definition meshes" > right-click > add meshes > then select your high poly. Do the same thing for the low poly.
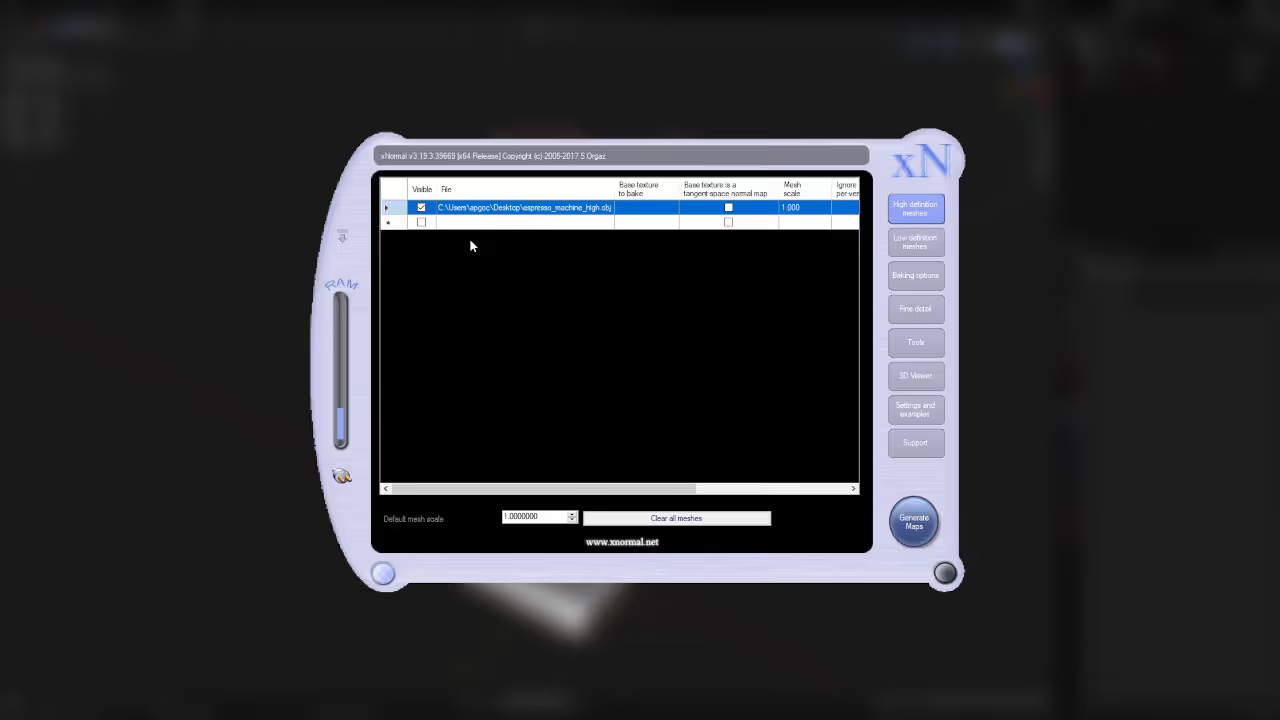
Now that they're loaded in, click on baking options, choose the output folder, click on normal map, then click on generate maps.
Pretty straightforward except the normal map will have a ton of baking errors. That's because we need to have a cage for our bakes. All we need to do is duplicate our low poly and to keep things clean I'll move it to a new layer called "cage". Make sure only the "cage" layer is selectable.
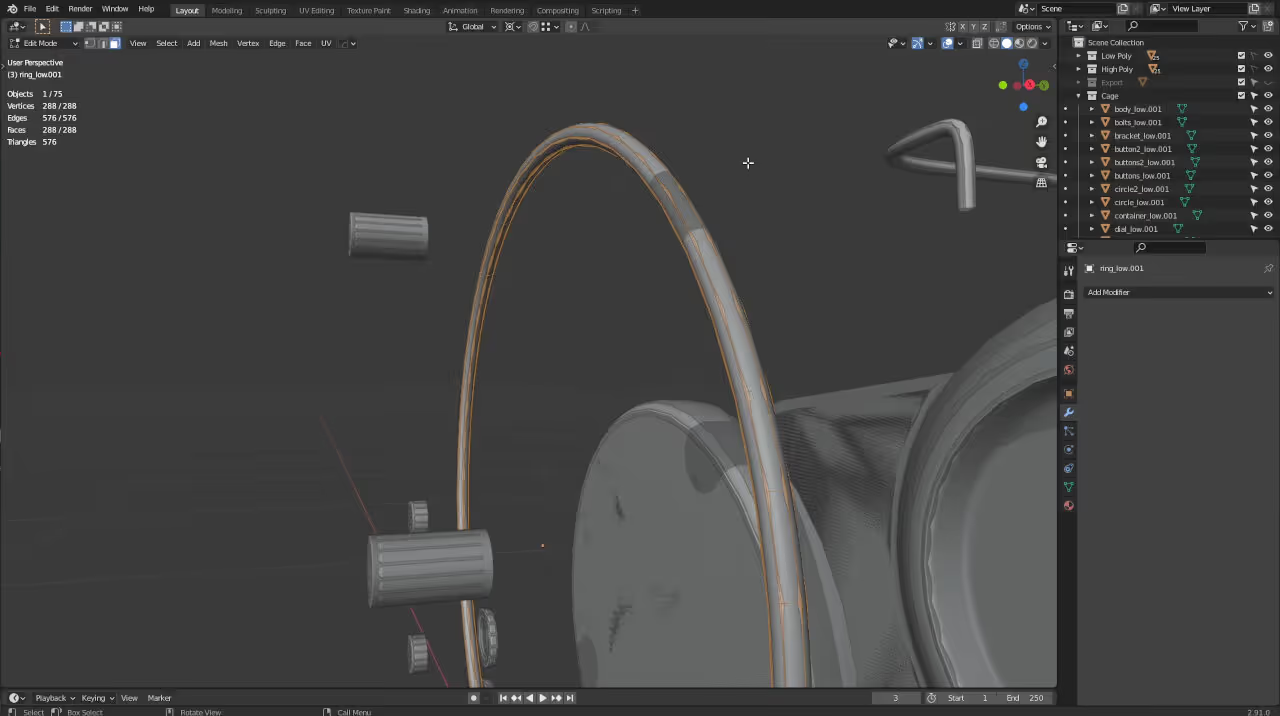
Go into edit mode, switch to face selection mode, and then press ALT + S to scale them along their normals.

The goal here is to scale them just enough to cover both the high poly and the low poly. As a bonus tip, you can select all the cage meshes and press CTRL + F2 to batch rename them.
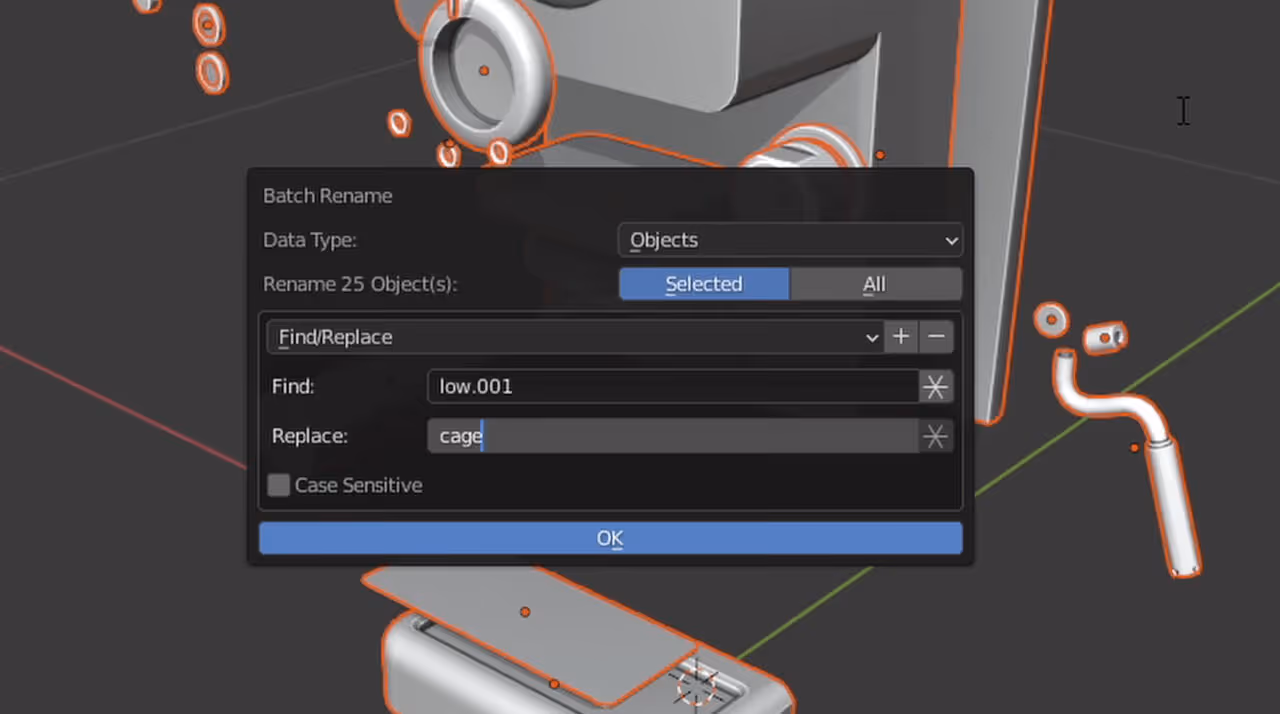
Put in the suffix and replace it with something like "cage". Once everything's good to go, you can go ahead and export. Now go to the low definition meshes, right-click > browse external cage file > then import your cage mesh.

Click on generate maps, and we should have a clean normal map. Now that we know it's clean, we can bump up the resolution and bake our ambient occlusion and curvature maps.
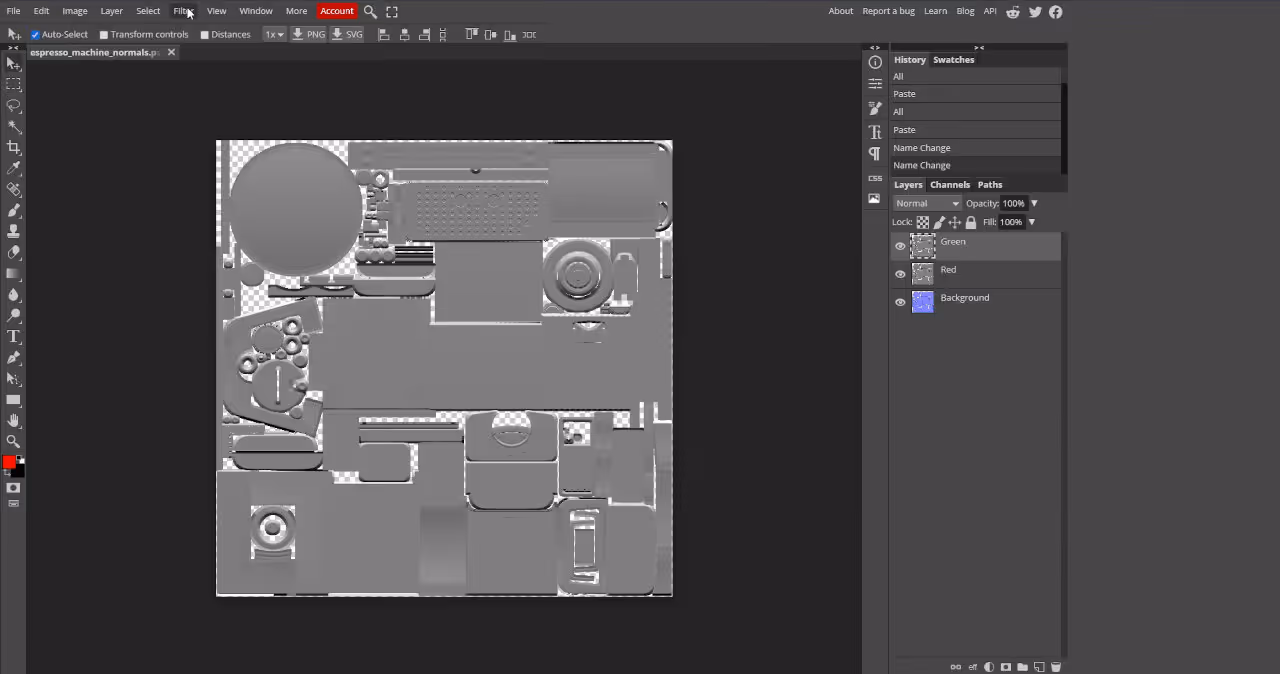
After about an hour and a half, everything should be good to go except now it's our curvature map that has baking errors. I couldn't fix the curvature map in XNormal but that's okay because we can just derive one from our normal map using Photopea (or Photoshop/GIMP if you have it).

Just drag and drop our normal map. Click on channels > then our green layer > CTRL + A to select all > CTRL + C to copy > go back to our layers and then CTRL + V to paste. Then do the same thing for our red layer. We can label them so we know which is which.
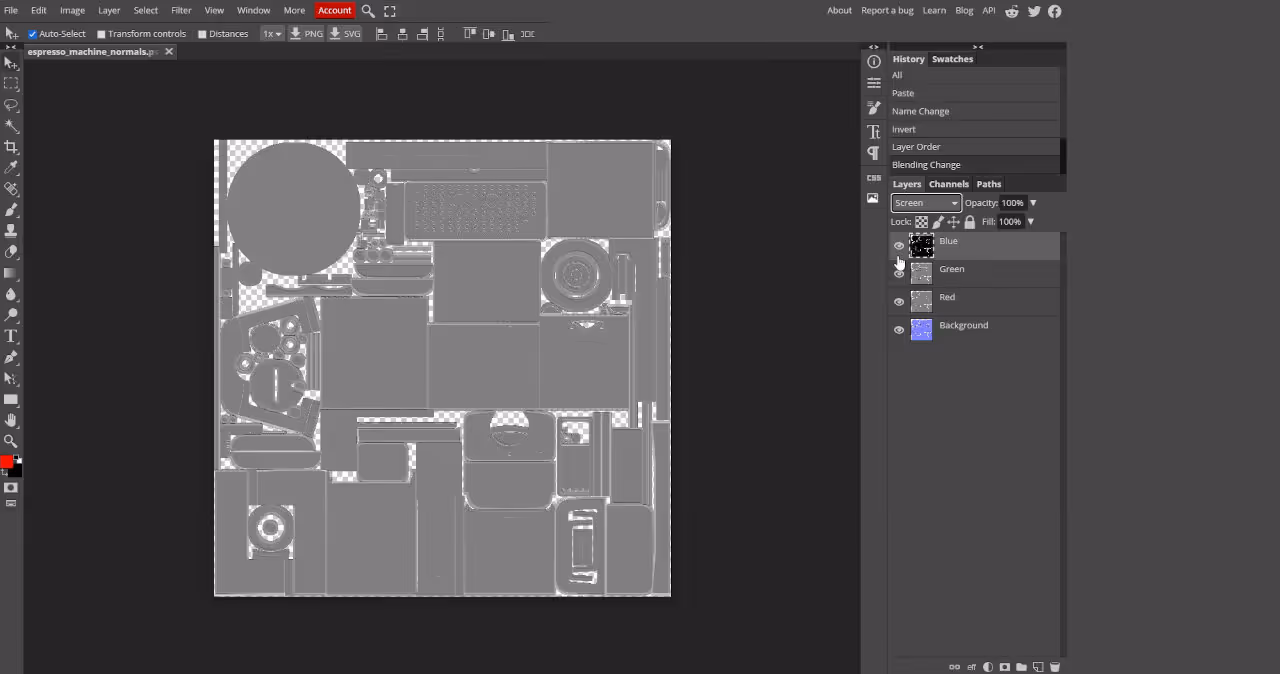
Then click on the green layer > go to filter > stylize > emboss > then set the angle to 90 and pixel height to 3. Then do the same for the red layer except the angle should be set to 0. Then set the blending mode to overlay. Then let's copy our blue channel > CTRL + I to invert > then set the blending mode to screen.
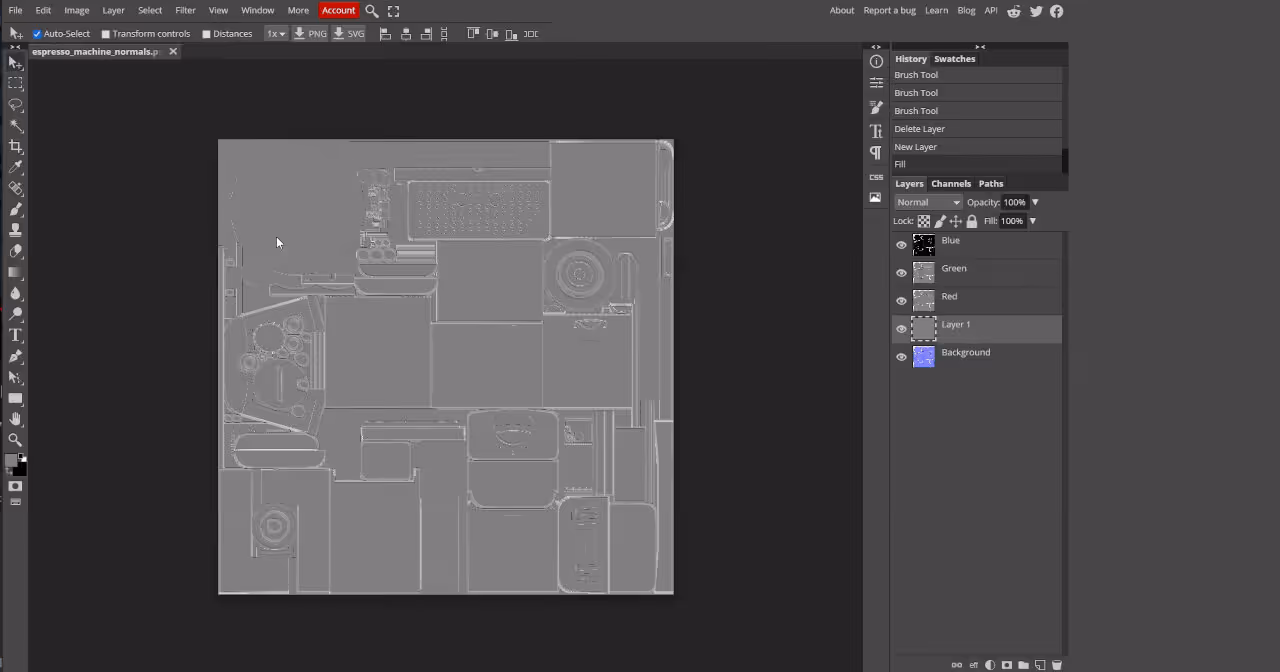
Then to fix the transparent background, just add in a new layer > set the color to gray > then go to edit and click on fill. And that's our curvature map.
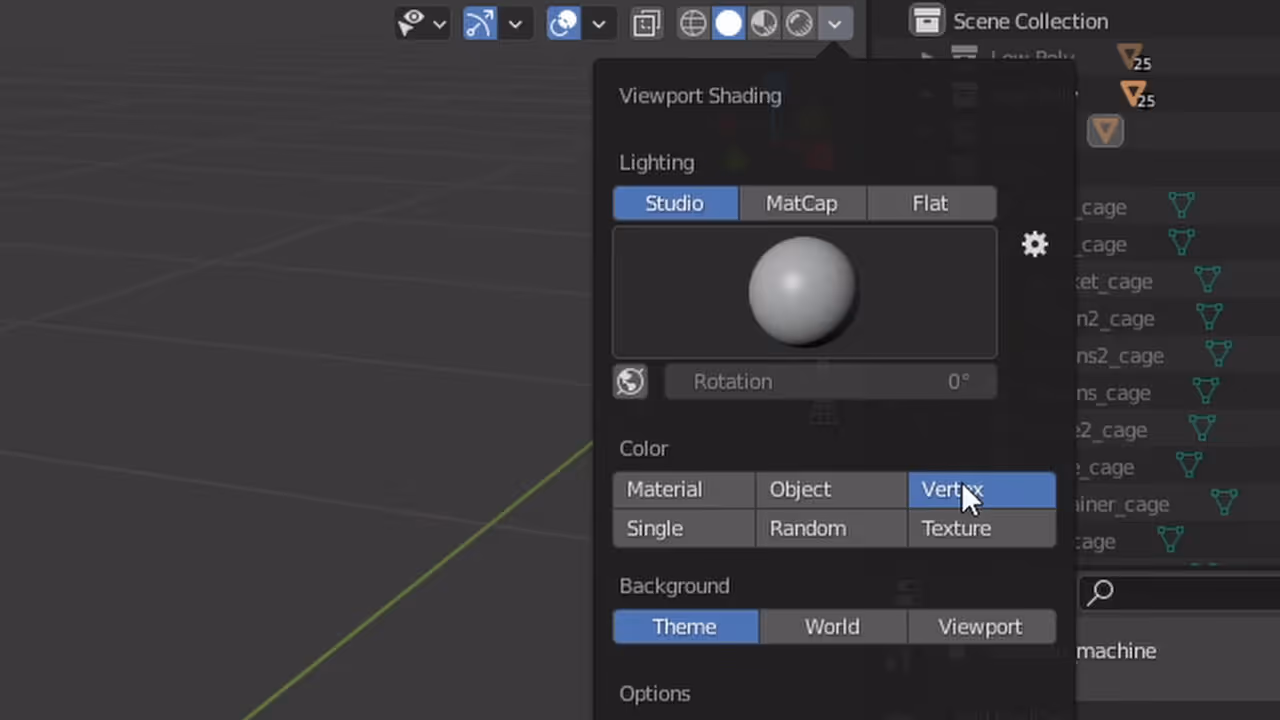
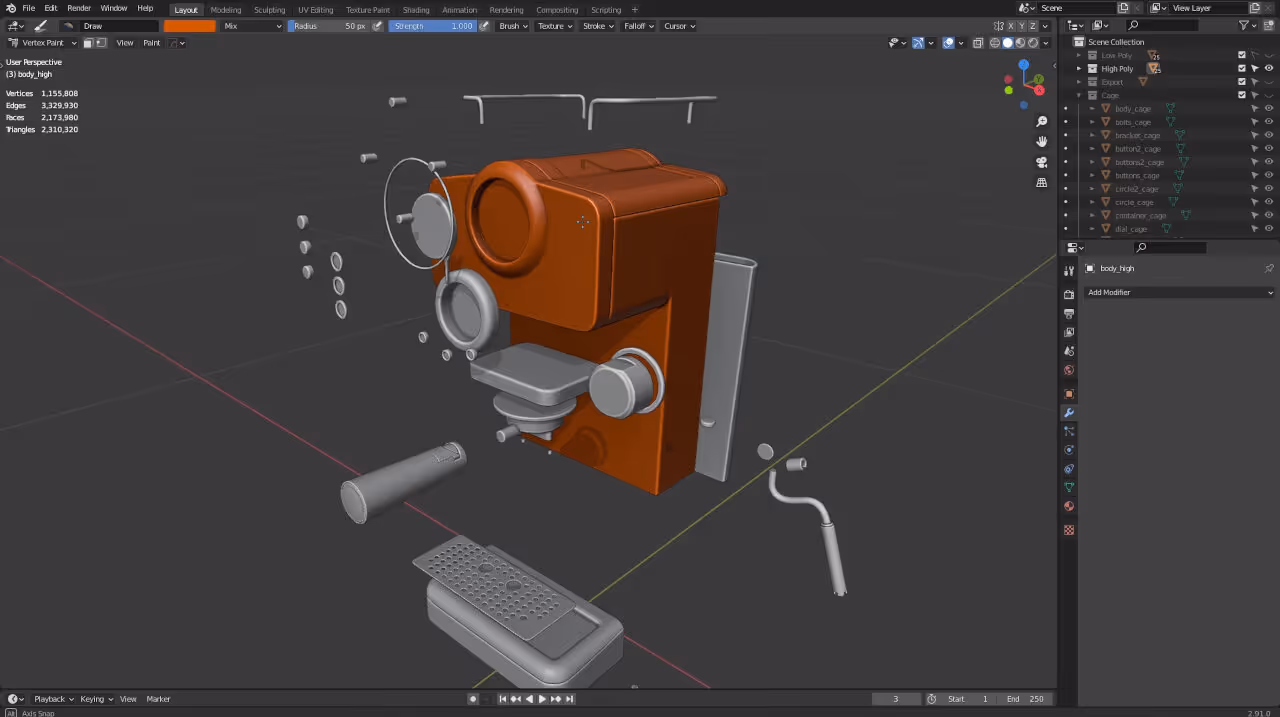
The last thing we gotta do is bake our material ID map. In order to do this, we need to assign vertex colors to the parts. Make sure the viewport shading is set to vertex.
And then go to your high poly > switch to vertex paint mode > pick a random color > then press SHIFT + K to set the color.
Do this for all your parts, export the low poly, high poly, and cage meshes as fbx files, import them into XNormal and then bake out your material ID map.
Tip #2: Texturing inside Quixel Mixer
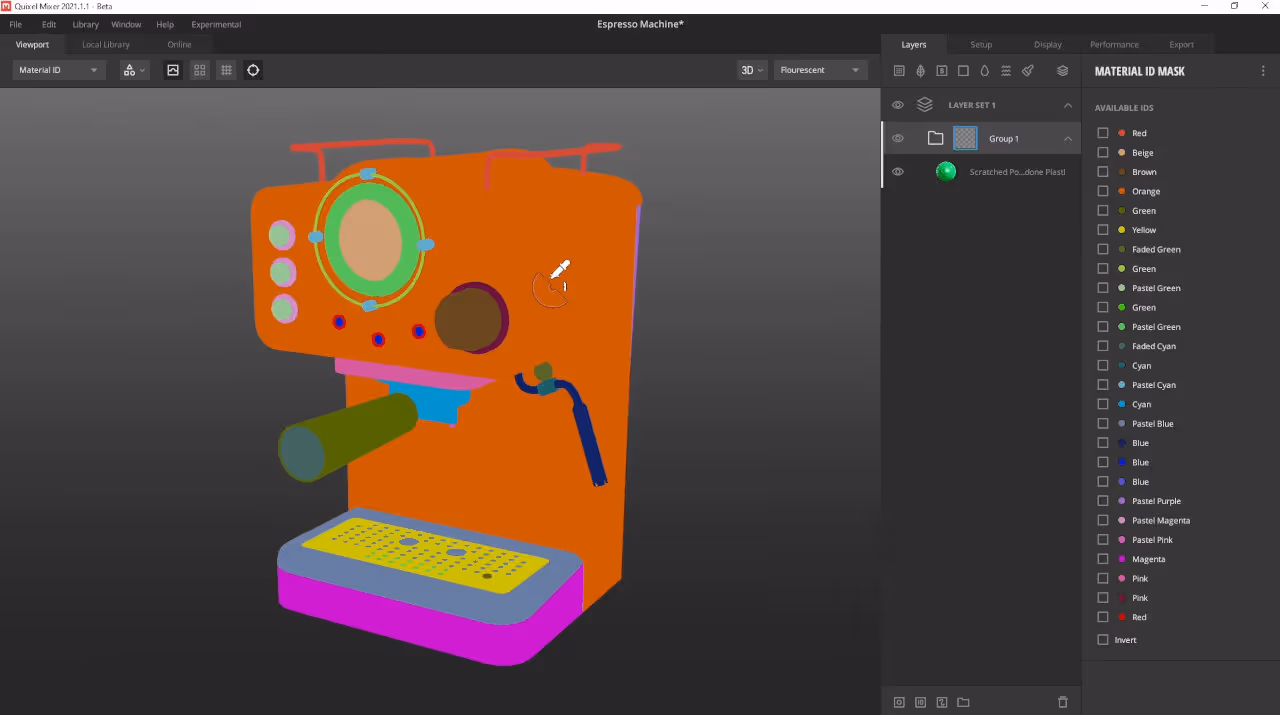
Back in Quixel Mixer, we can click on "import all maps" > select the folder where they're all located > and there we go. The material ID didn't import because of the naming conventions.

Now you can either just import it manually by clicking on the folder icon or you can click on settings > then add in the suffix for your ID map. Select the folder again and this time it should import correctly.
Click on layers and let's drag in a material from the local library which is essentially Mixer's shelf. To make it visible in the layers tab, click on "add layer set" and under that is our material.

To apply the plastic to specific parts, you can add in a folder > drag the material inside > right-click > and add ID mask. Now you can press and hold Q to select the parts you want to mask based on your material ID map.
To modify the material, click on the layer, and on the right, you should see the material properties. I'll just change the color of the plastic to an off-white color.
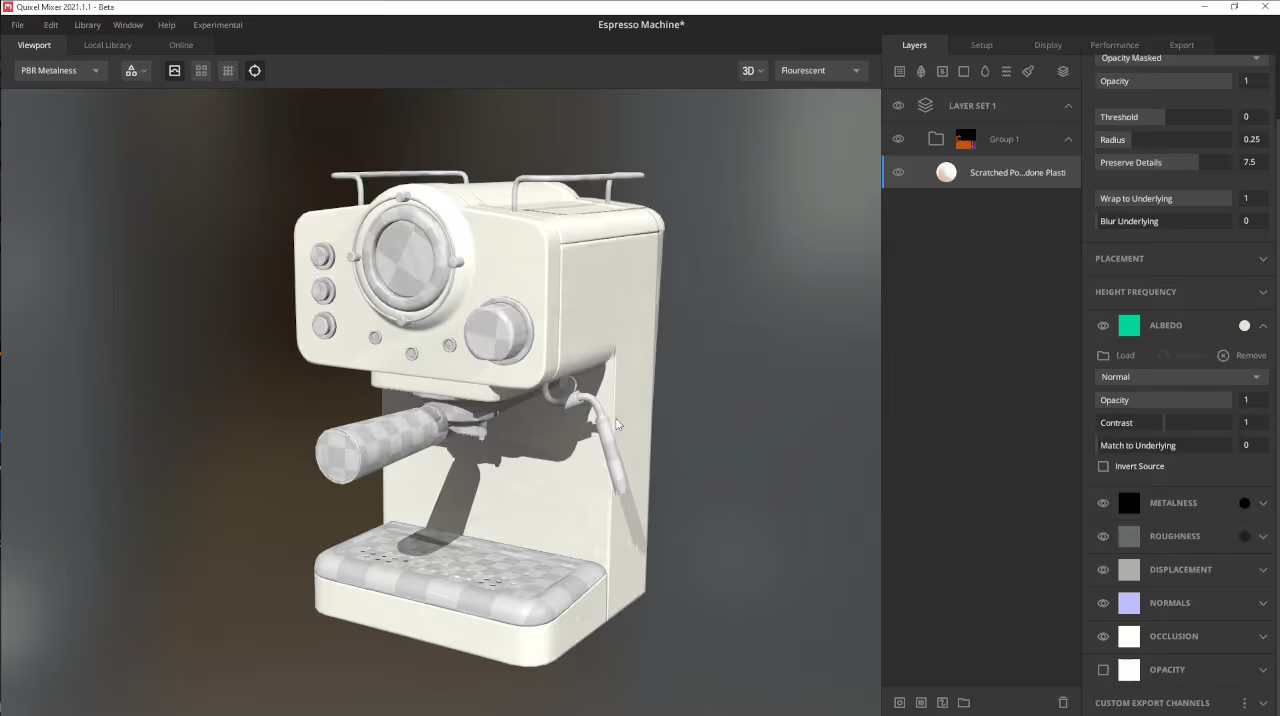
From here, you can texture it the same way you'd do it in Painter.
Tip #3: Workarounds for opacity and emissive maps
Currently, Mixer doesn't have any support for opacity and emissive maps. A workaround you can do is to add a fill layer with the albedo set to white. Add in a gray fill layer and that can be for anything transparent like glass, and a black fill layer for anything you want to cut out.
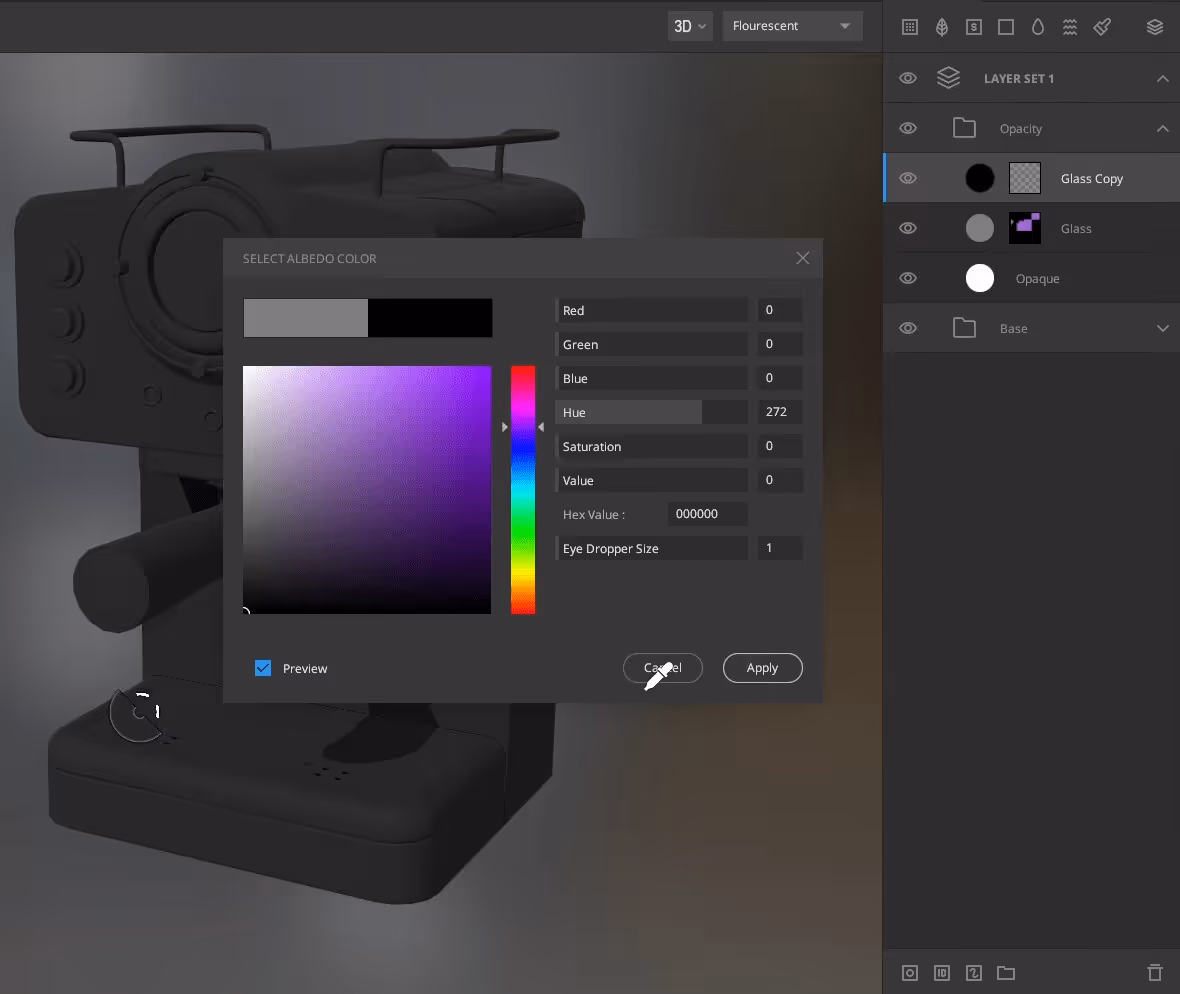
And when you're finished, just export as an albedo map and just rename it to opacity. The same method can be used for emissive maps.
Tip# 4: Exporting using Quixel Bridge
To export your maps, you can just choose your export location and click on export to disk. But if you need to export maps specifically for certain software like game engines, that's where Quixel Bridge comes in.
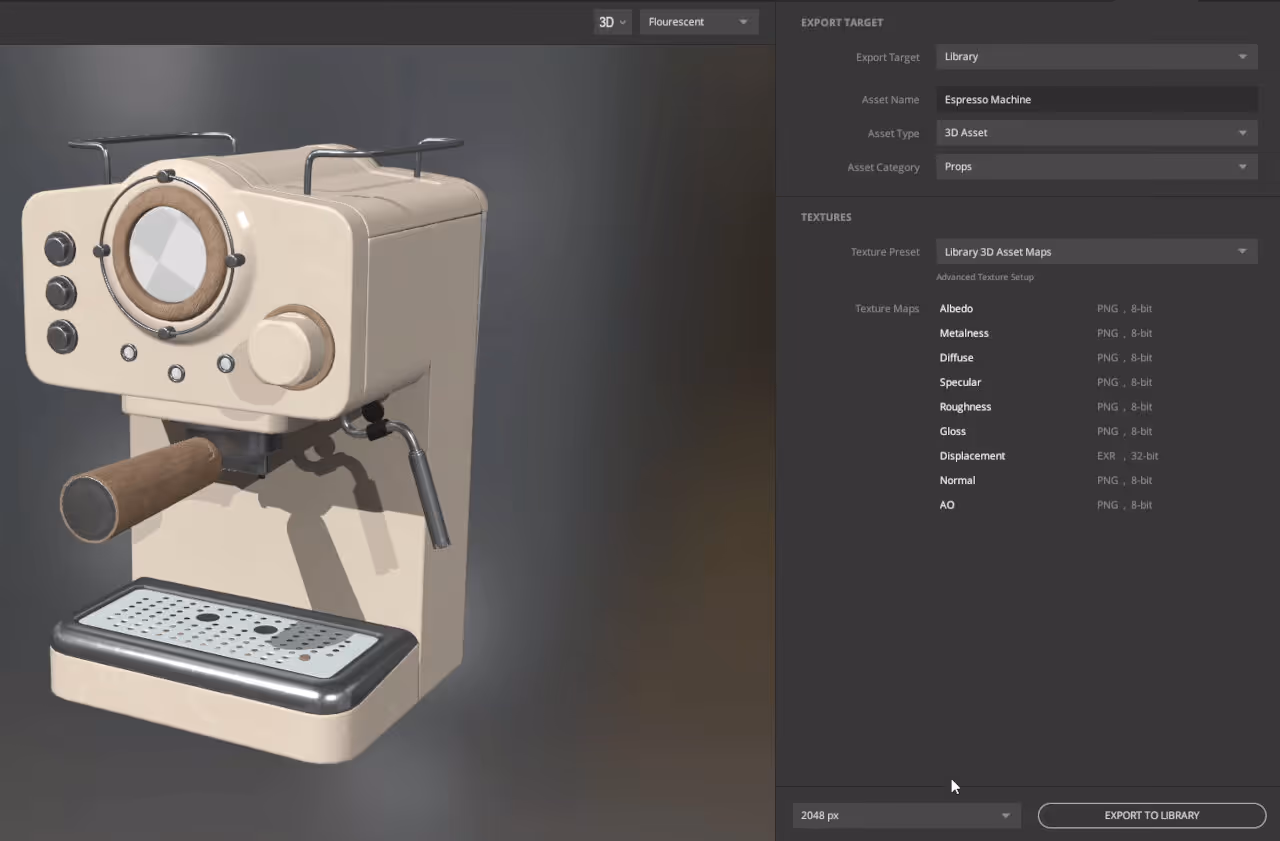
Set the export target to library > and then click on export. Open up Bridge > click on local > and under Mixer, you should see the asset you just exported.
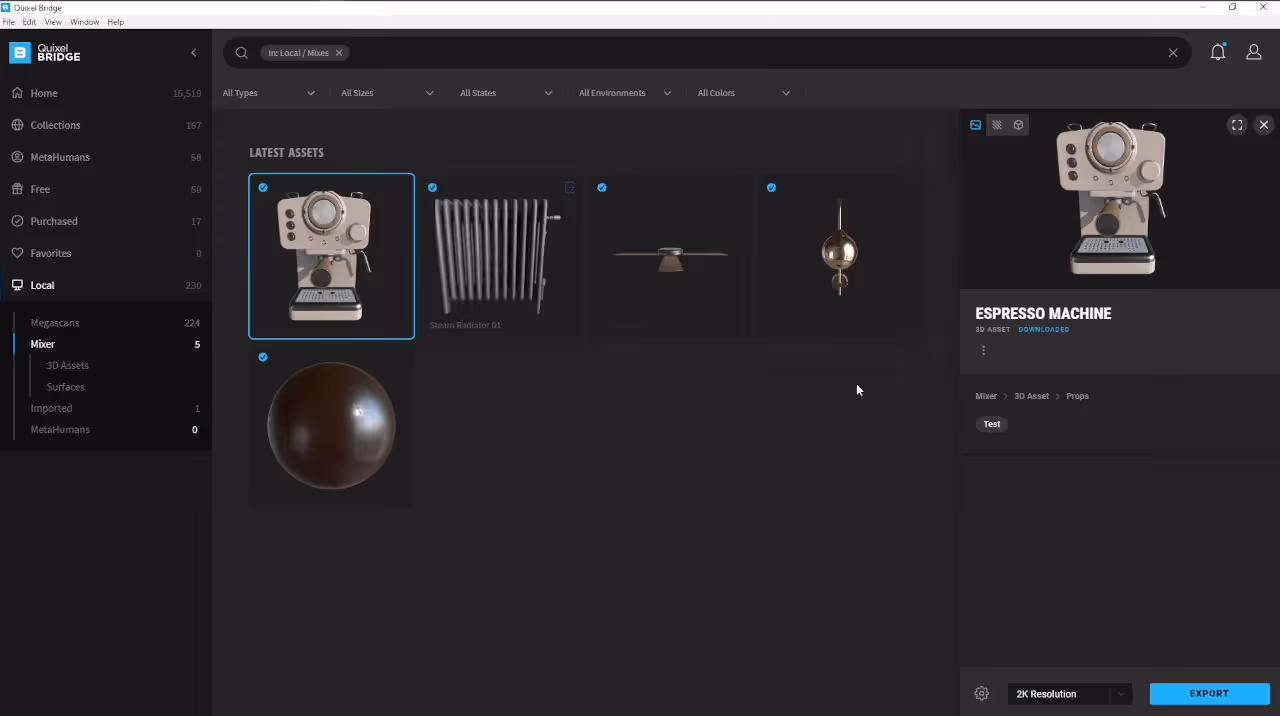
From here you can click on export settings and specify what kind of texture maps you want to export.
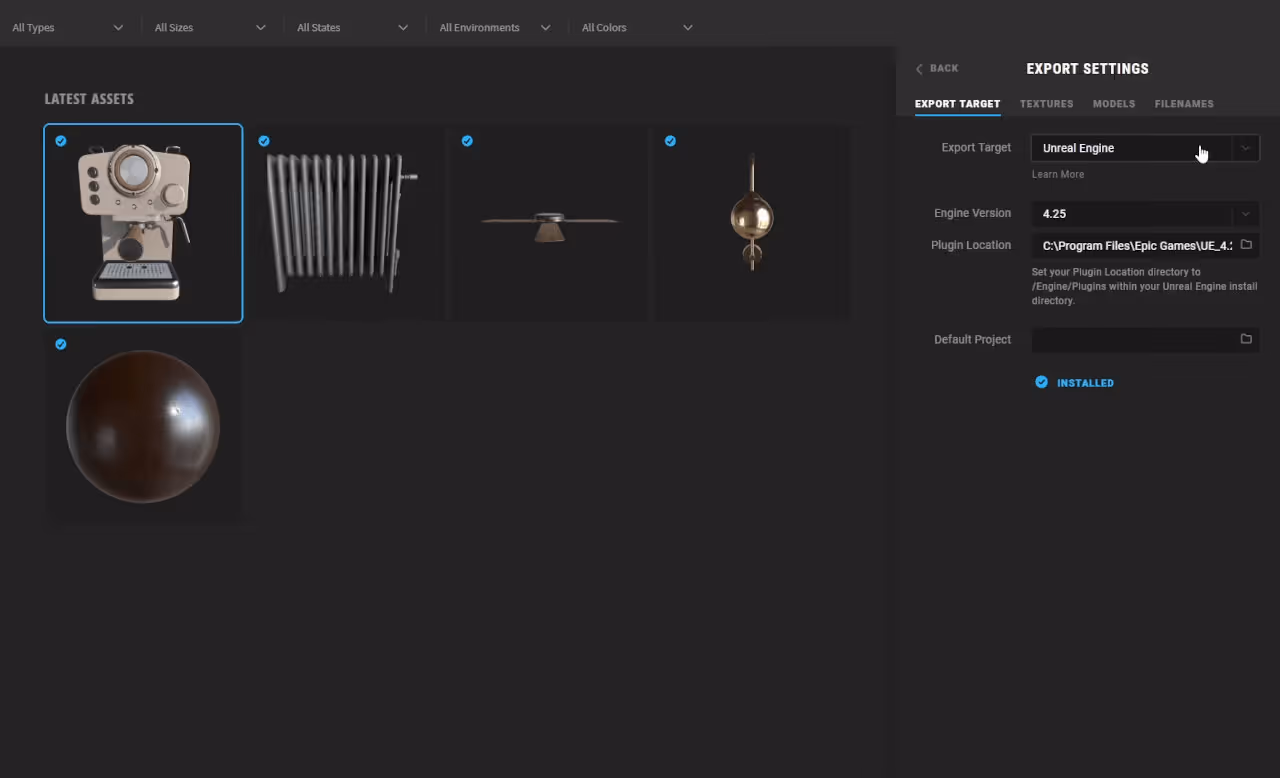
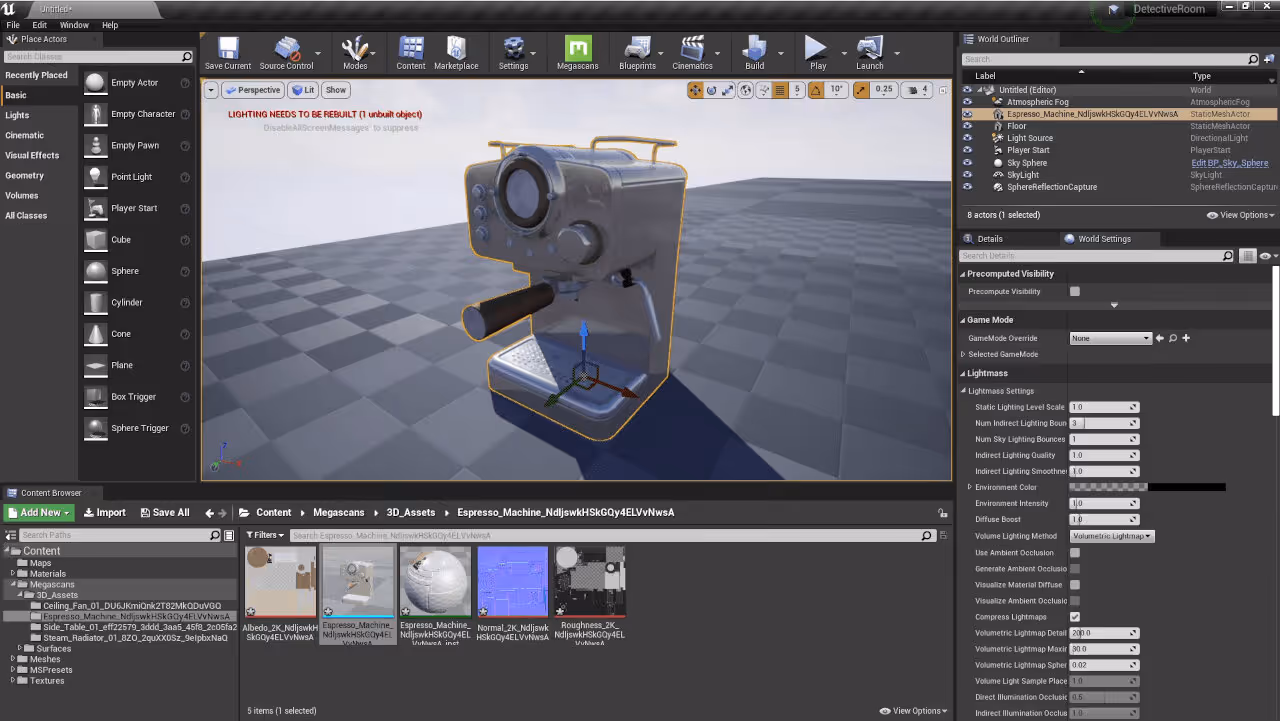
In this case, I'll export it to Unreal Engine. And there you go.
At the end of the day, you can achieve a pretty decent result from just using free software. But if you're a professional artist with a ton of assets to texture and deadlines to hit, paying for a service to save time and energy is something to seriously consider.
With that said, I hope you learned a lot from this tutorial. Thank you for reading and as always, happy rendering with GarageFarm.NET!
Register Now and Get $50 FREE Credits!