3d Texturing can be both fun and cumbersome process, depending on your familiarity with the subject, as well as what tools you have in your arsenal for this task. While there’s much that can be accomplished with some tileable maps from CG Textures providers, and creating procedural shaders can be just as rewarding and effective, dedicated 3d Texturing applications like Substance Painter afford you both speed and customizability not easily found in the standard 3d package.
If you’re reading this it’s likely you already have Substance Painter handy or are at least curious. As Amiel discussed in his GarageFarm Academy video, here is a list of five useful tips for working within Painter that you may be glad to know if you don’t already:
#1. Adding A Custom Shelf
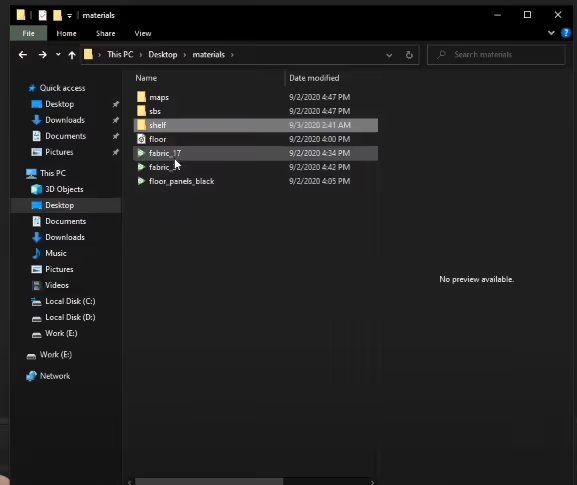
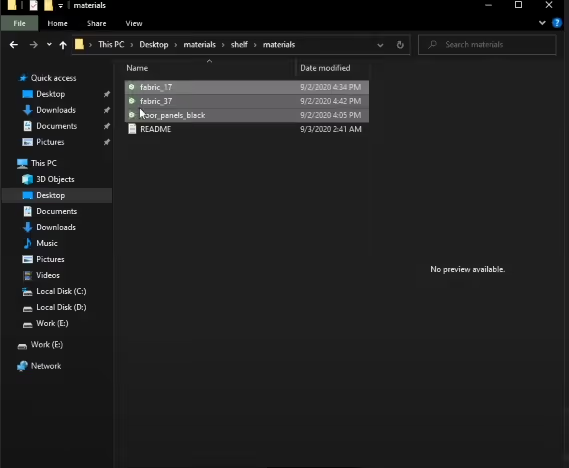
Substance Painter’s shelf is your one-stop repository from brush alphas to material presets, but you may at some point, want to create a shelf of your own to make particular tools more accessible. To do this, simply:
1. Open an empty project.
2. Go to Edit > Settings.
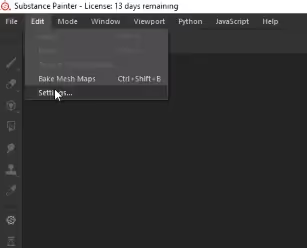
3. Click on the Shelf:
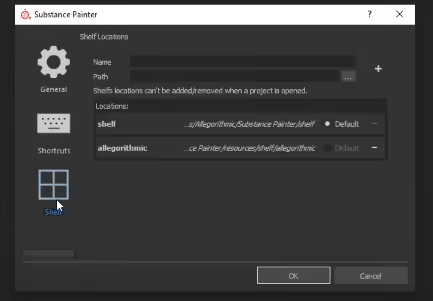
4. Specify the name and the path to your desired directory in the above fields
5. Hit the + Icon then “ok”
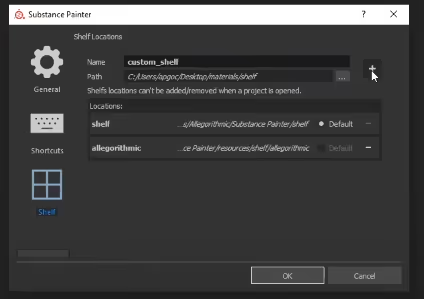
You will find a new folder structure mimicking the original Shelf directory in the location you specified earlier, and can now add your custom assets to the appropriate folders!
#2. Painting on Maps
You may find that your mesh maps may need a little touching up. To paint over a particular map:
- Create a Fill Layer, and disable all channels except the one corresponding to your map (in this case Amiel will be painting over his AO map)
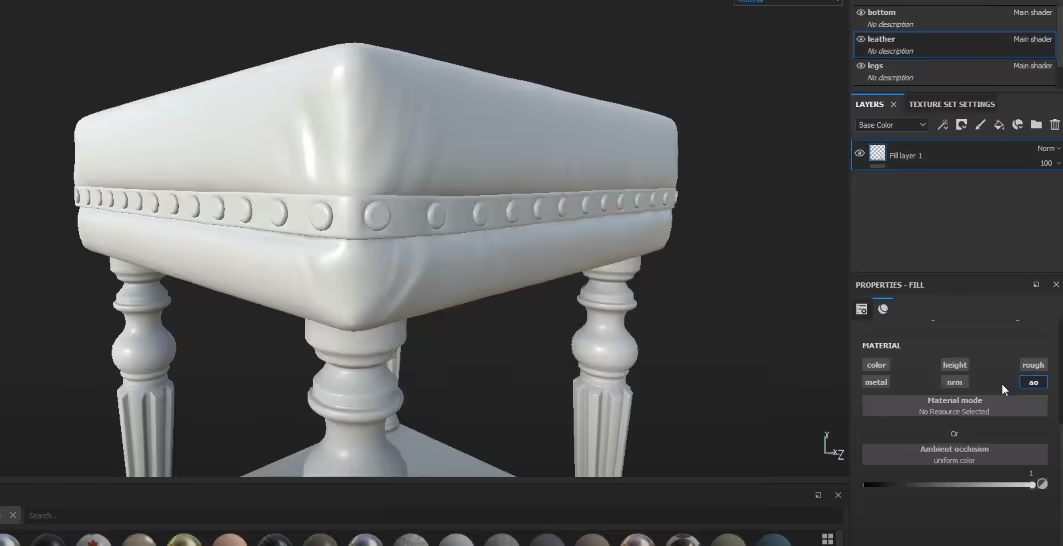
- Drag your map from your shelf and drop it into the channel on the Fill Layer

- Create yet another Fill Layer and add a black mask
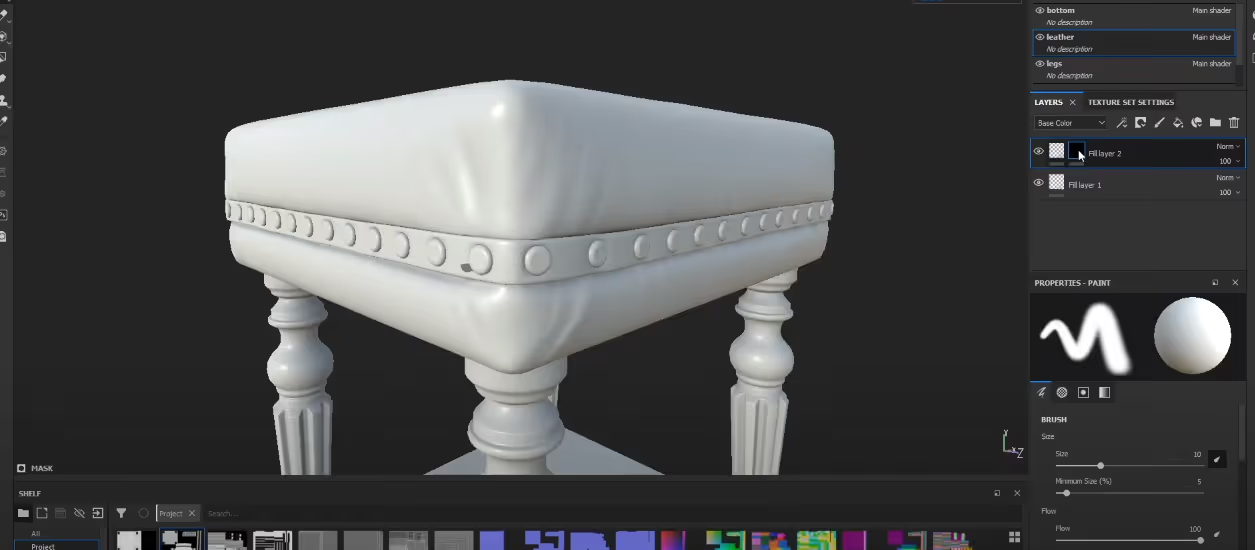
- Right click on the black mask and add a Paint Layer
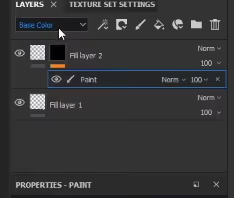
Be sure to switch to the channel you’ll be working with on the layers tab and set the blending mode you need. Normal is probably what you want in most cases.
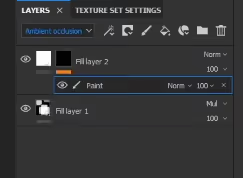
- Go to town!
#3. Using Anchor Points
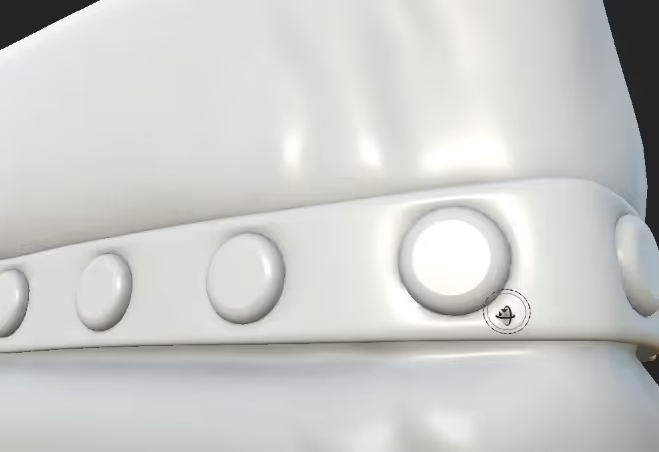
Prepare yourself, apprentice, we’re in the deeps now. Anchor points allow you to affect surface deformations caused by Normal Maps (even if they don’t actually exist in your mesh geometry). This means you can create normal detail and then add texture detail on top of that normal detail. Once that’s sunk in and you’ve finished hyperventilating, have a look at Amiel’s demonstration here:
You’ll want to see this in action, trust me.
#4. Using The Resource Updater
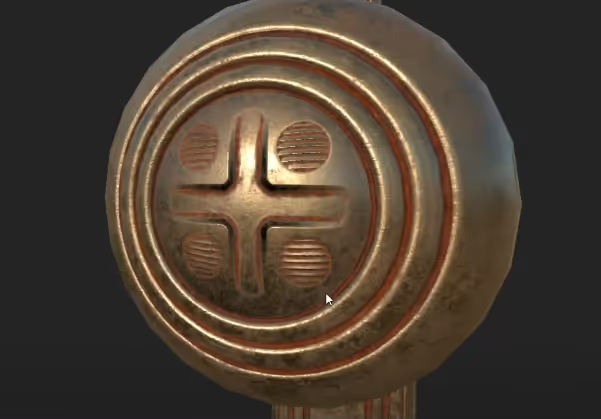
The resource update allows you to relink assets such as alphas or textures with new ones, thereby preserving changes you’ve made to your mesh while allowing you to cycle through different end results.
- Click on the resources updater icon on the tools panel
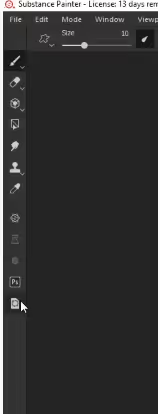
- Find the asset you want to replace in the Resource Updater UI
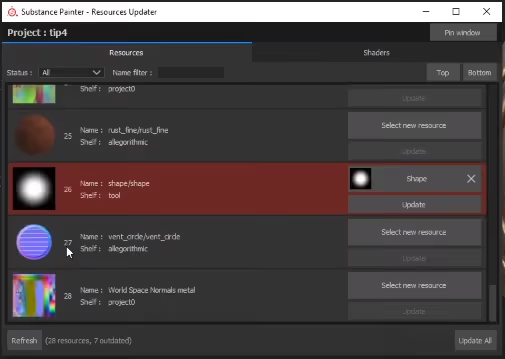
- Click on new resource and find a replacement
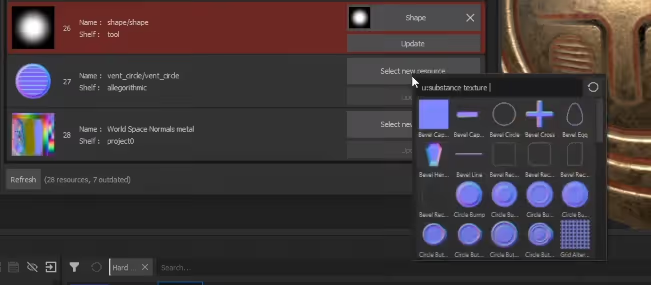
- Hit update
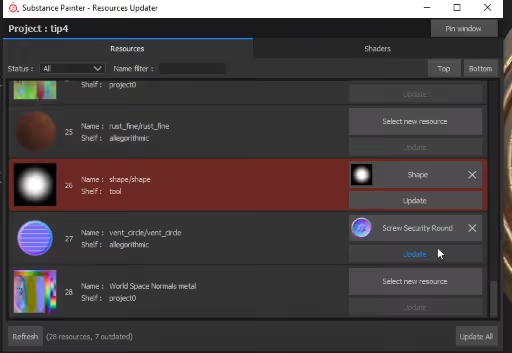
- Witness pure sorcery
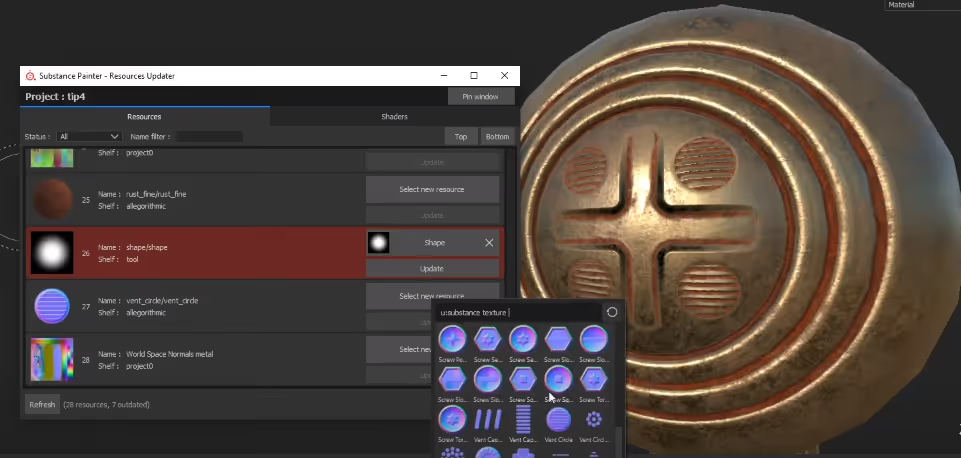
OG detail
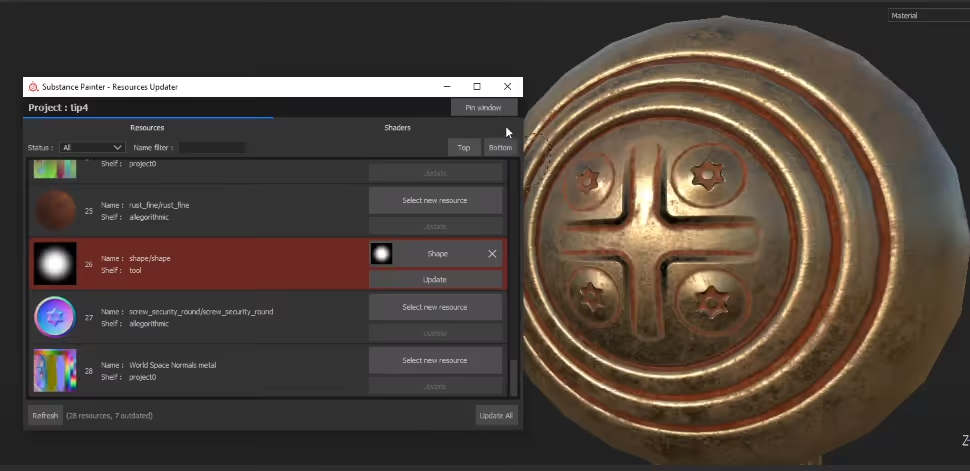
Replaced detail
#5. Fixing Seams
In some situations, you will inevitably end up with visible seams between textures. It used to mean resorting to UV editing acrobatics, but with Painter that seams an easy fix. (see what I did there?)
- Go to your properties tab
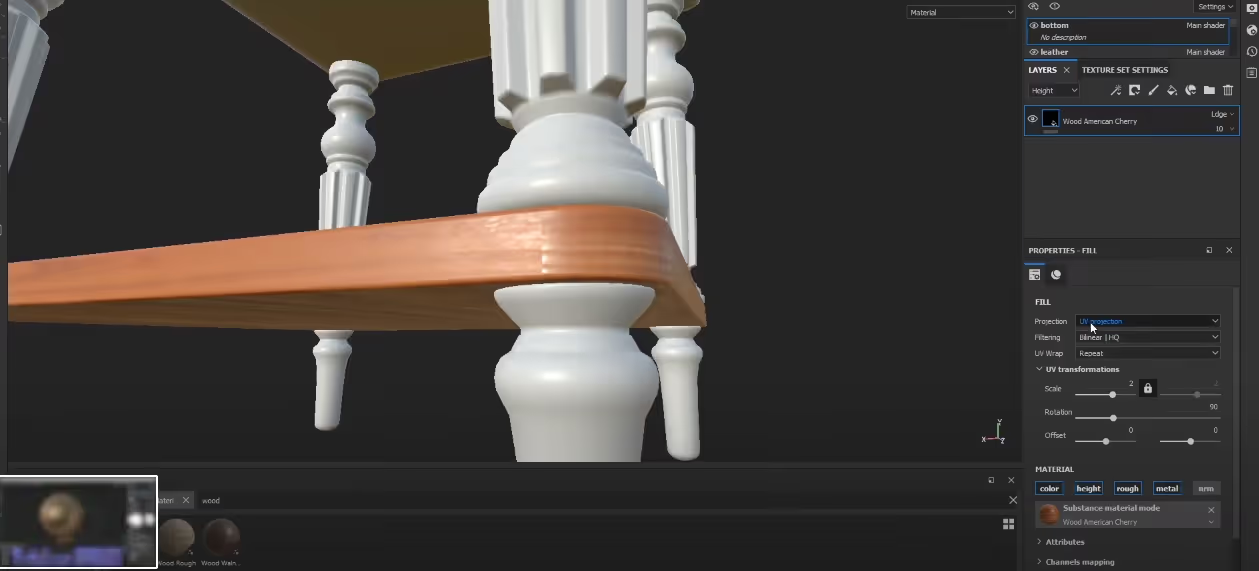
- Change UV projection to TriPlanar Projection

- Shed joyful tears
And that concludes this written overview of five useful tips in Substance Painter. When you can spare some time to see the whole video, check it out here:
Happy Texturing!
Register Now and Get $50 FREE Credits!


