Hello! This article will cover the steps performed in our Blenderx tutorial on our YouTube channel, primarily for those of you that may have found the video a little too fast, or would simply like to refer to a document as you work.
The goal of this tut is to introduce you to a workflow for characters that make heavy use of Blender’s hair systems, and how you might use textures in combination with actual hair simulation to optimize your mesh for rendering.
This tutorial assumes you are familiar with the following:
- Using Blender (navigation, the different modes: Object, Edit, Texture Painting, Weight Painting, etc., assigning cameras, lighting, and rendering).
- The basics of working with textures and the Principled BSDF shader.
To replicate the steps in this tutorial you will need:
- A mesh ready for texturing- you can download the fox model used in this project here. It has around 16k quads and is UV unwrapped. Feel free to refine it more or alter it in any way. You may use this fox for any purpose, no attribution required. :)
- Blender
- Patience.
- Possibly a tumbler of very strong coffee.
All of these resources are available to you for free (except the coffee, but that’s optional). However, in the case of Quixel Mixer, a disclaimer is in order:
Quixel Mixer is especially great for working with the Megascans library, which requires a paid subscription, but you can just use Mixer, which is available for free, to blend maps of your own. I’ll be showing you how to create maps out of an image from Materialize so be assured that you will not be required to purchase a Megascans subscription to complete this project.
With that out of the way, enjoy our Quixer mixer tutorial!
If we’ll be using particle simulation for the fox’s fur, why bother with textures anyway?
Relying entirely on fur can be very taxing on render times, but it’s great to be able to see actual fur and a hair shader reacting to the light in a scene. Hence, in this case, at least, we’ll work to end up with a mesh that can rely on its textures for none hero shots let’s say, and more of the particle sim for when it’s the point of focus or just closer to the camera.
At the time of this publication, Quixel Mixer has yet to include symmetry painting in its feature set. This can make painting within Mixer quite tedious for projects like this. Fortunately, we can use Blender’s texture painting tools to create black and white maps that will drive the way our textures or layers interact within Mixer.
Fire up Blender and import the fox mesh, or whatever mesh you wish to work on.
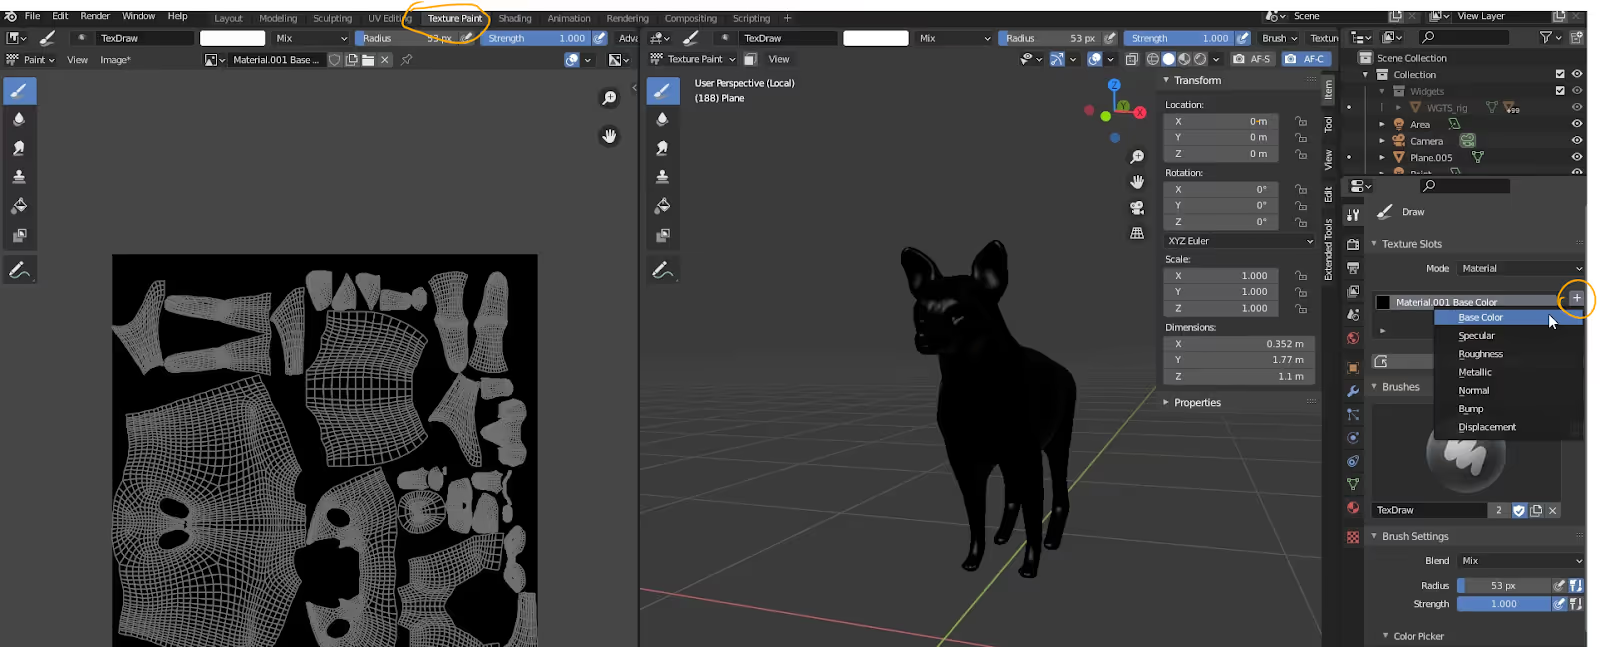
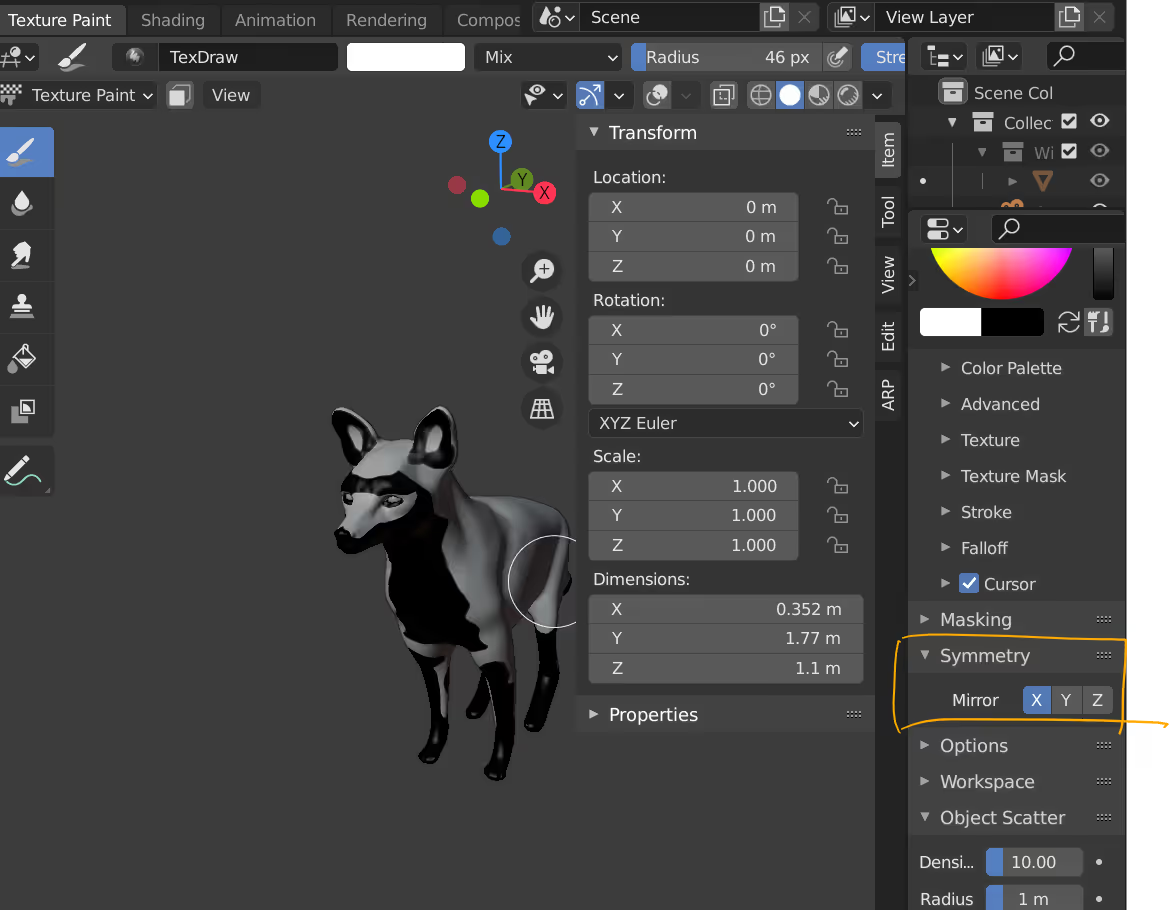
The white color in this map will define the red areas and black will define the white areas. I suggest having some reference of a fox up somewhere as you do this and take the time you need.
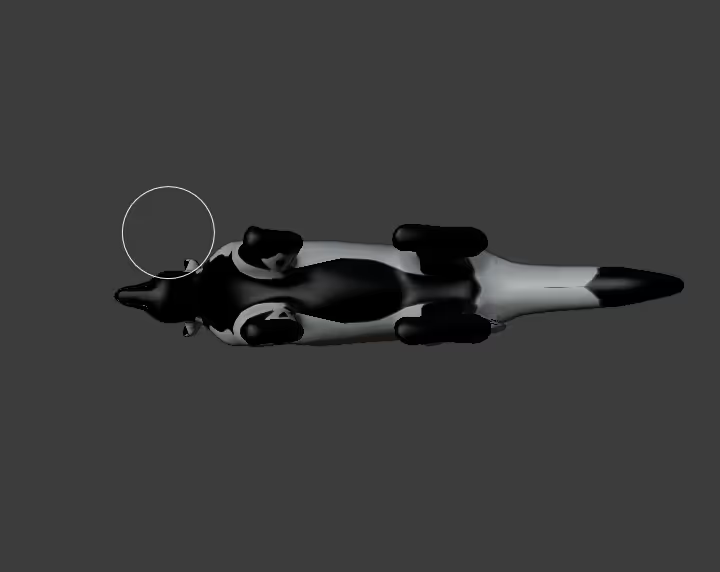
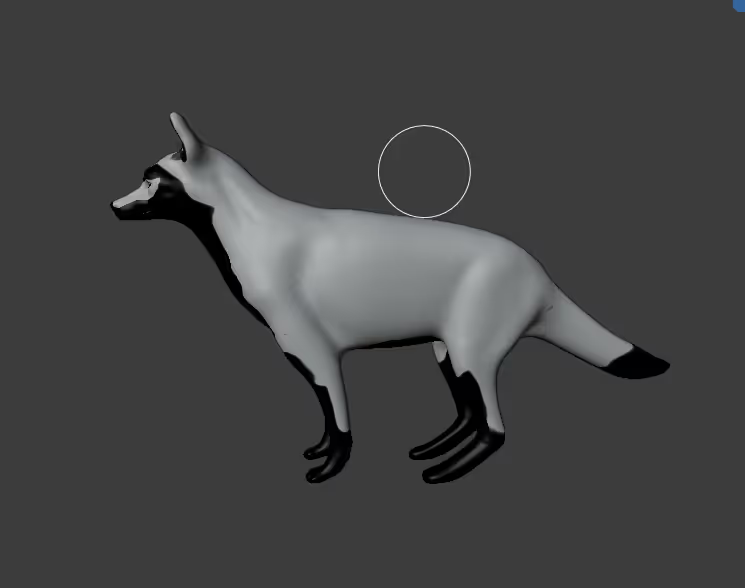
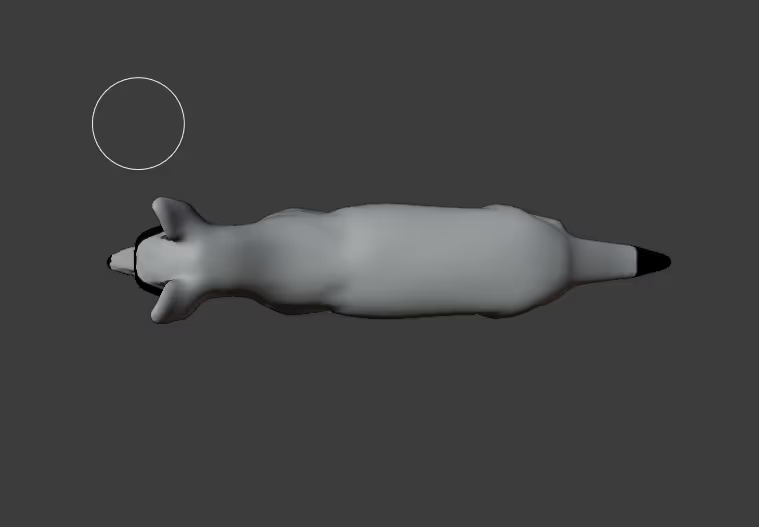
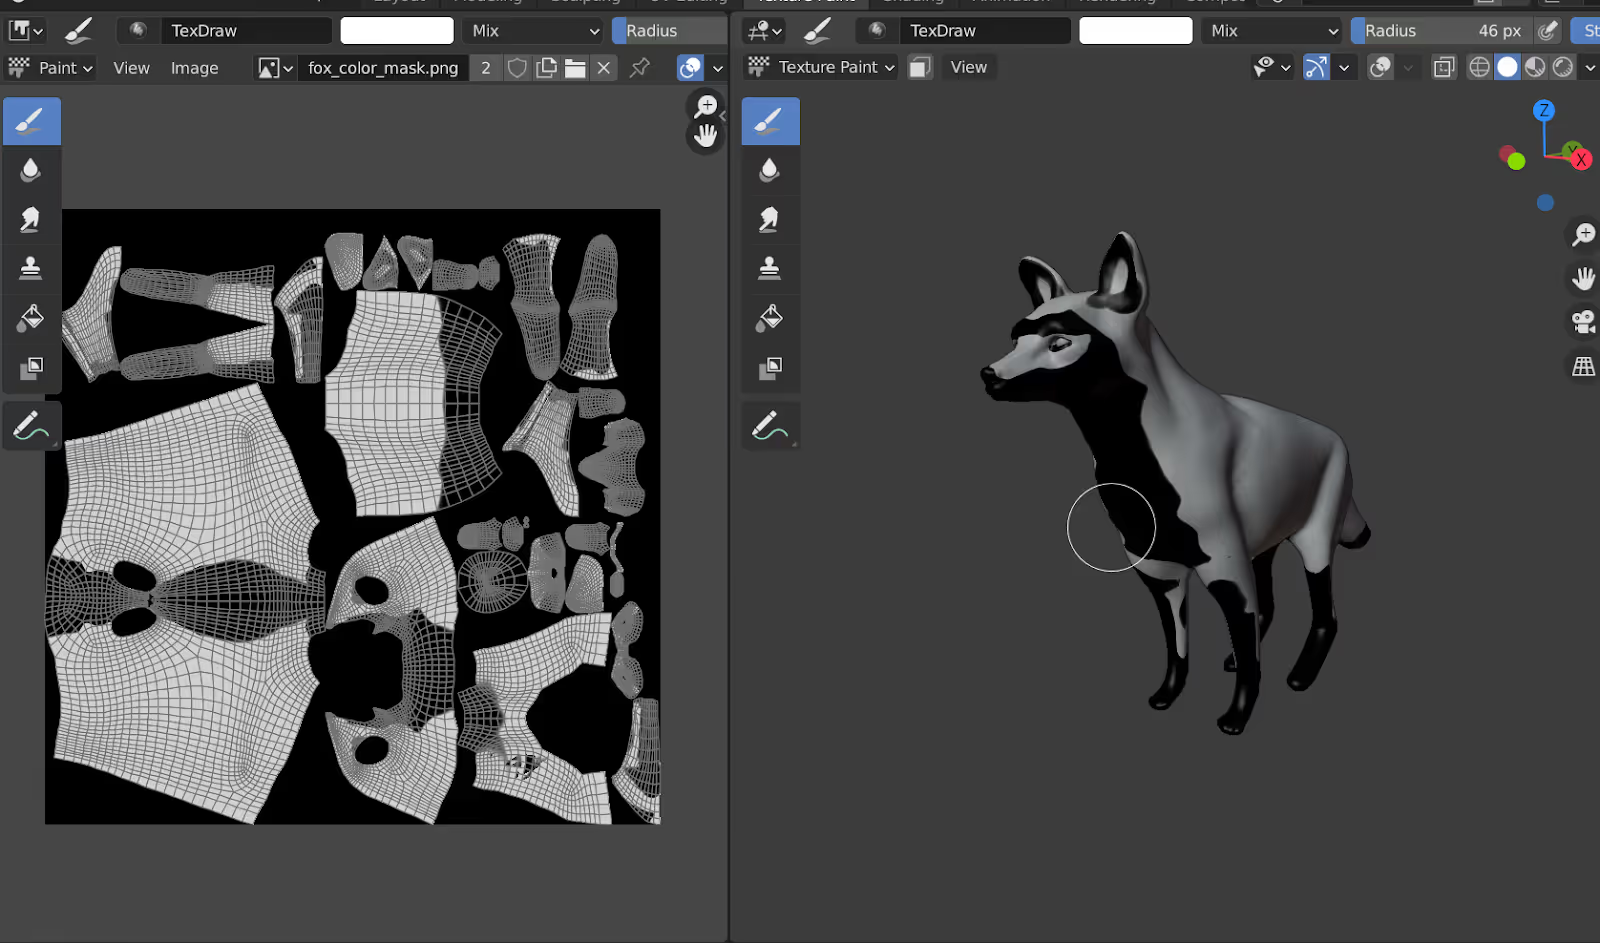
We’ll do the same thing for the black areas of the fox.
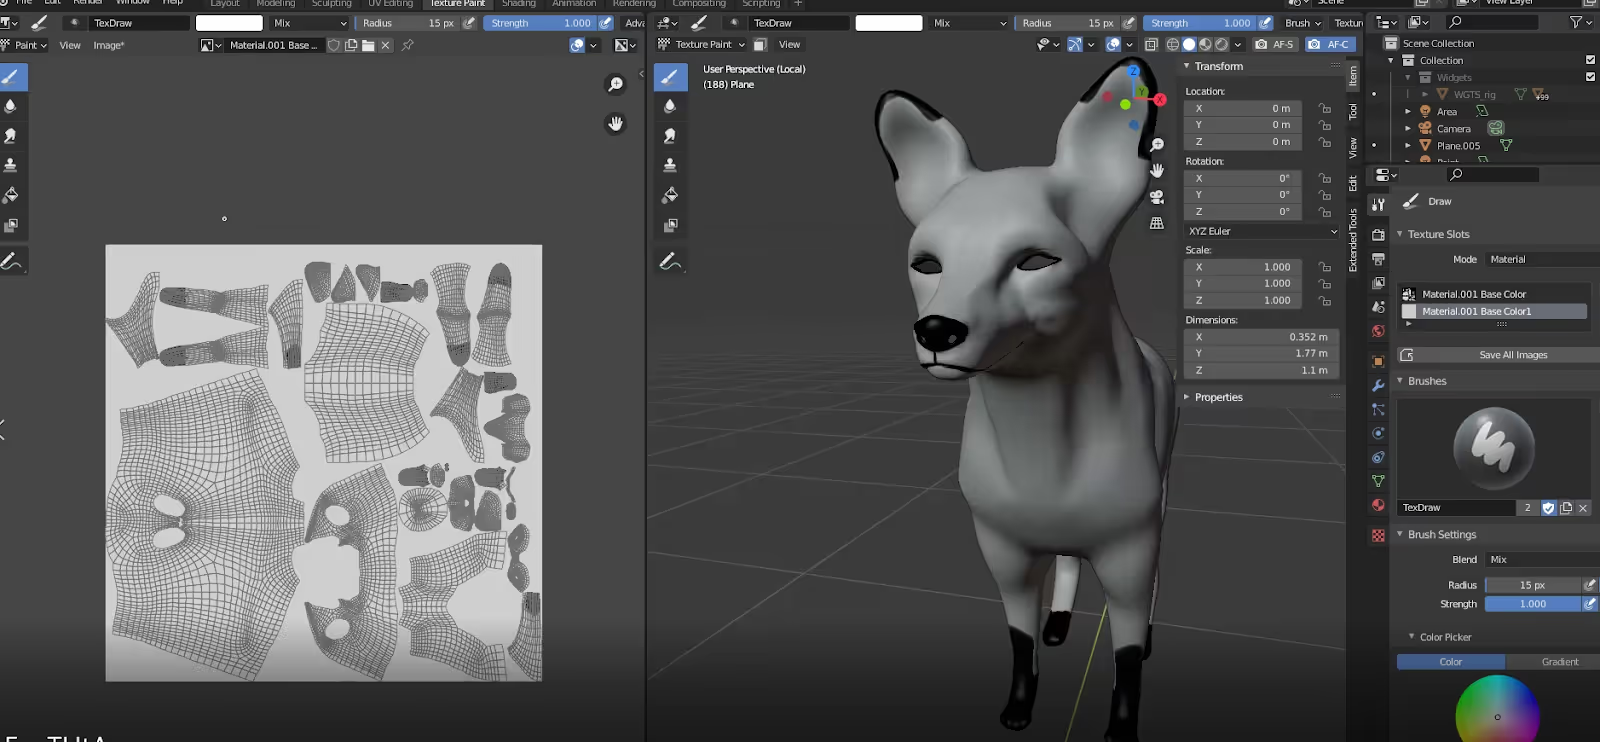
When we’re done let’s save our maps somewhere and have a look at Materialize.
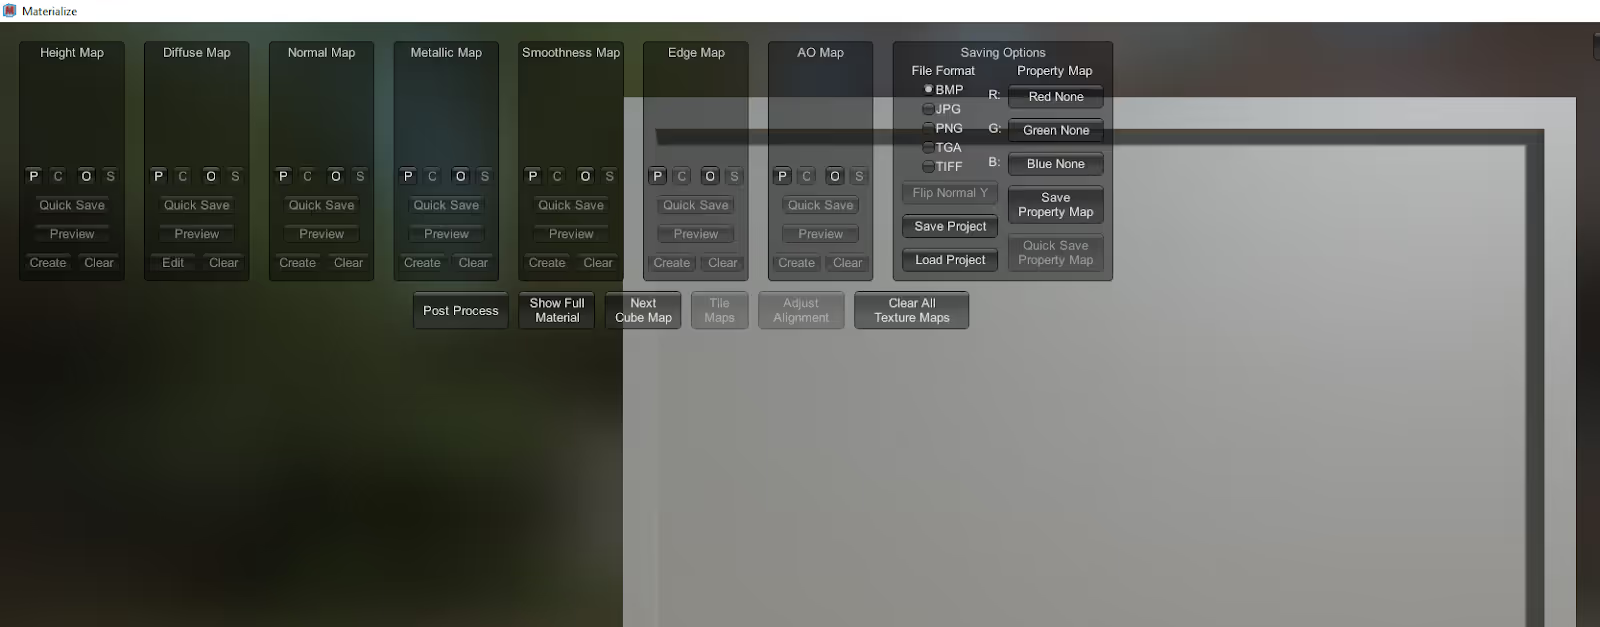
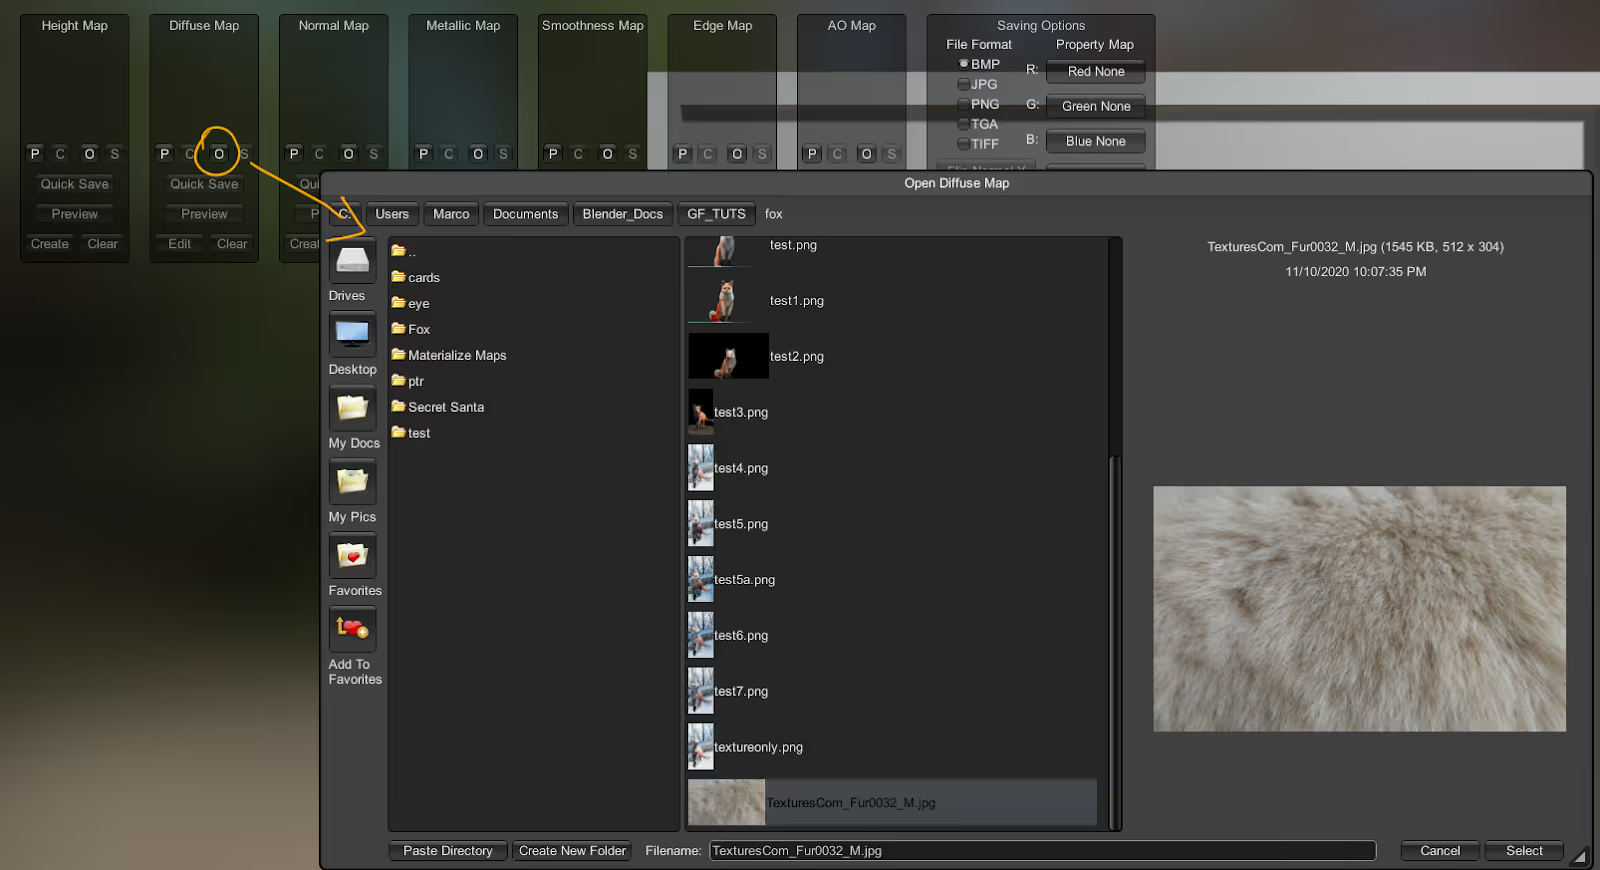
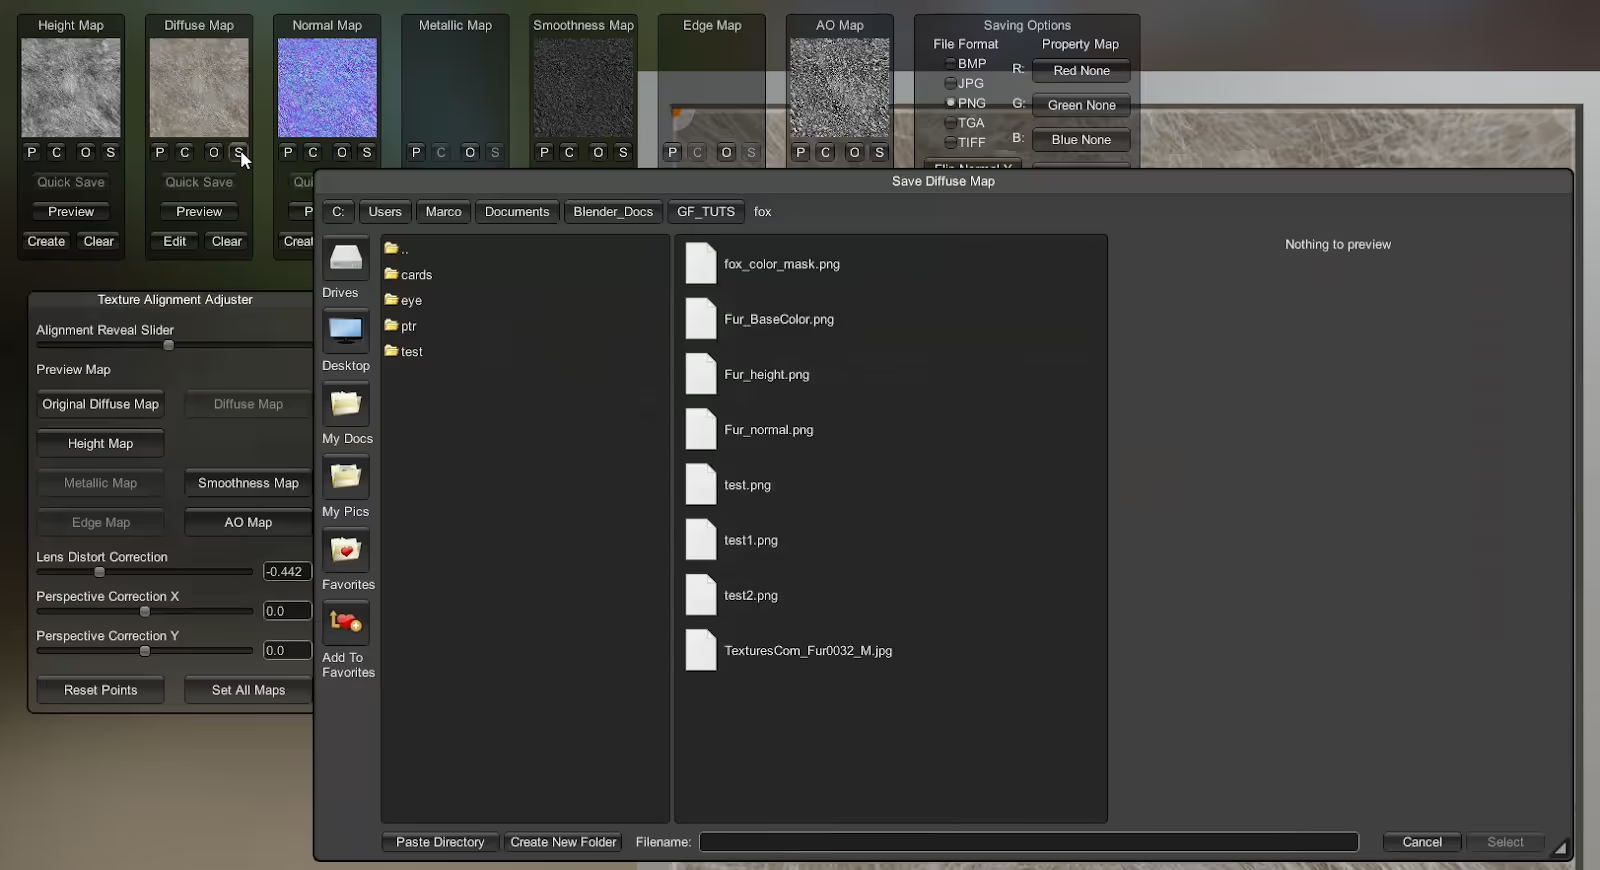
The Materialize UI may seem a bit sparse, but using it is actually very straight forward. The first thing we need to do is hit O to open an image of fur to use for our diffuse map.
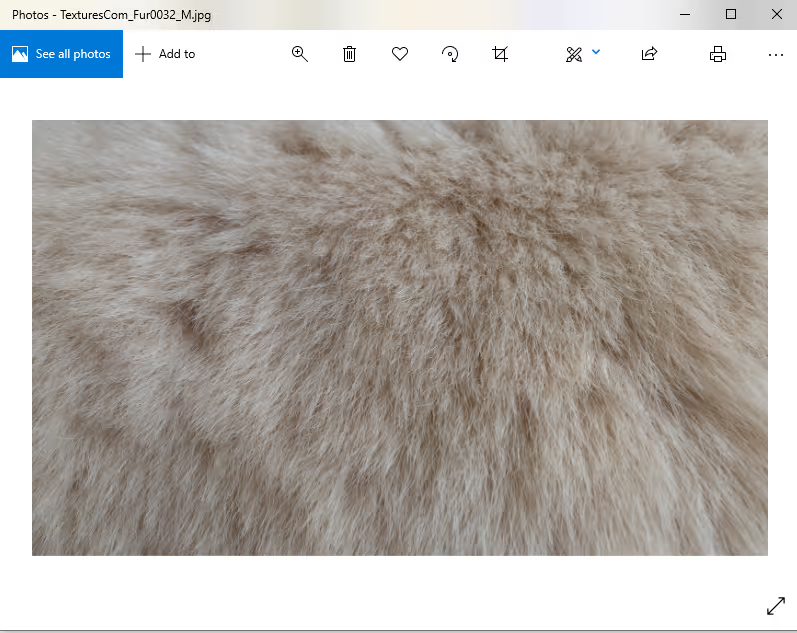
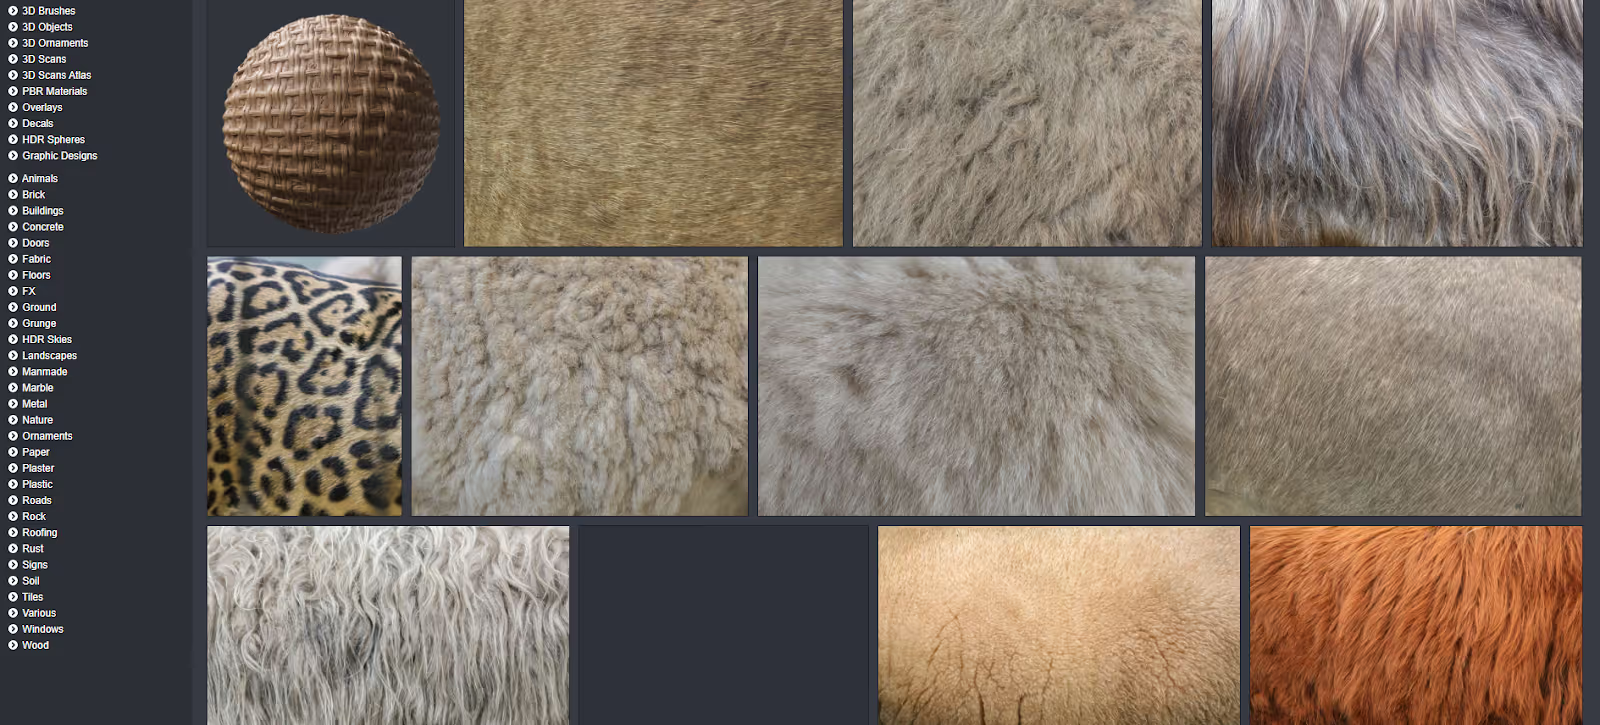
To avoid breaching any Terms of Use, this image isn’t included, but you can find it on textures.com and searching “fur”.
Materialize will allow us to generate a full, tileable texture set from our image.
Starting with the height map slot, let’s hit create. We get a new panel and can use the equalizers there to get the level of detail we want for our height map. The Set as Height Map button below will confirm our tweaks and save our map.
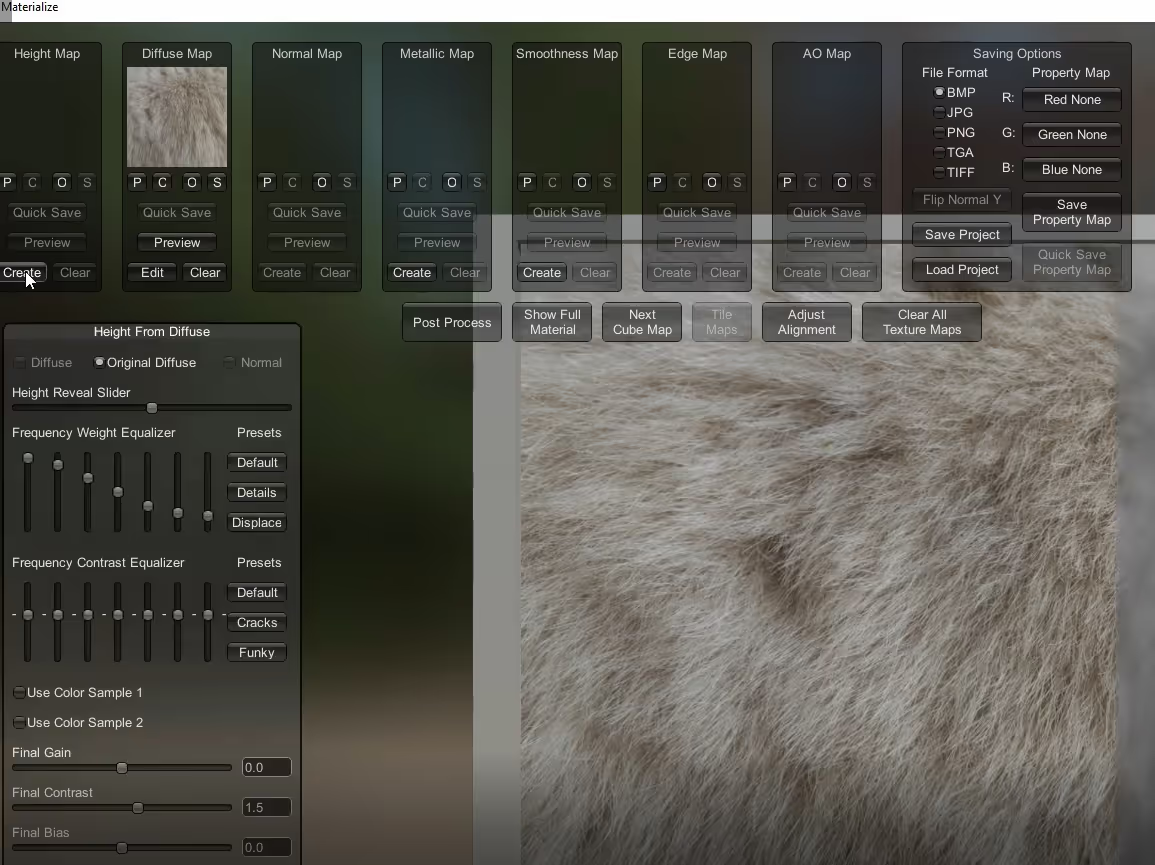
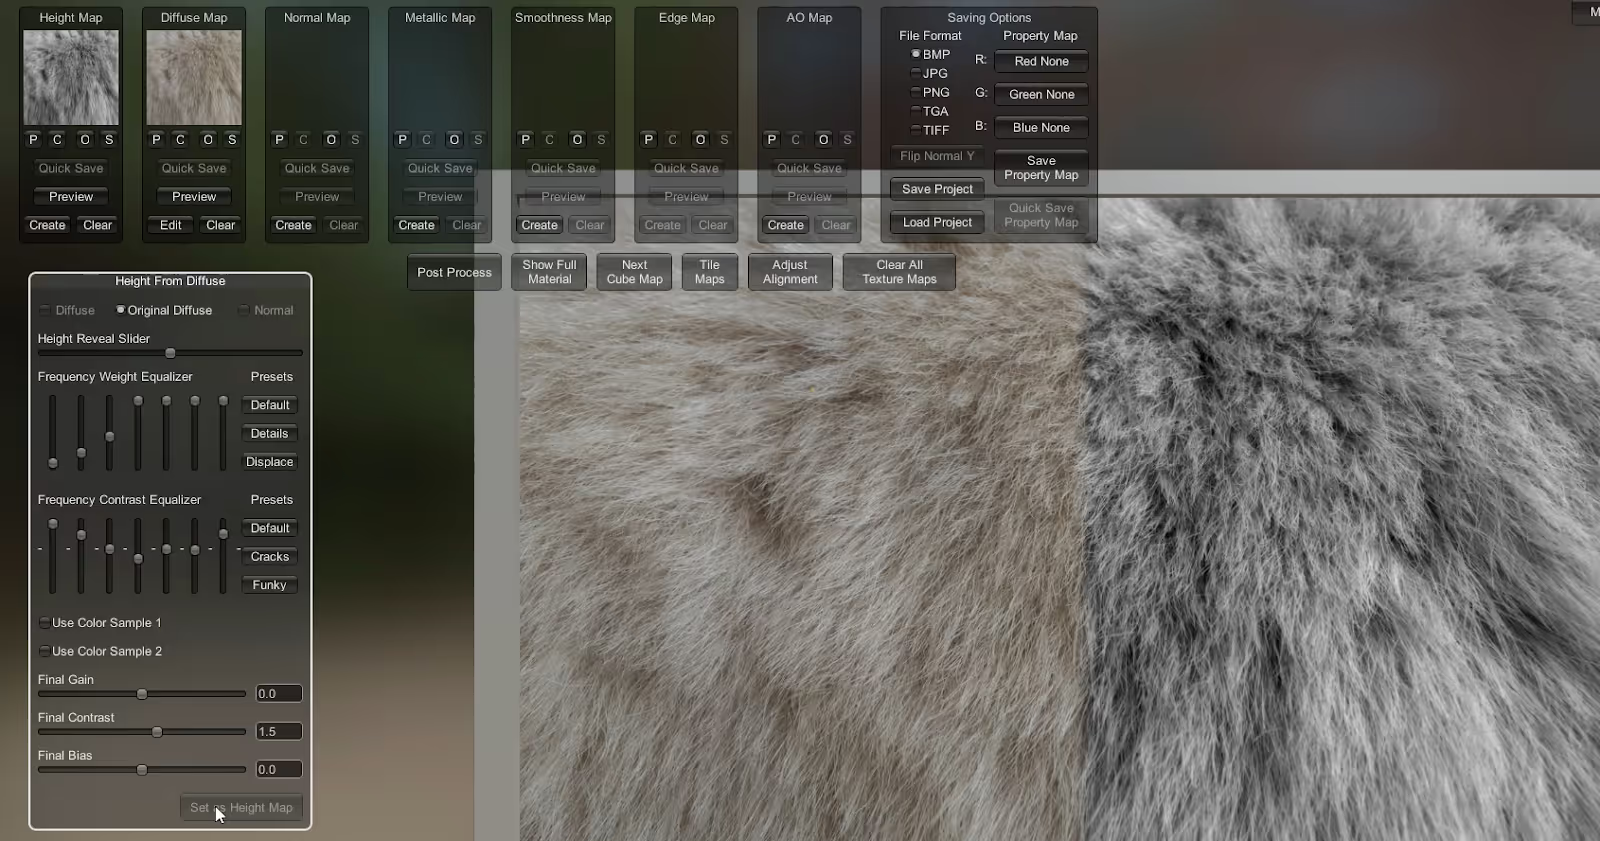
We’ll rinse and repeat for each of the other maps. Allow yourself to experiment with different settings and work with the available presets to get the look you want.
Personally, I tried to get as much high-frequency detail as possible for both the height and normal maps.
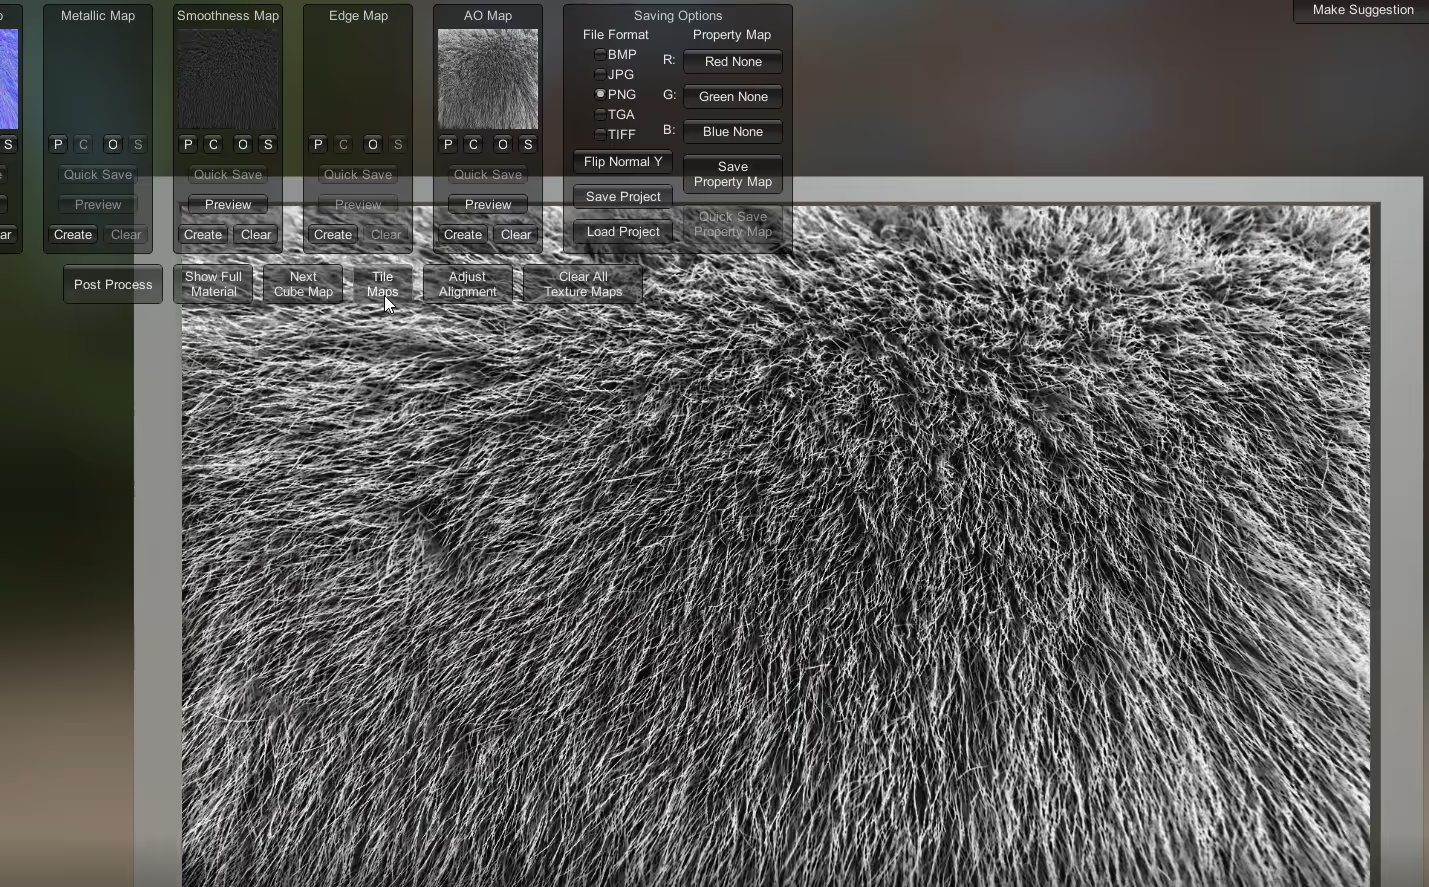
When we have our maps we can hit tile maps, and this will open a new panel we can work with to make our textures repeat seamlessly across our mesh.
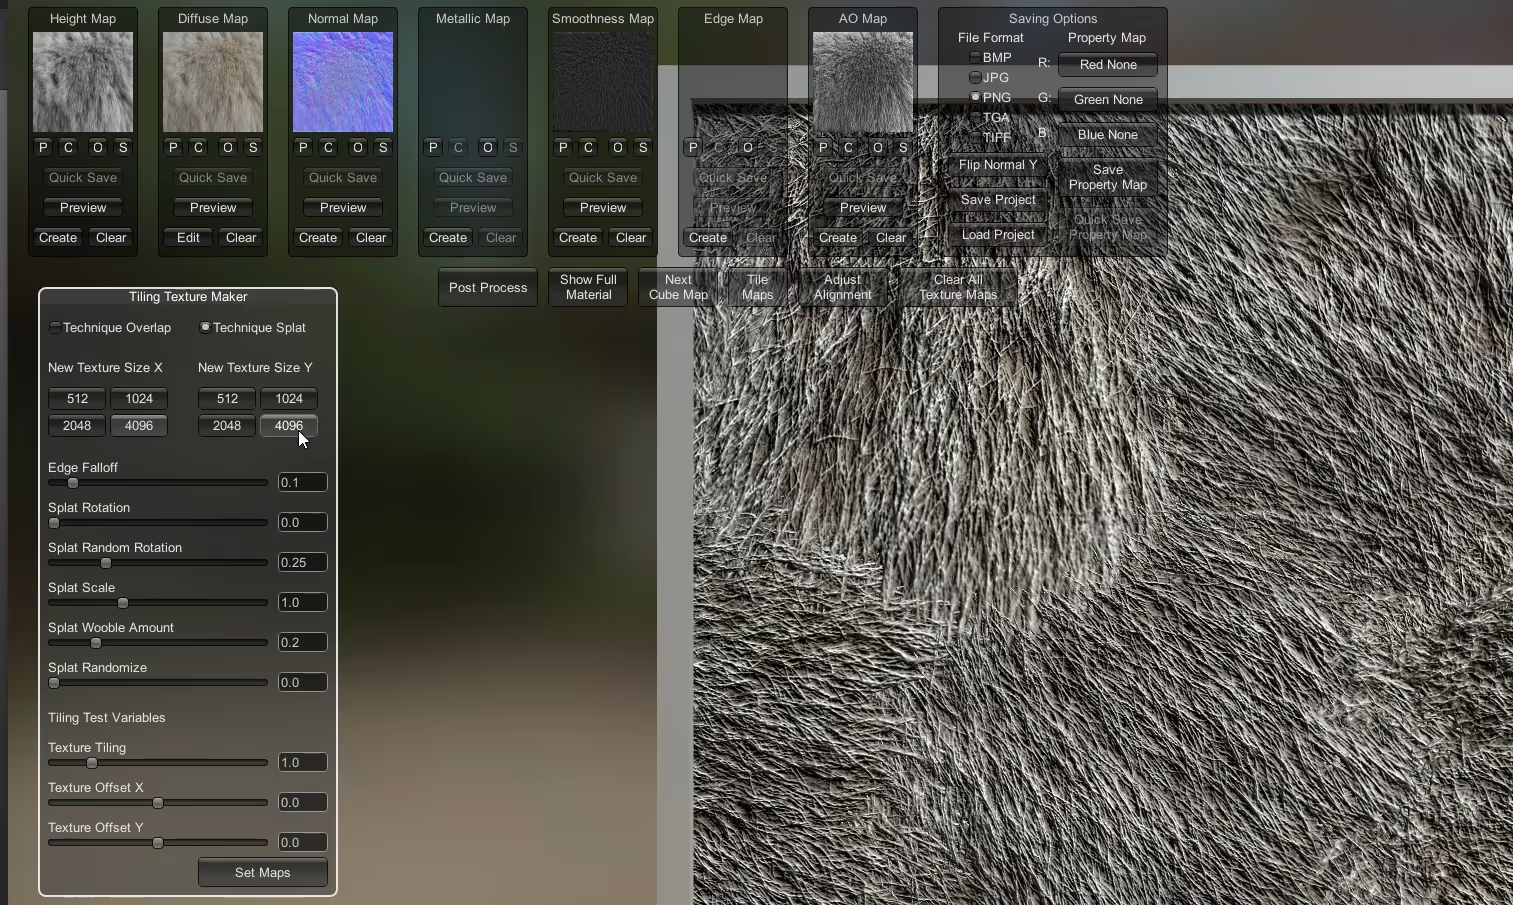
We’ll go with technique splat as our tiling method - this is just what I found worked better in this case. Let’s go with 4096 as our resolution and now we can experiment with these parameters until we get a seamless repeating pattern.
Increasing the texture tiling slider will allow us to preview what our maps look like when tiled. It would be good to set this to a high number earlier on and focus on making sure that the patterns blend seamlessly into each other. Again, take the time to experiment with the sliders until you find a result that works for you.
When we’re ready we can hit set all maps and then hit s on each of the map slots to save the maps on our drive.
If you’re launching Mixer for the first time, you will be asked to log in to your Quixel or Epic Games account. If you don’t have one, you will need to create an account.
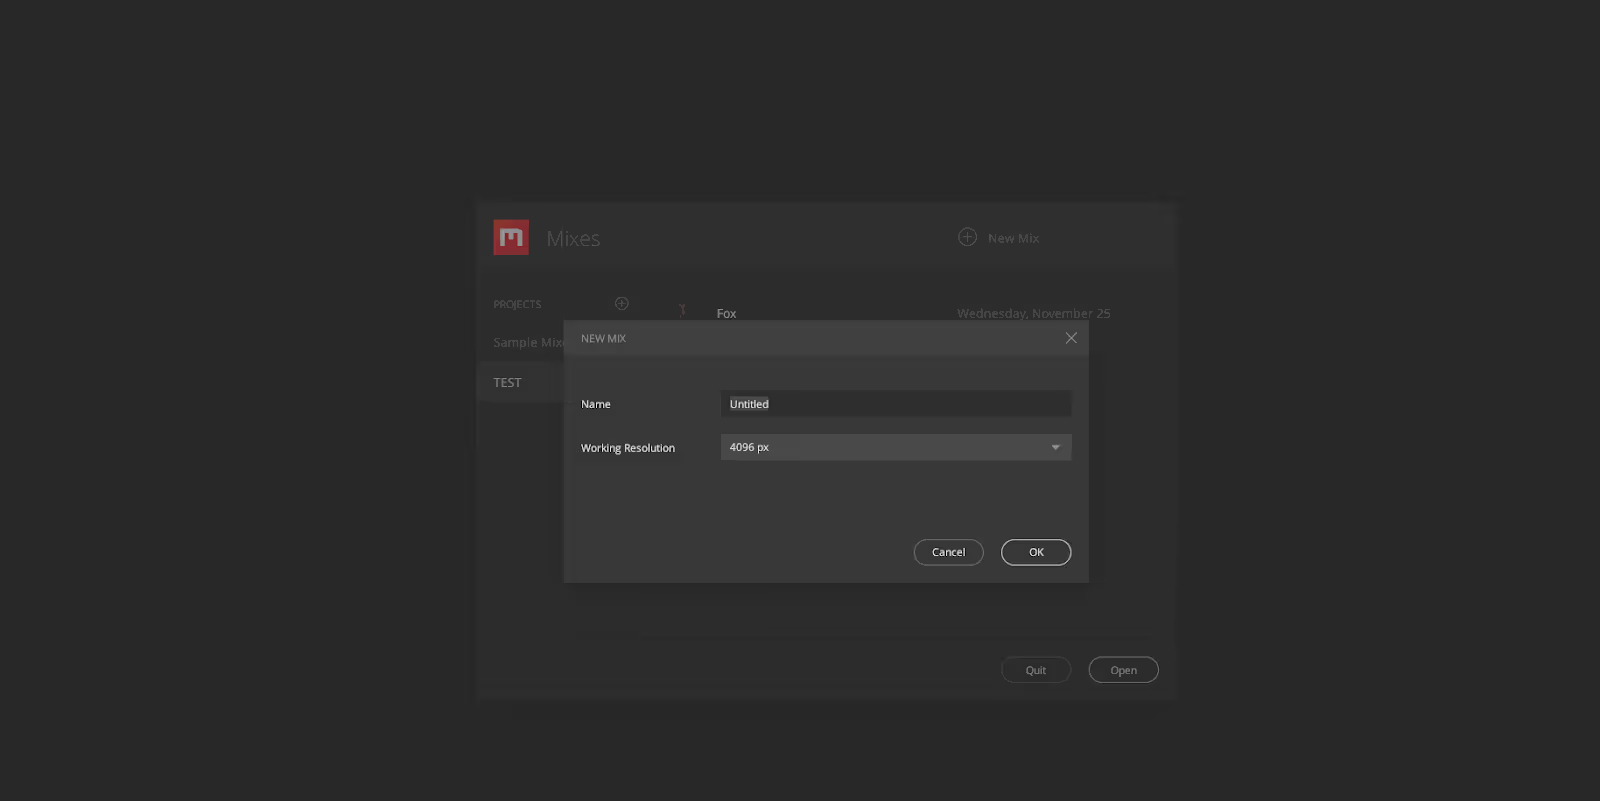
Create a New Mix, specify a name and your texture resolution.
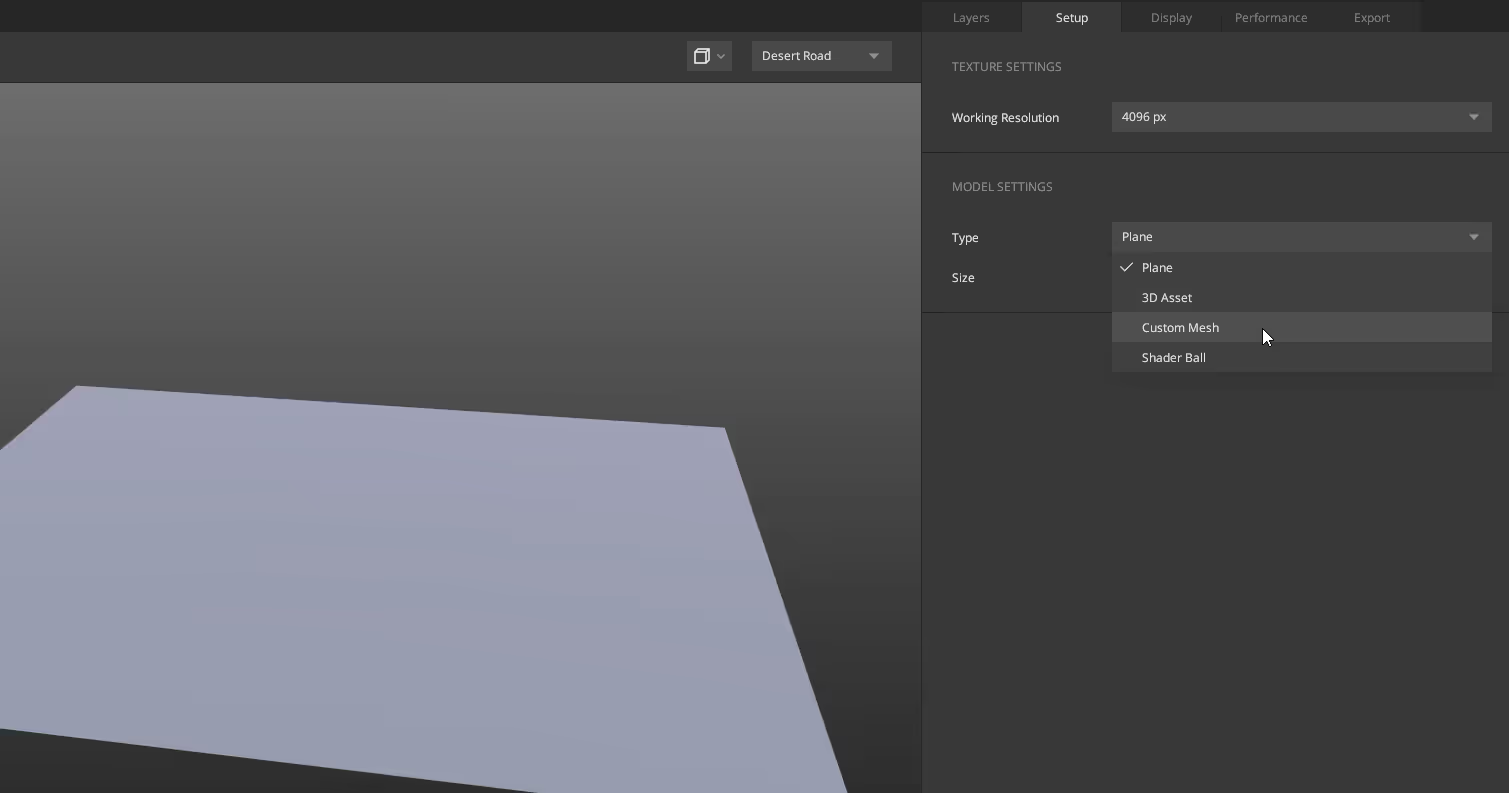
To import a custom mesh, simply choose the option from the Type Dropdown in the setup tab
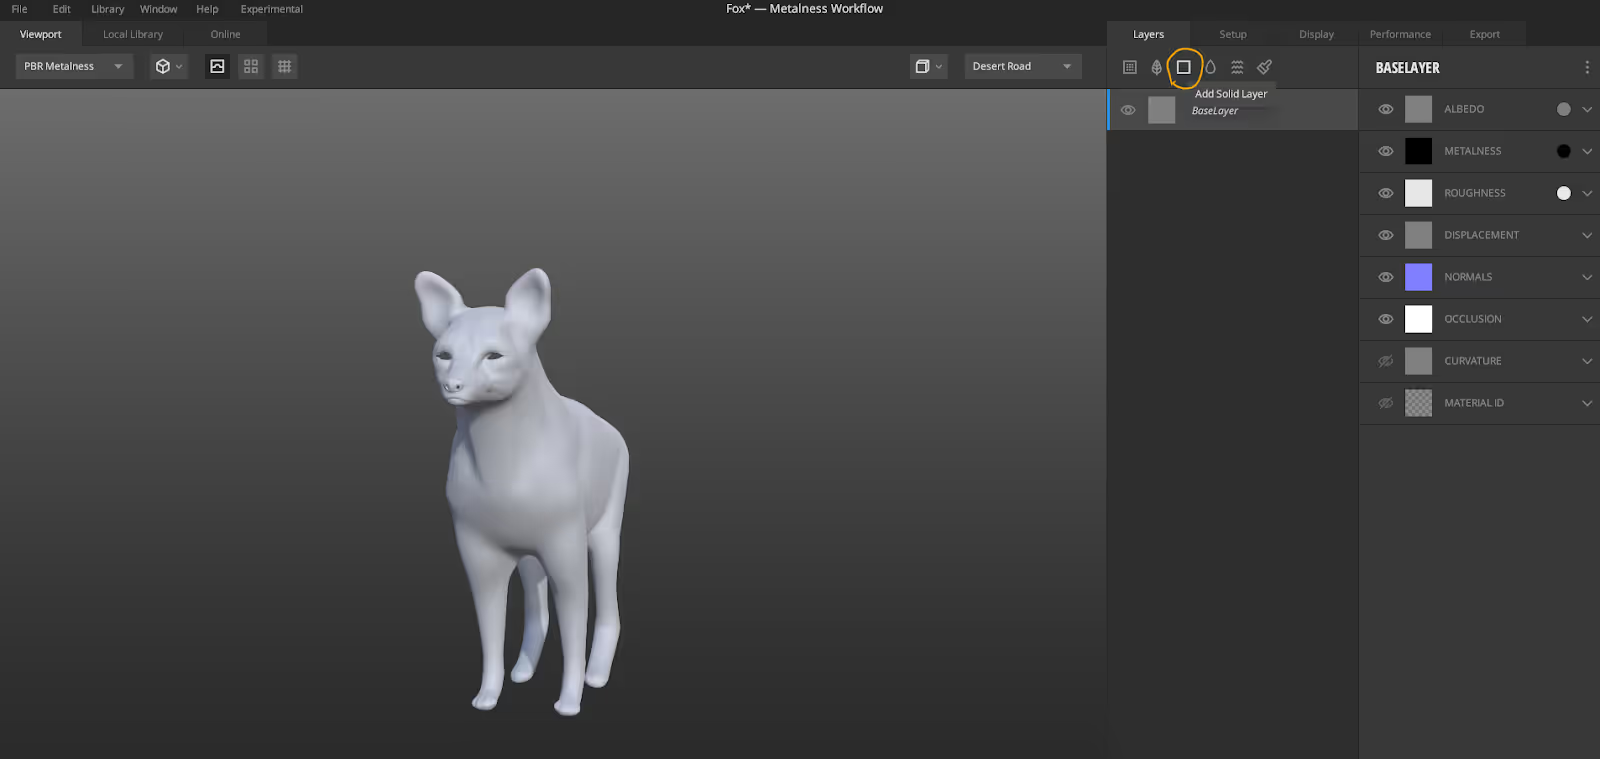
With our mesh loaded, let’s create a solid layer.

We’ll import all our Materialize maps into a solid layer by expanding each channel on the right
here and loading the respective maps.
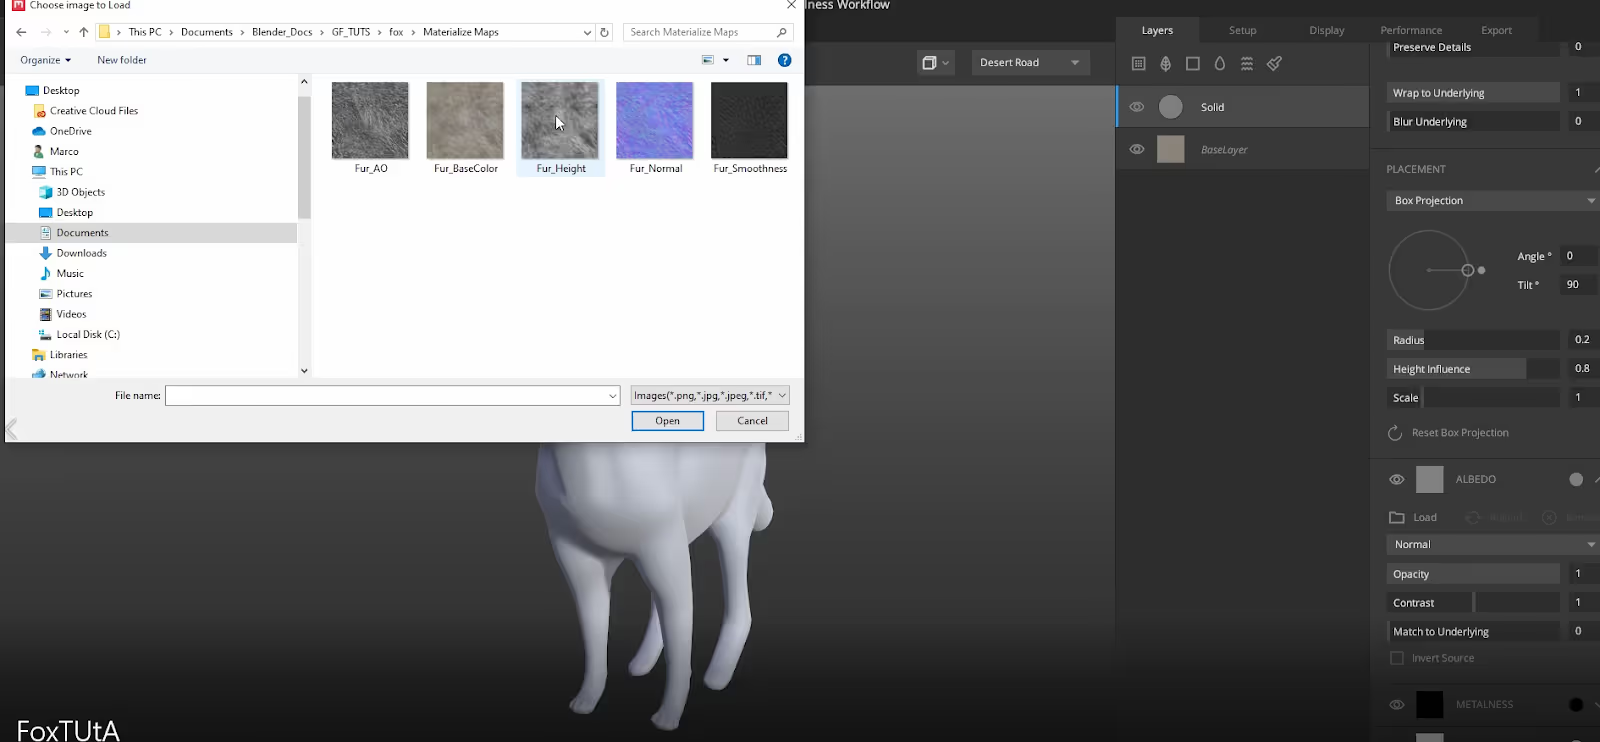
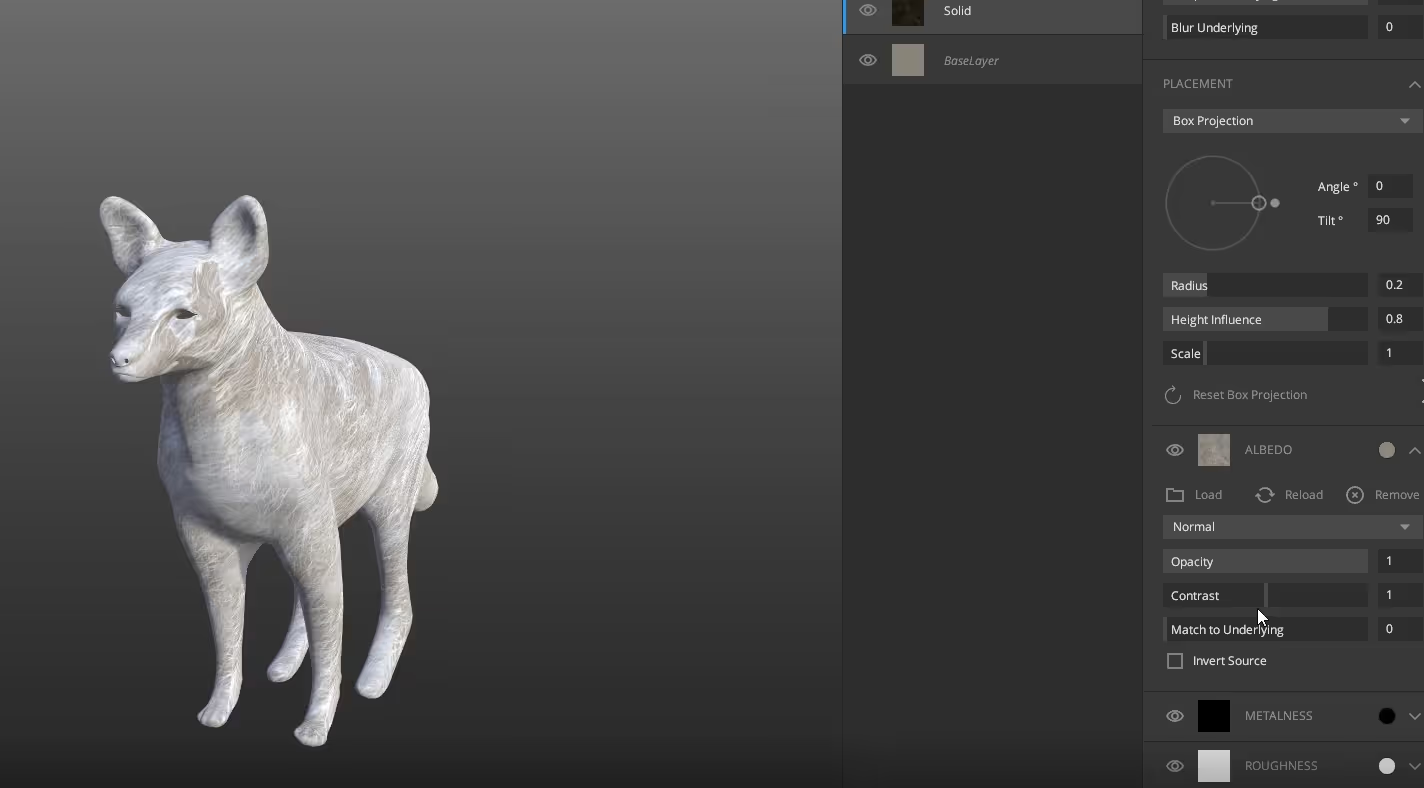
For roughness I used the smoothness map we got from Materialize and inverted it to check whether the white values meant “smooth” and not “rough” which is what we’d normally expect.
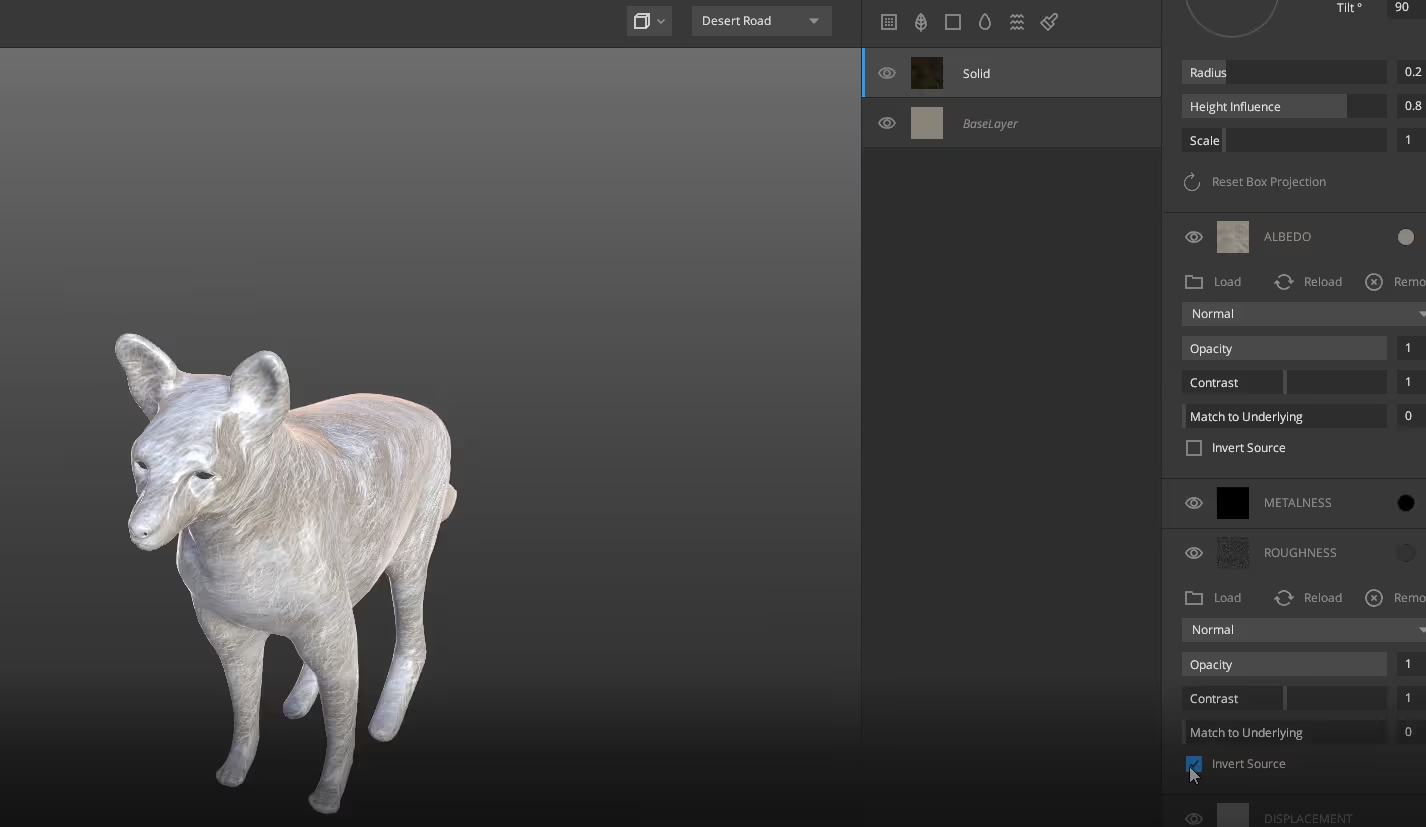
I tried lowering the opacity for the displacement map to get more subtle detail but ended up disabling it for now.
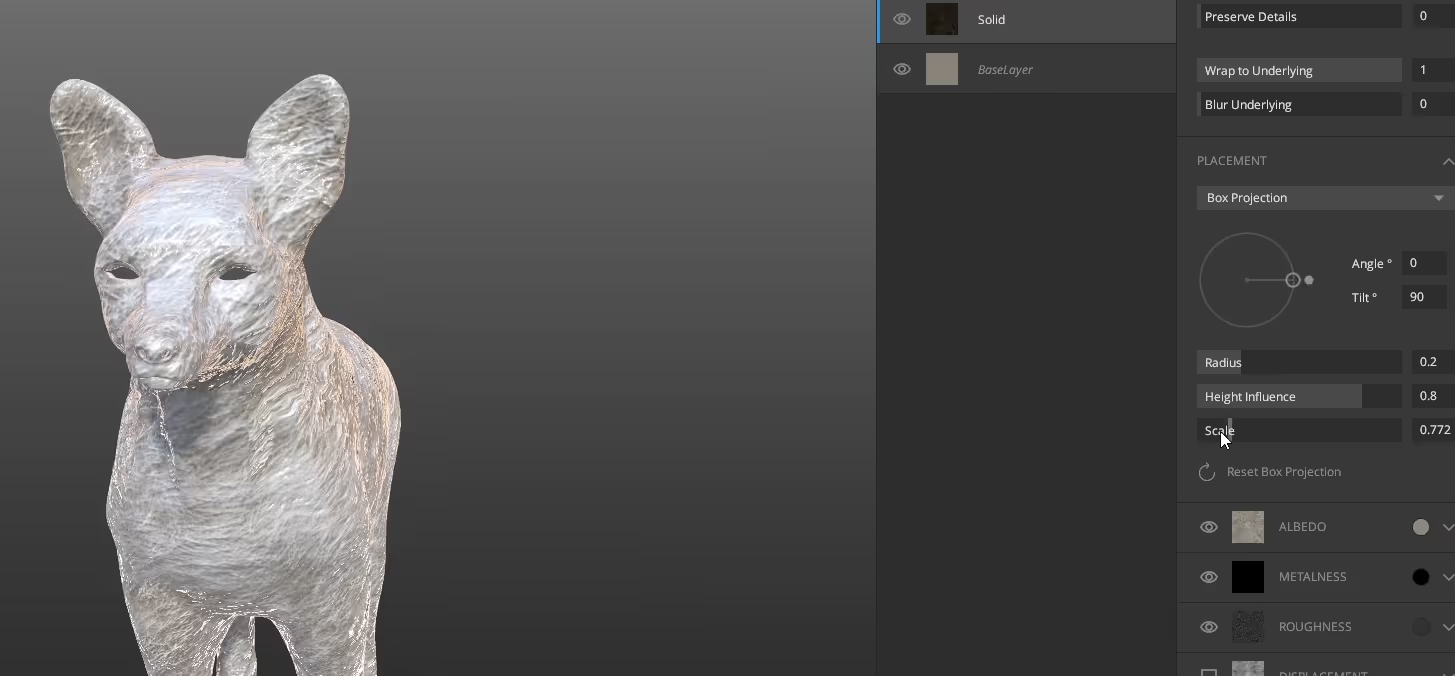
Let’s expand the placement tab and start adjusting how our textures tile across our mesh. Let’s use box projection tiling for this by the way, and adjust the scaling of our textures and rotate them to get an approximation of fox’s fur.
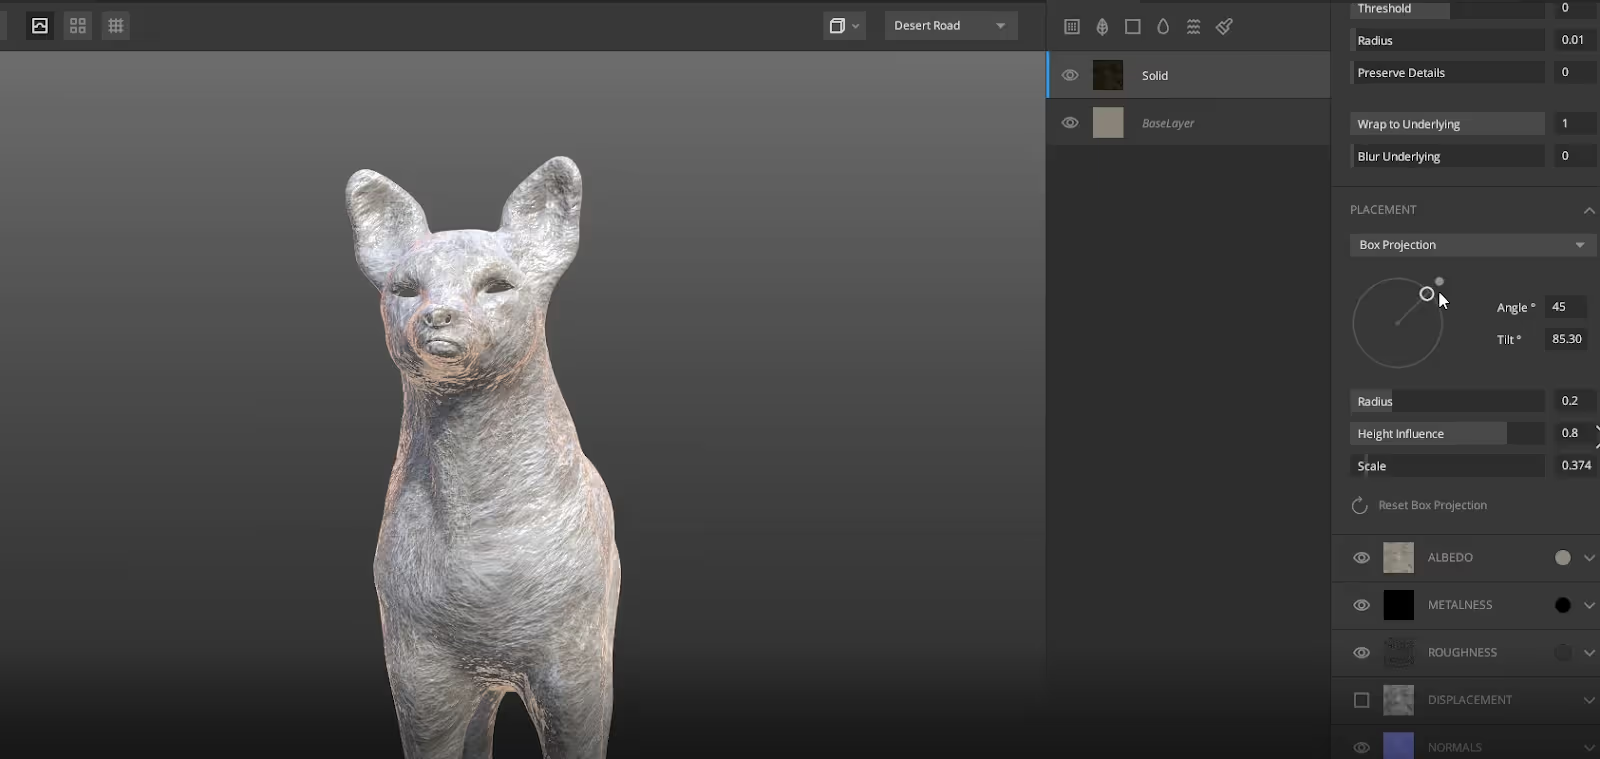
Let’s add another solid layer and deactivate all channels except albedo and choose an orange color.
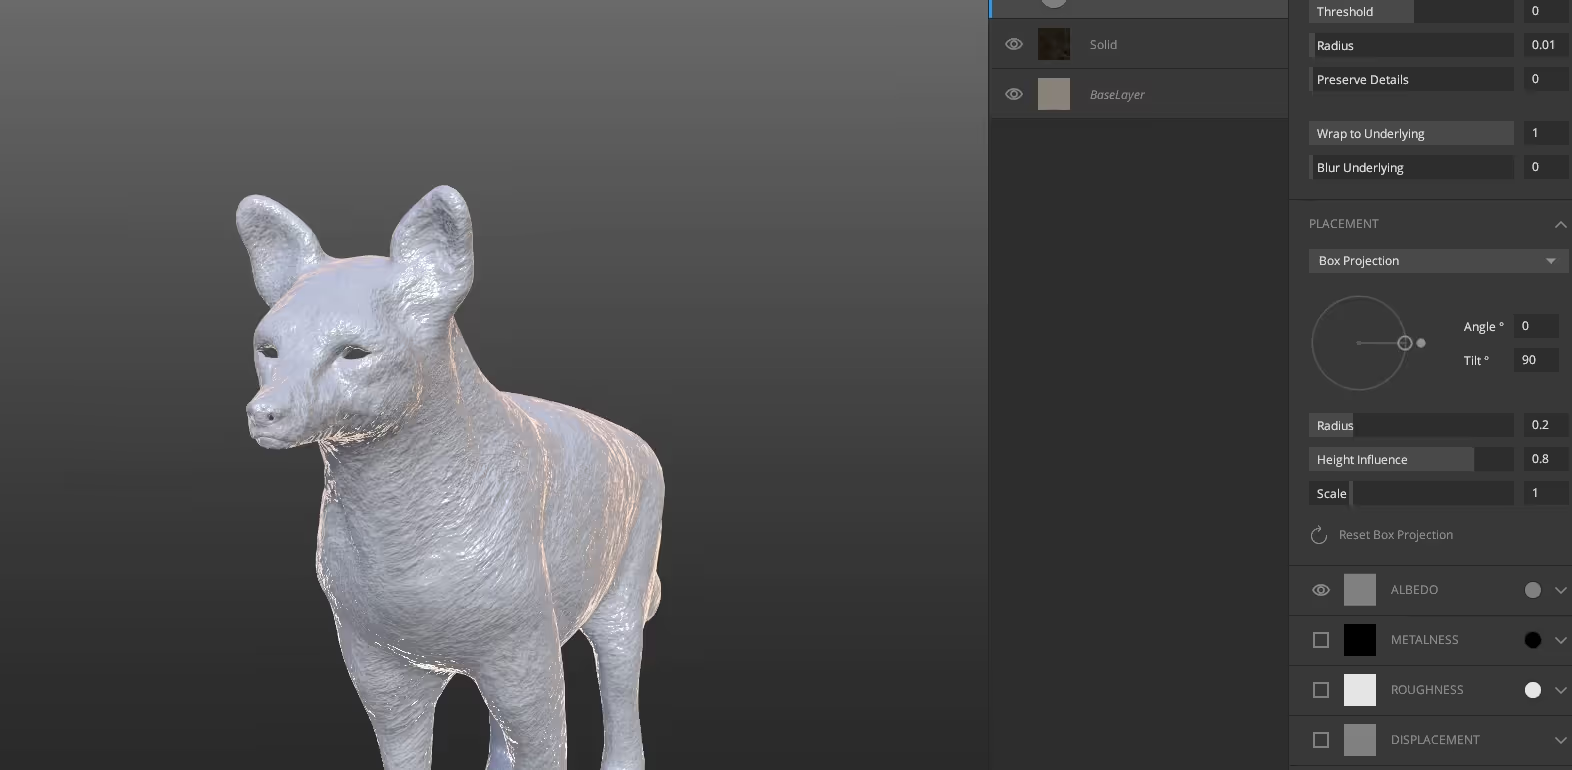

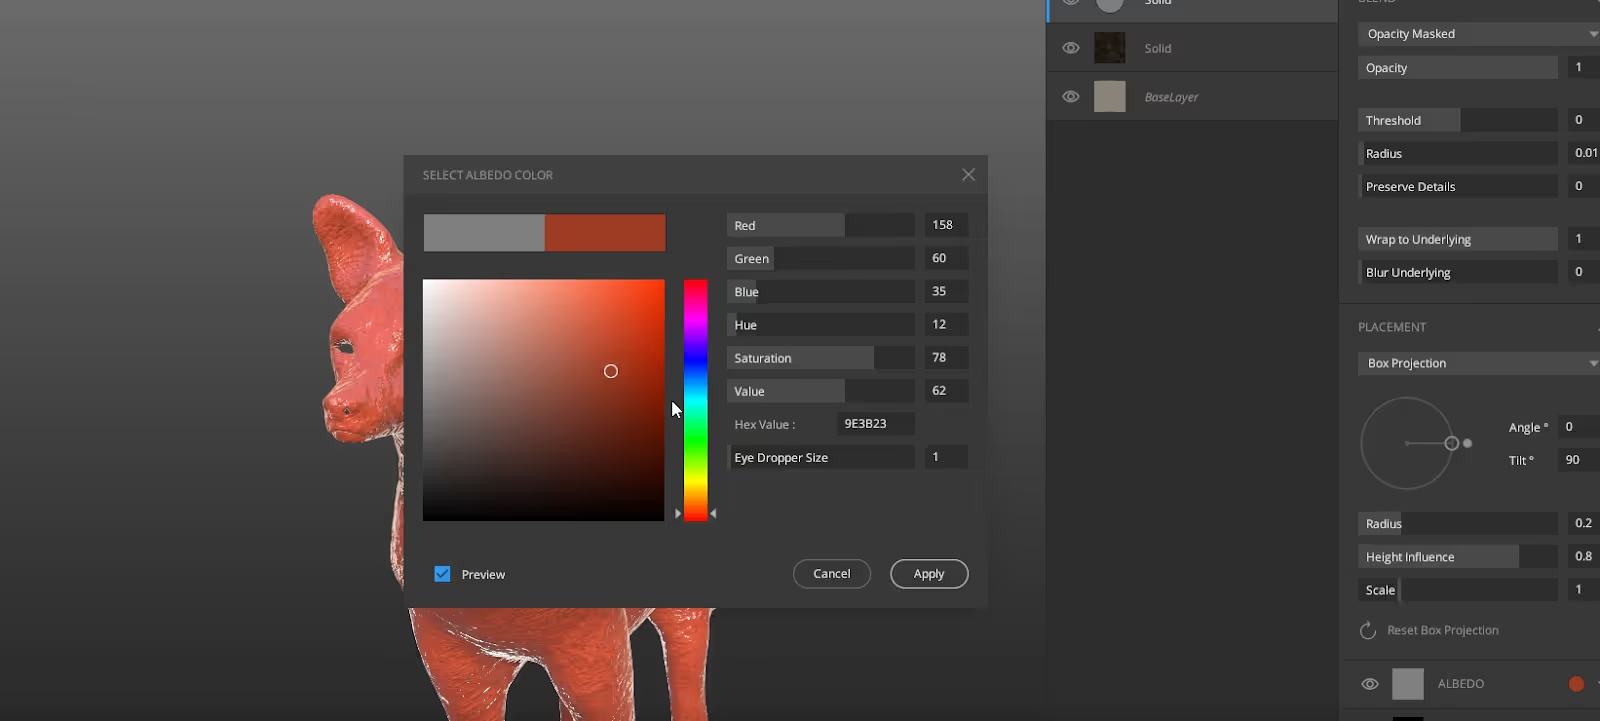
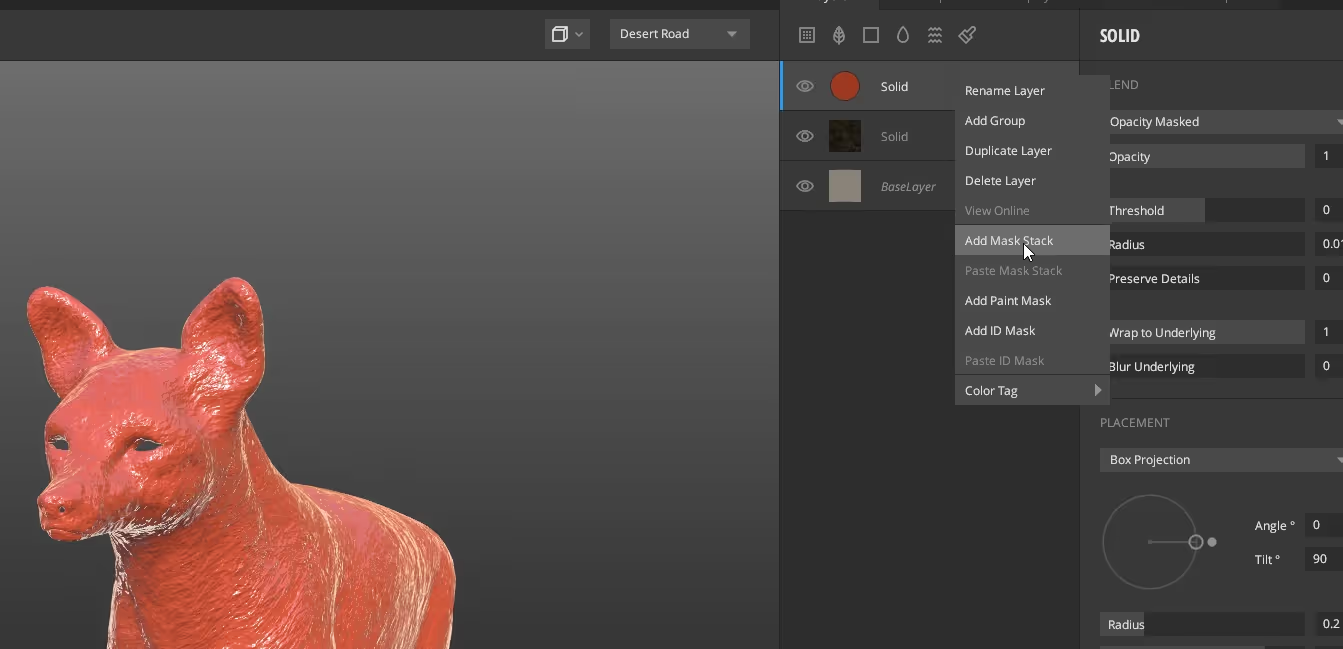
Then right-click on the layer to add a mask stack.
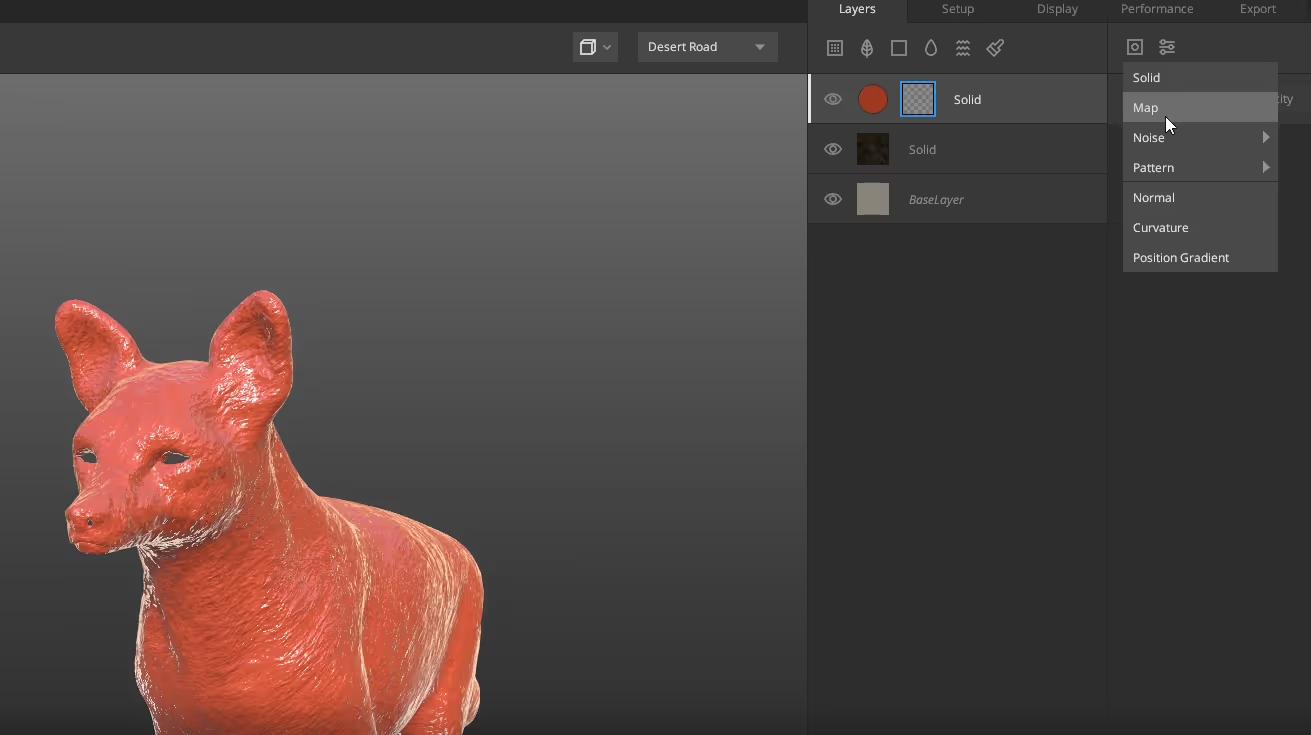
Then add a mask component here and choose the map. Here we’ll add the map we painted in Blender earlier on.
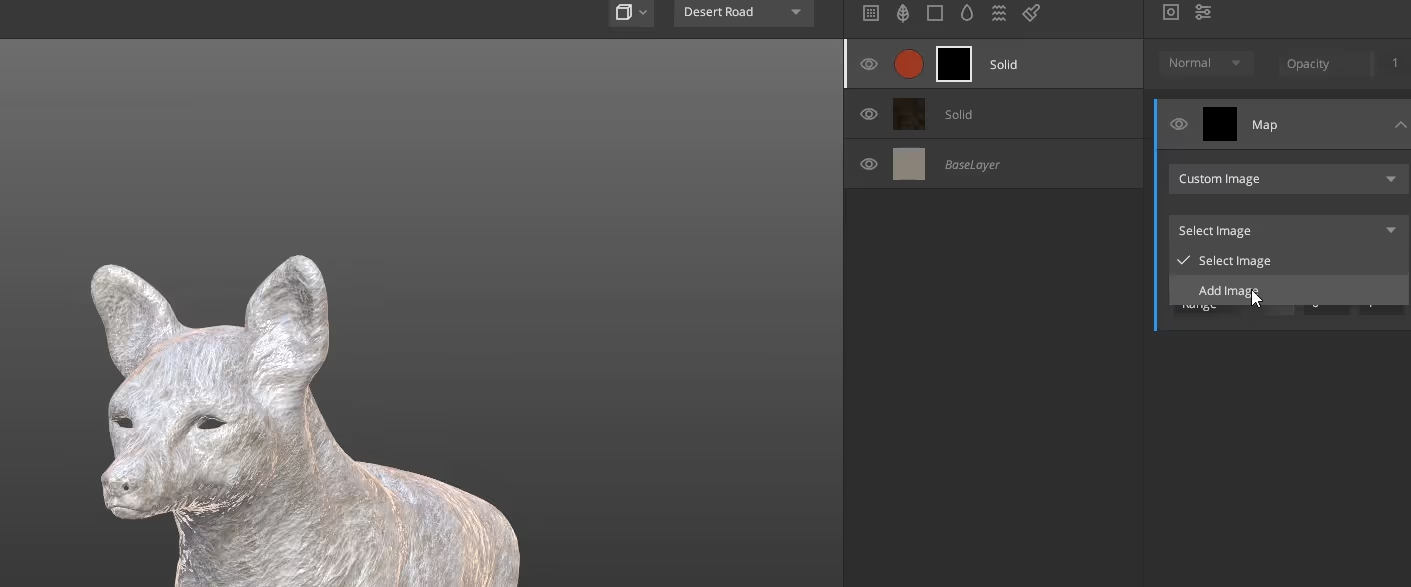
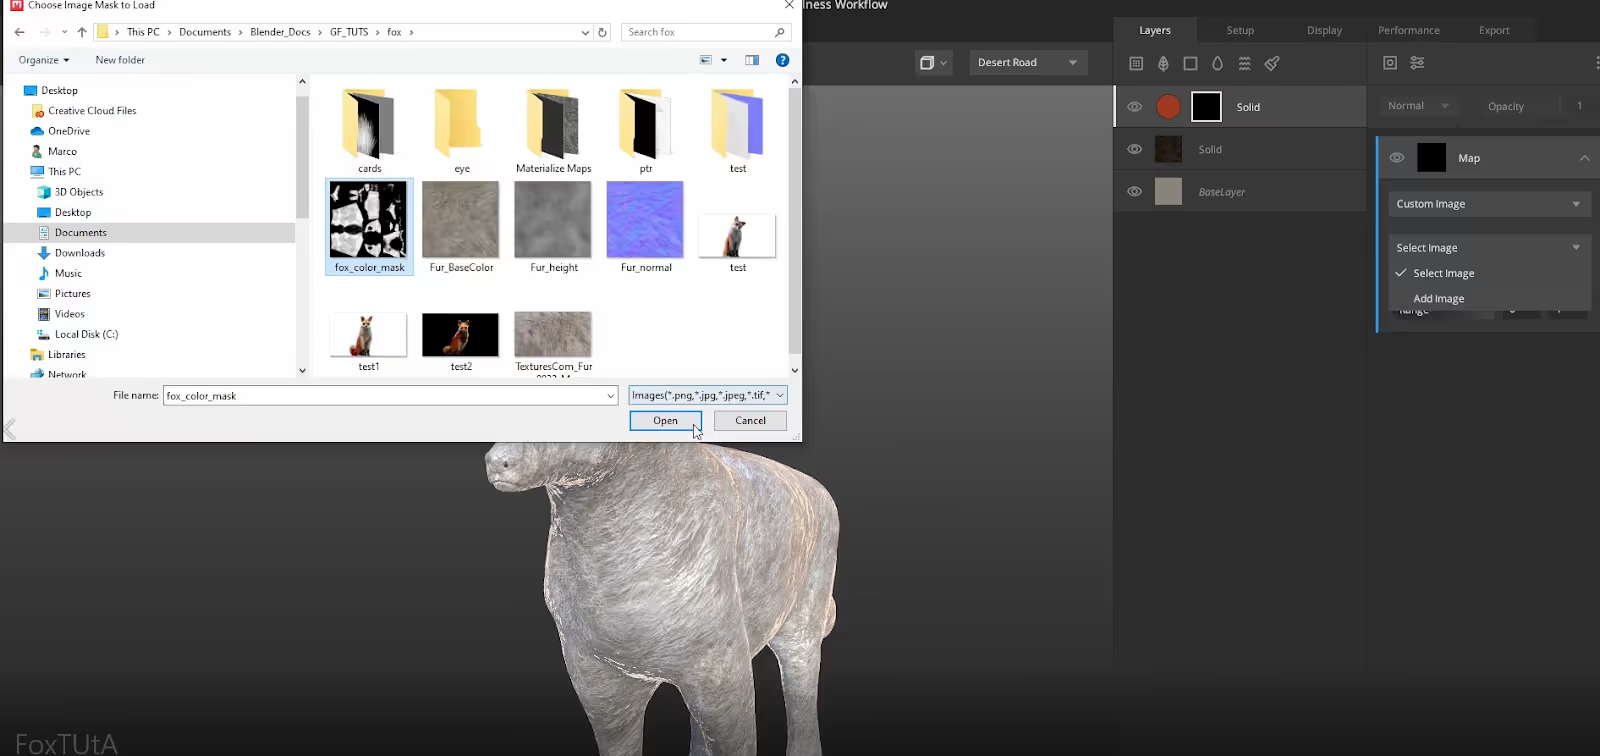
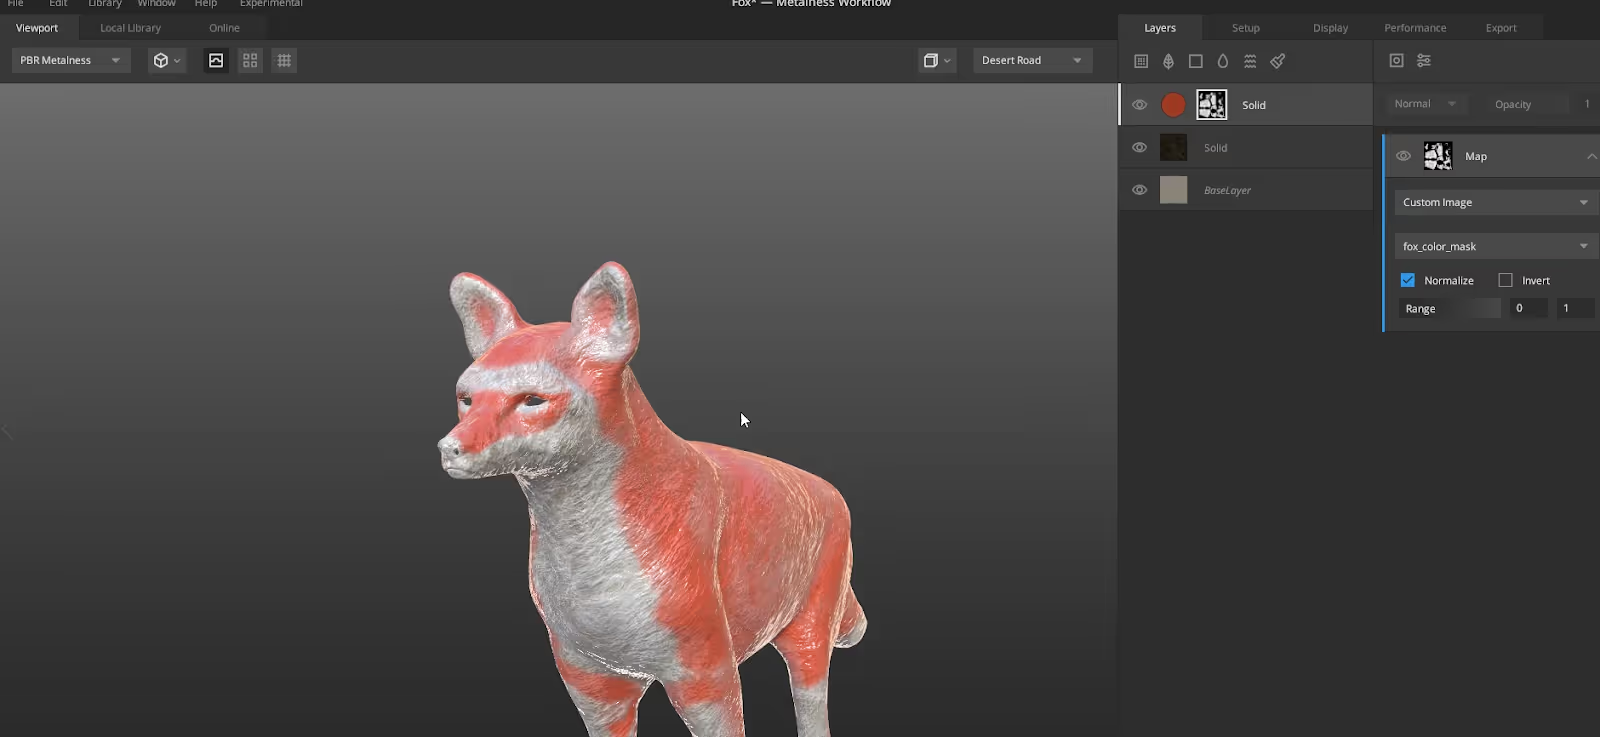
Let’s rinse and repeat for our black areas.
As you can see, Mixer reveals the layer below a layer with a mask stack where there are black areas on the mask map. I painted what should be the black areas black, which means I’ll need to invert my map.
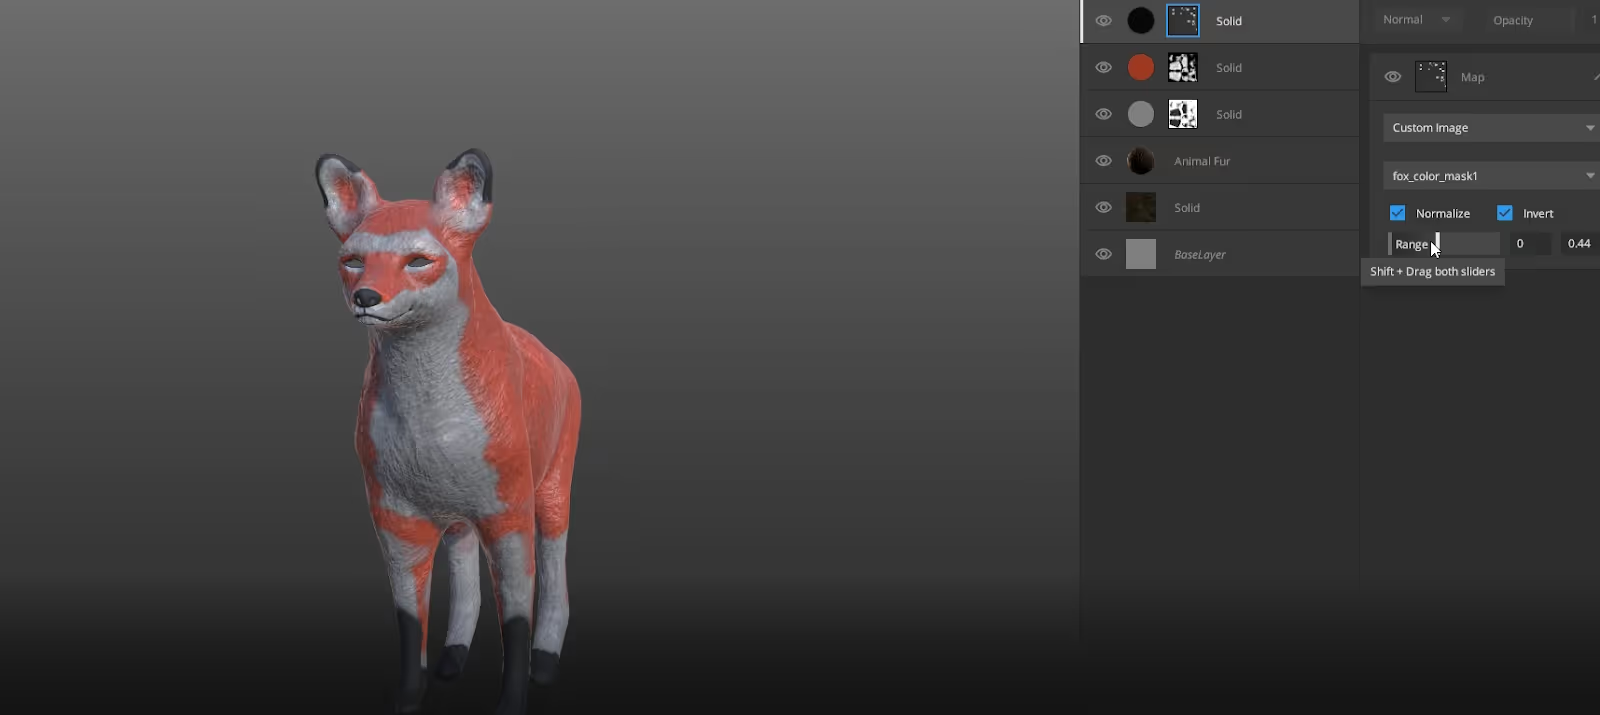
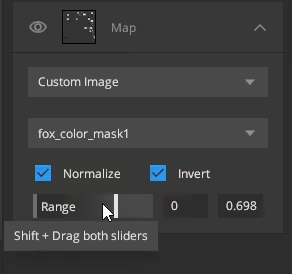
We might also adjust contrast using this range slider.
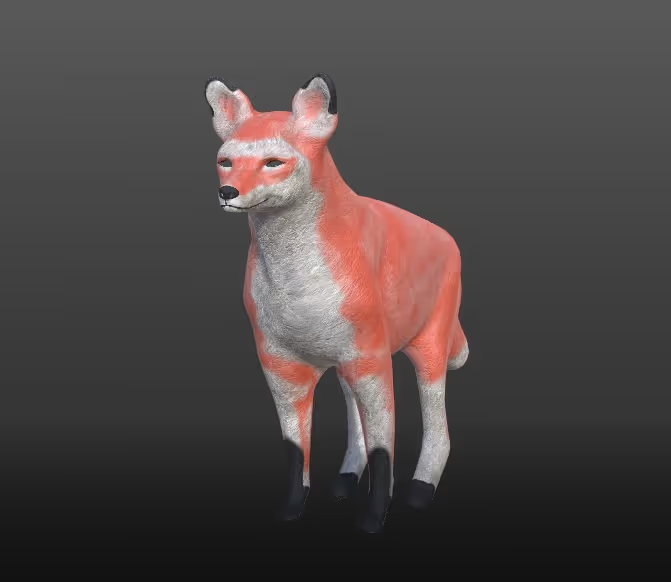
At this point, we can bring our new maps into Blender but let’s have a quick look at what we can do with the Megascans library. I’ll head to my local directory and use this animal fur surface. We won’t need the albedo channel for this, and we can start adjusting placement as before, and as you can see we can get a good result in no time. Let’s combine our materialize textures with this surface to get a final result. You could also combine two or more sets you created from Materialize or downloaded from a texture library, of course.
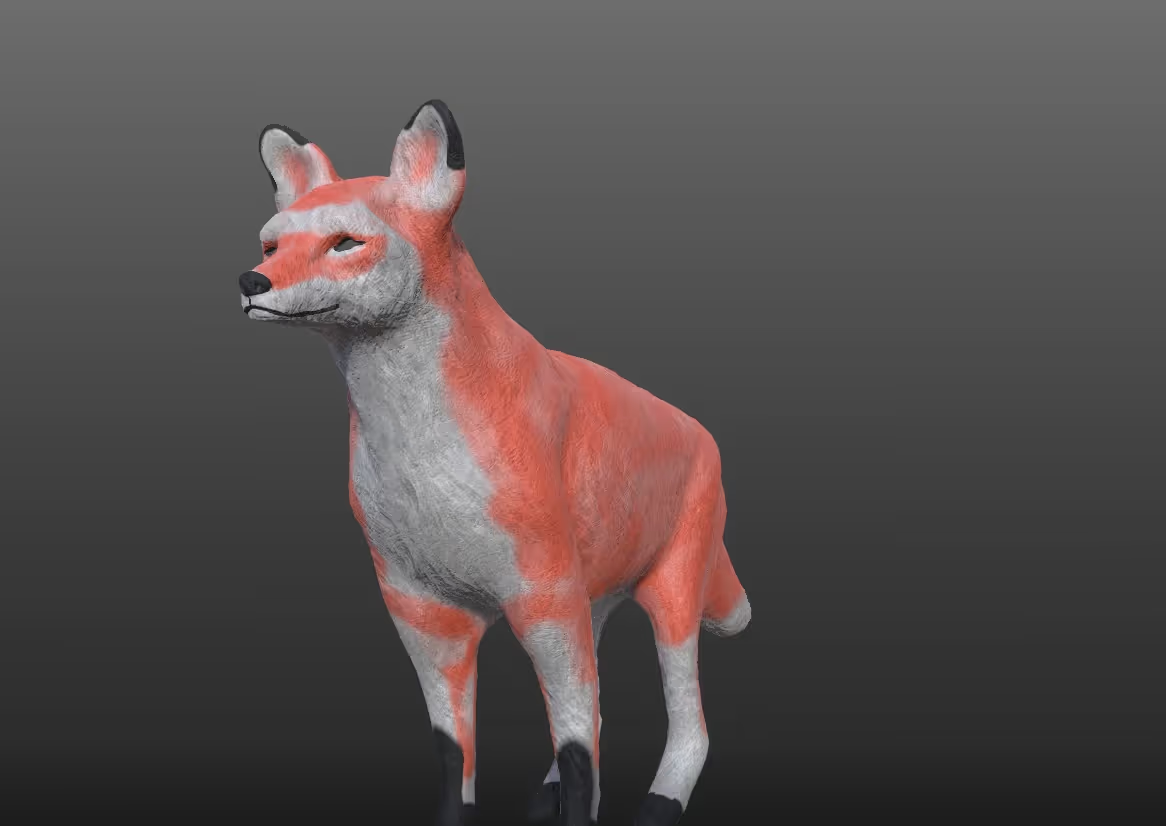
Let’s export our textures now and head back to Blender.
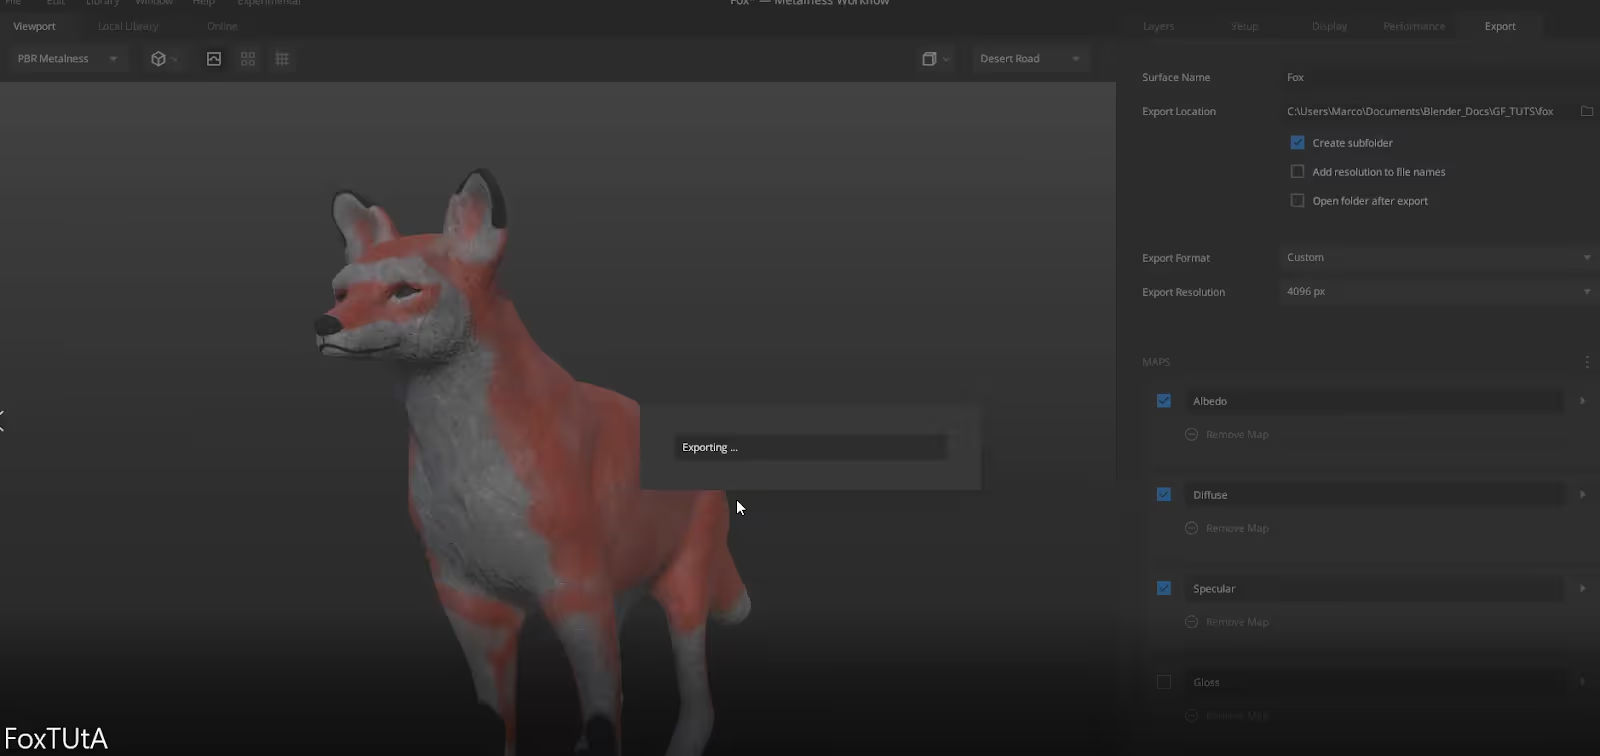
So here’s our textured mesh, which we can use when the fox is farther from the camera or is moving quickly across the frame may be but we’re going to add some actual fur to the model as well.
We’ll start with the parts of fur that dramatically affect the form of the fox as we see it,
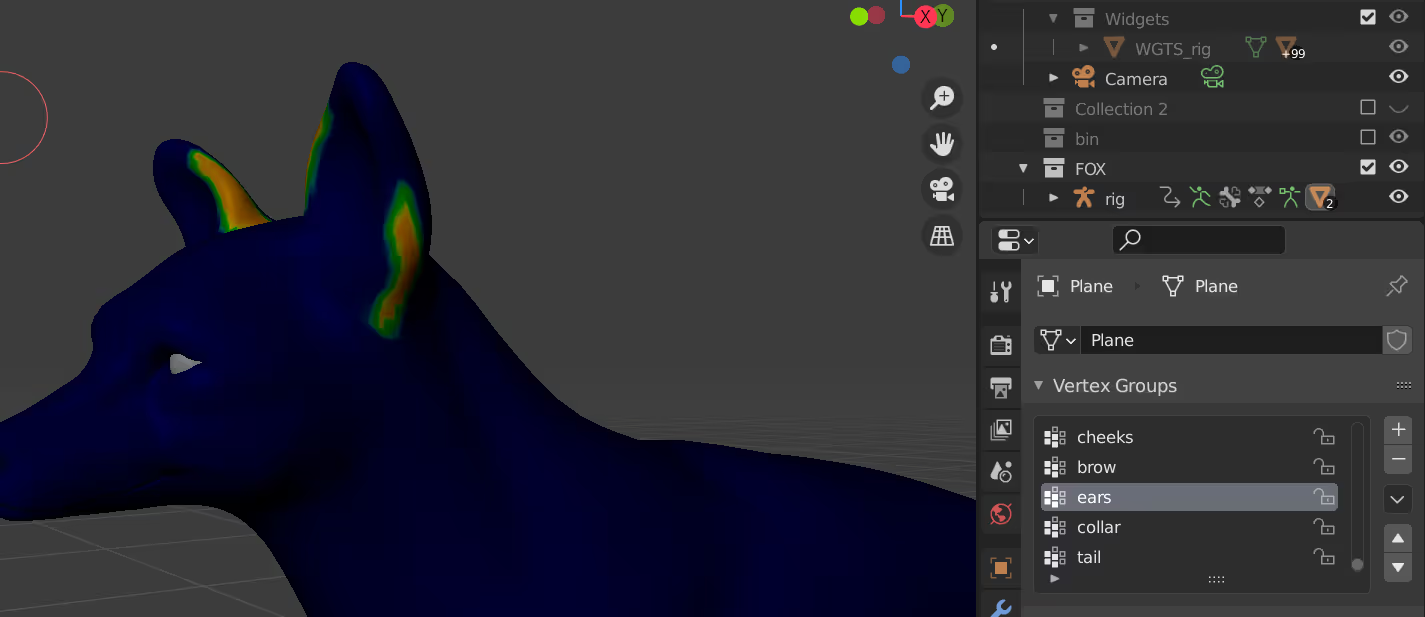
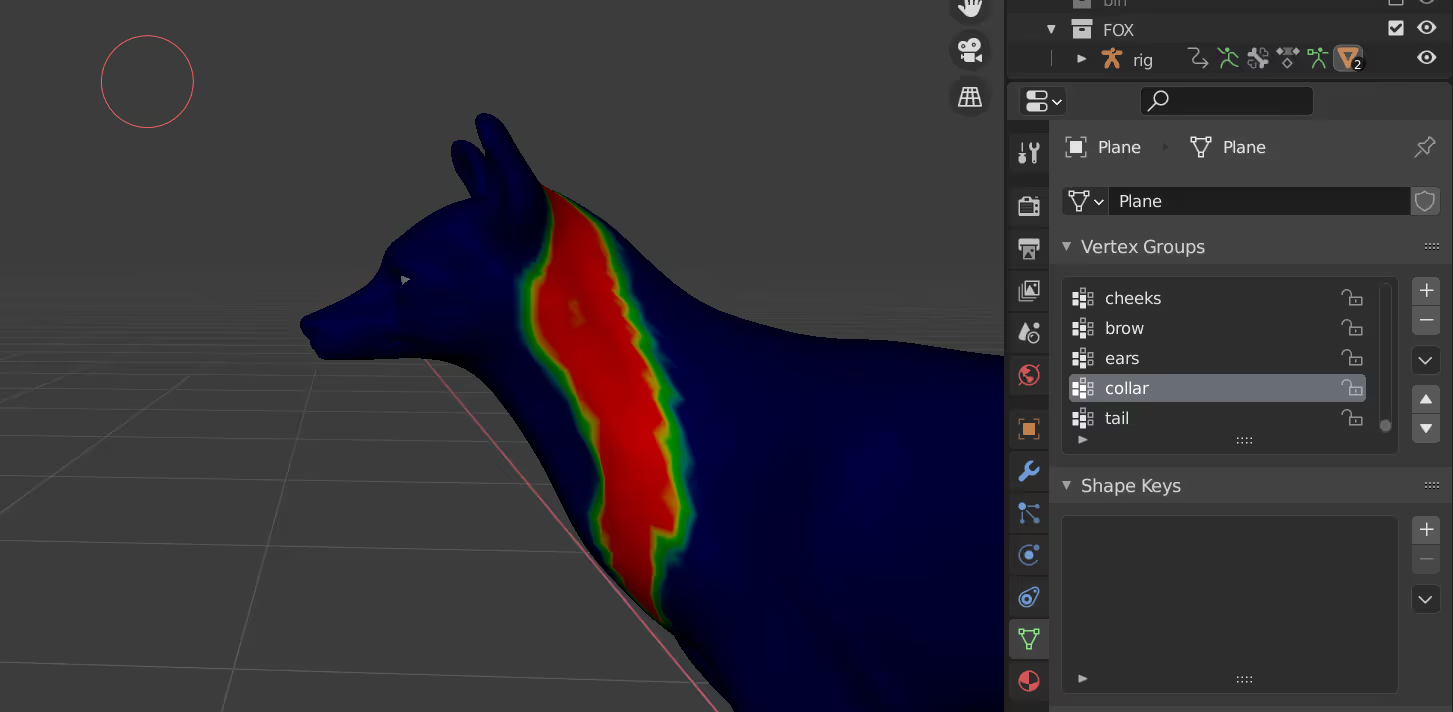
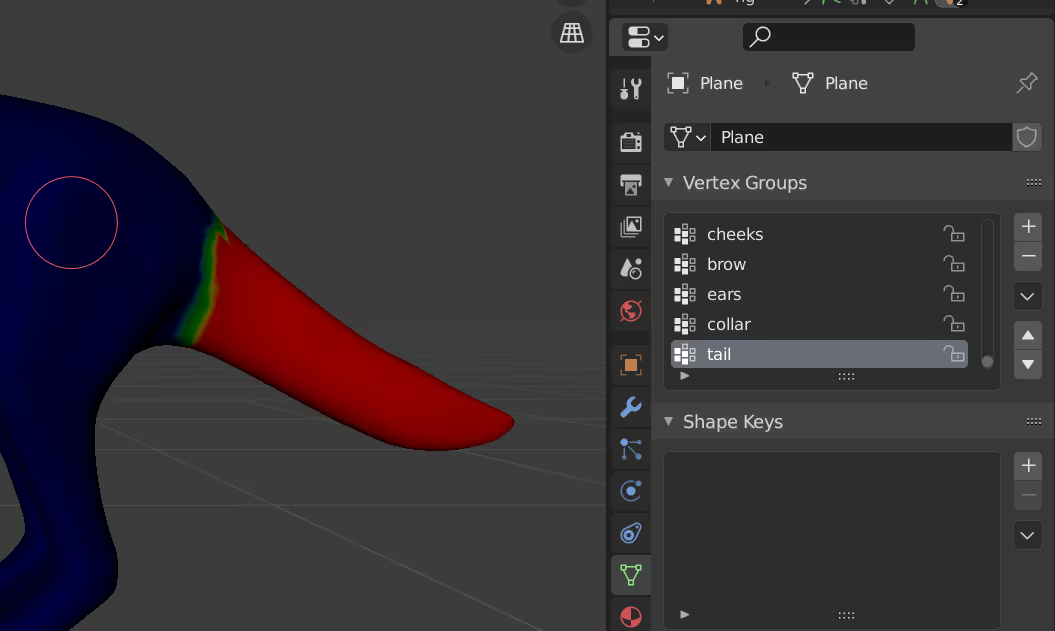
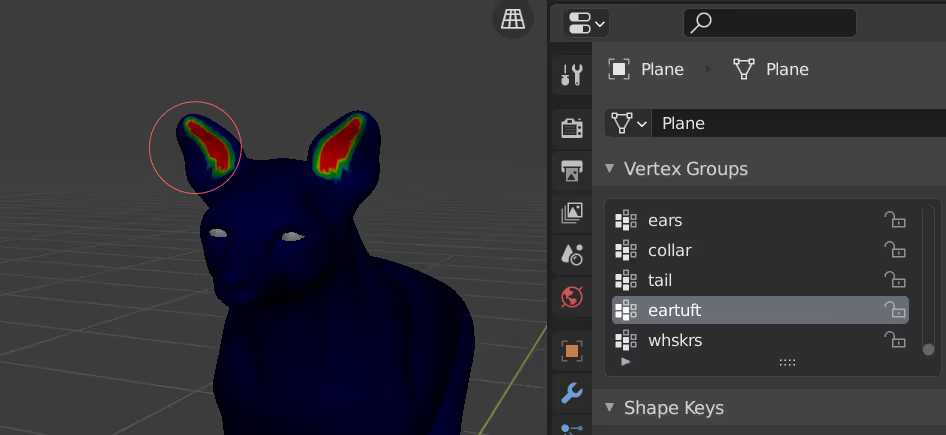
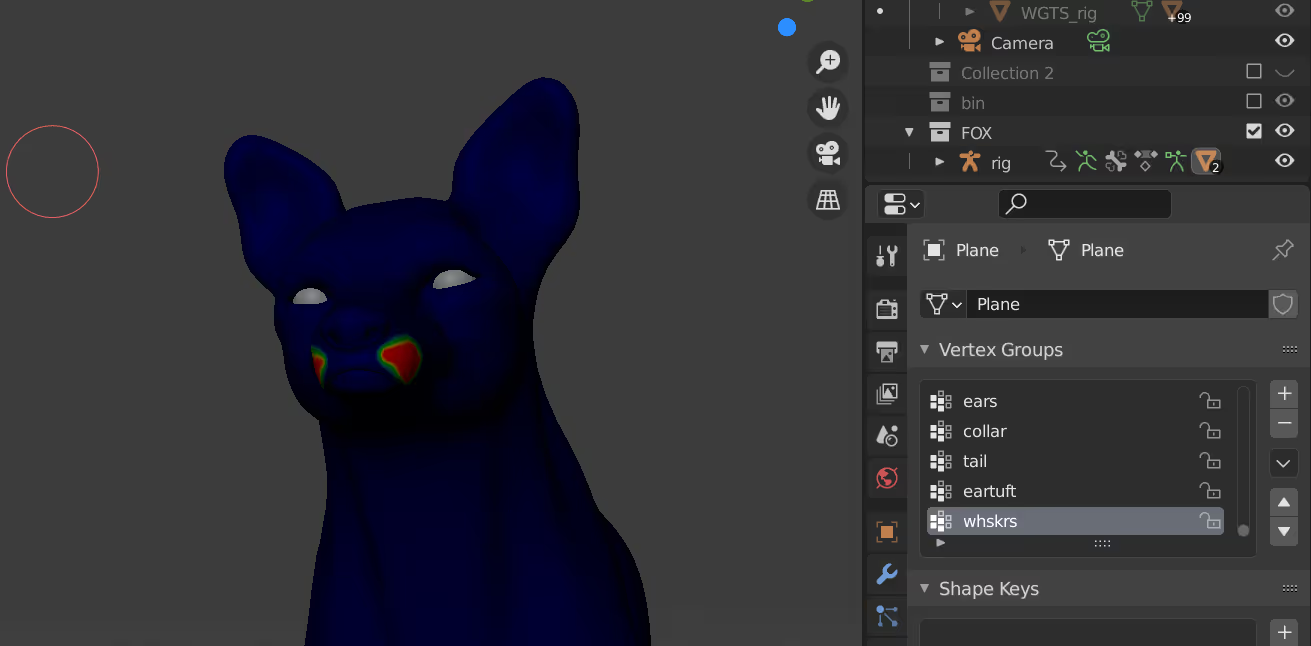
beginning with the fur on the cheeks. So in weight paint mode we’ll add a new group, name it cheeks and start painting weights to where we want the fur generated.
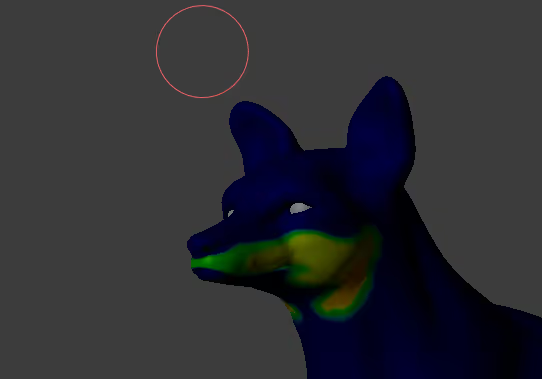
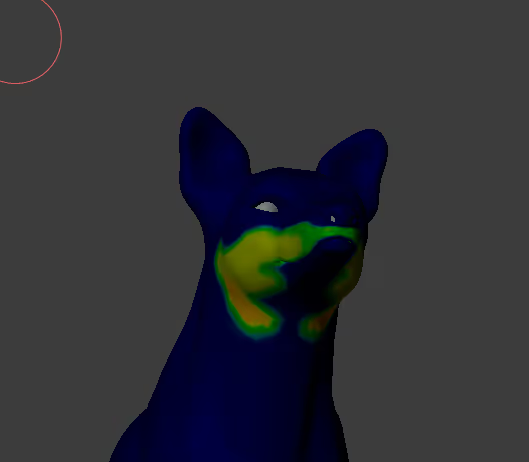
It’s good to make gradations in weight so that we can tell Blender not just where the fur should be but how long it should be in a specific region or where it should clump.
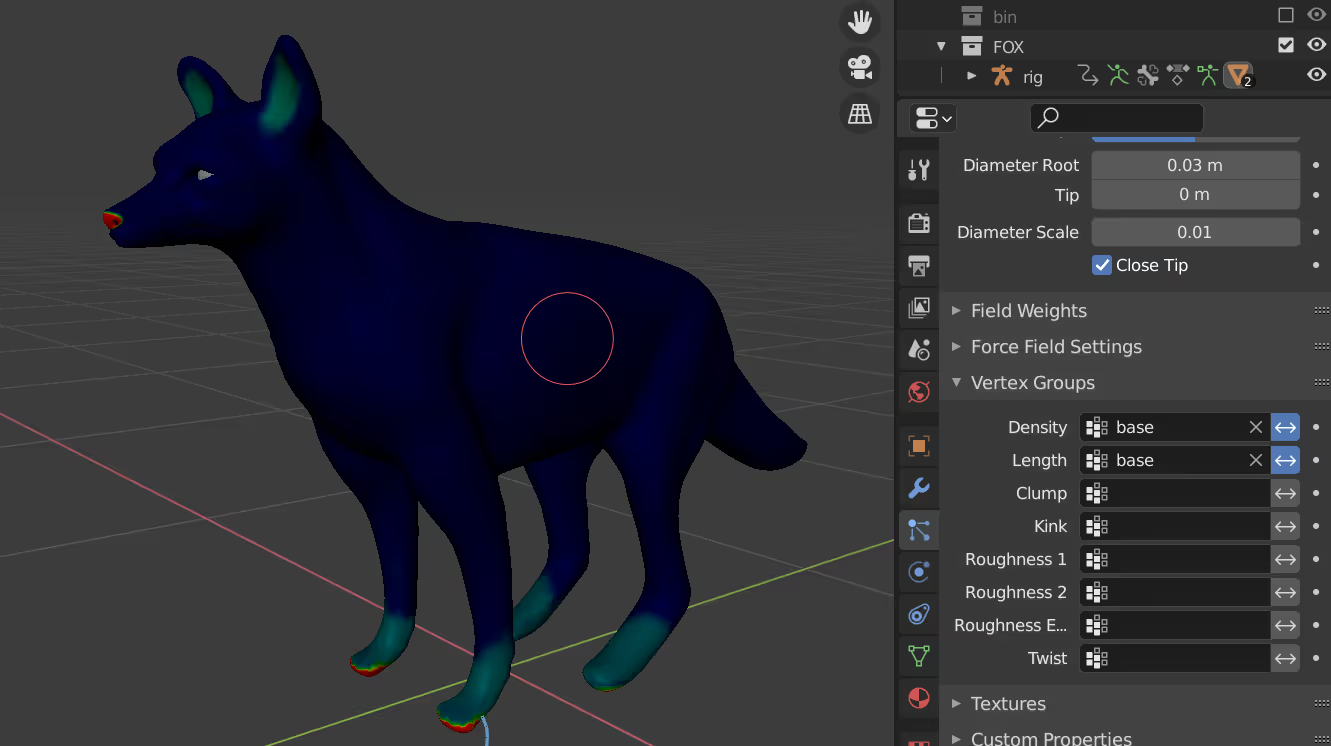
Now we can add a new particle system and assign our group to the density field in the vertex weight tab. In this case, we could also use this group to drive length, or just paint a new one.
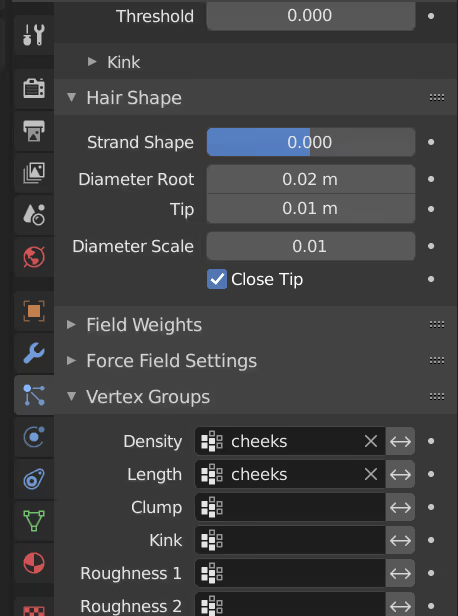
Let’s adjust the diameter the length and starting number until we get something we can work with.
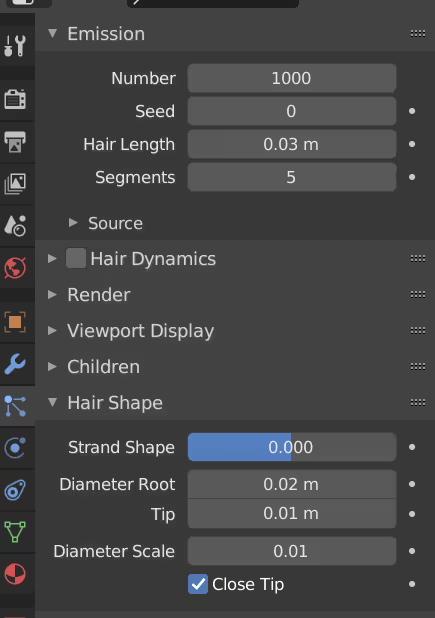
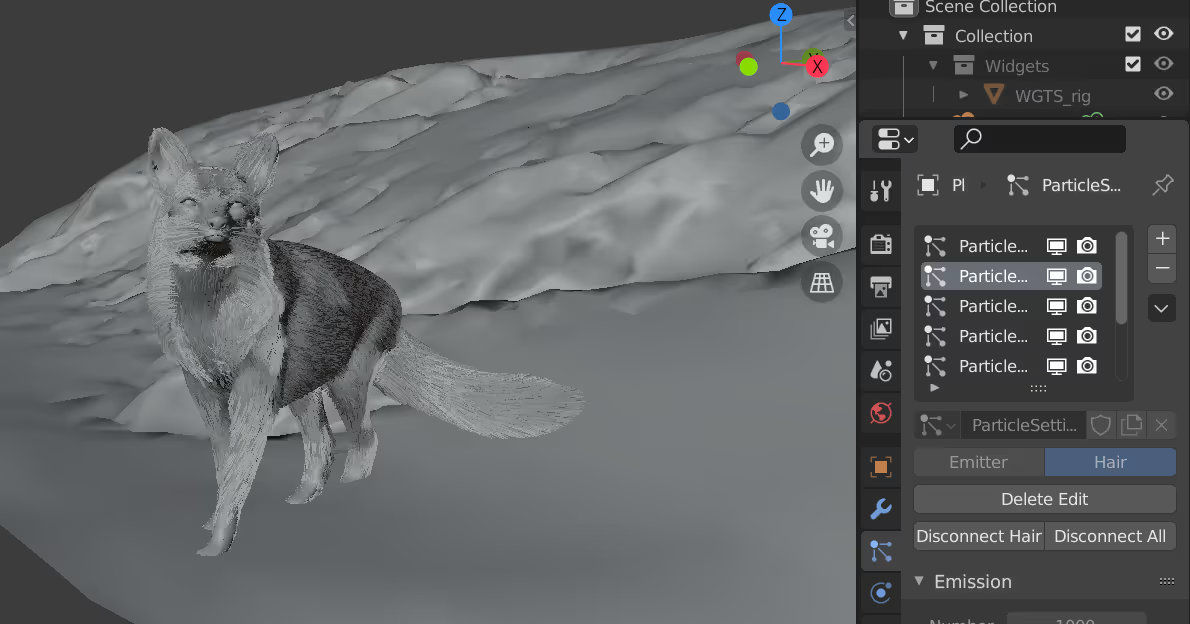
Then in particle edit mode, we can begin grooming the fur.
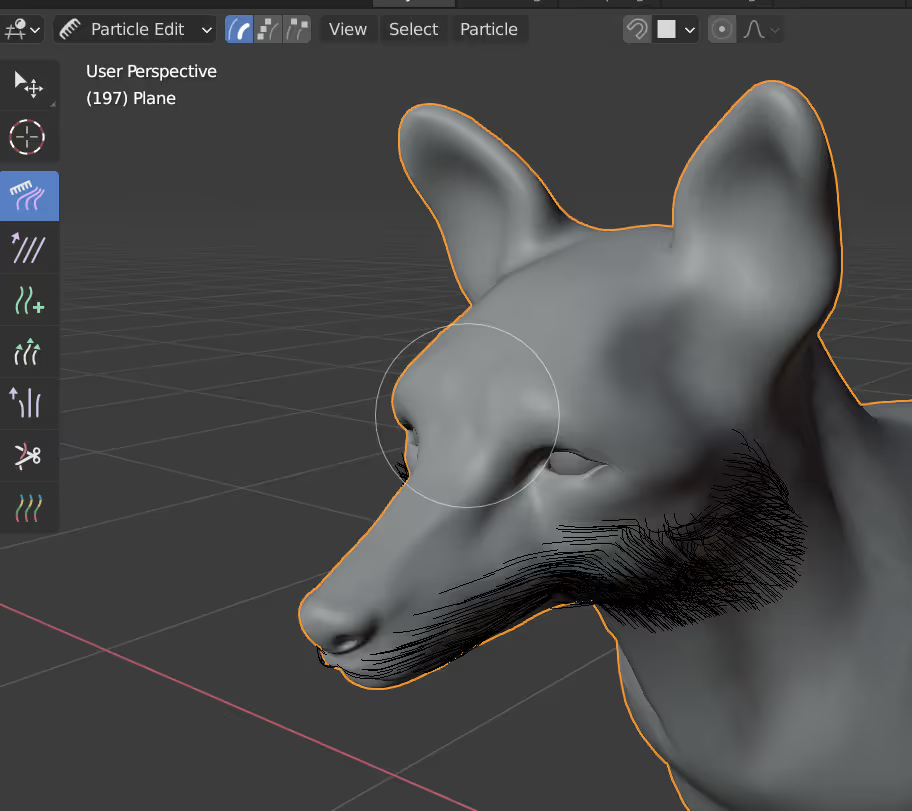
I’m just using the comb and length brushes to set the direction and changes in the length of the fur here.
When we’re happy we can add children for more volume.
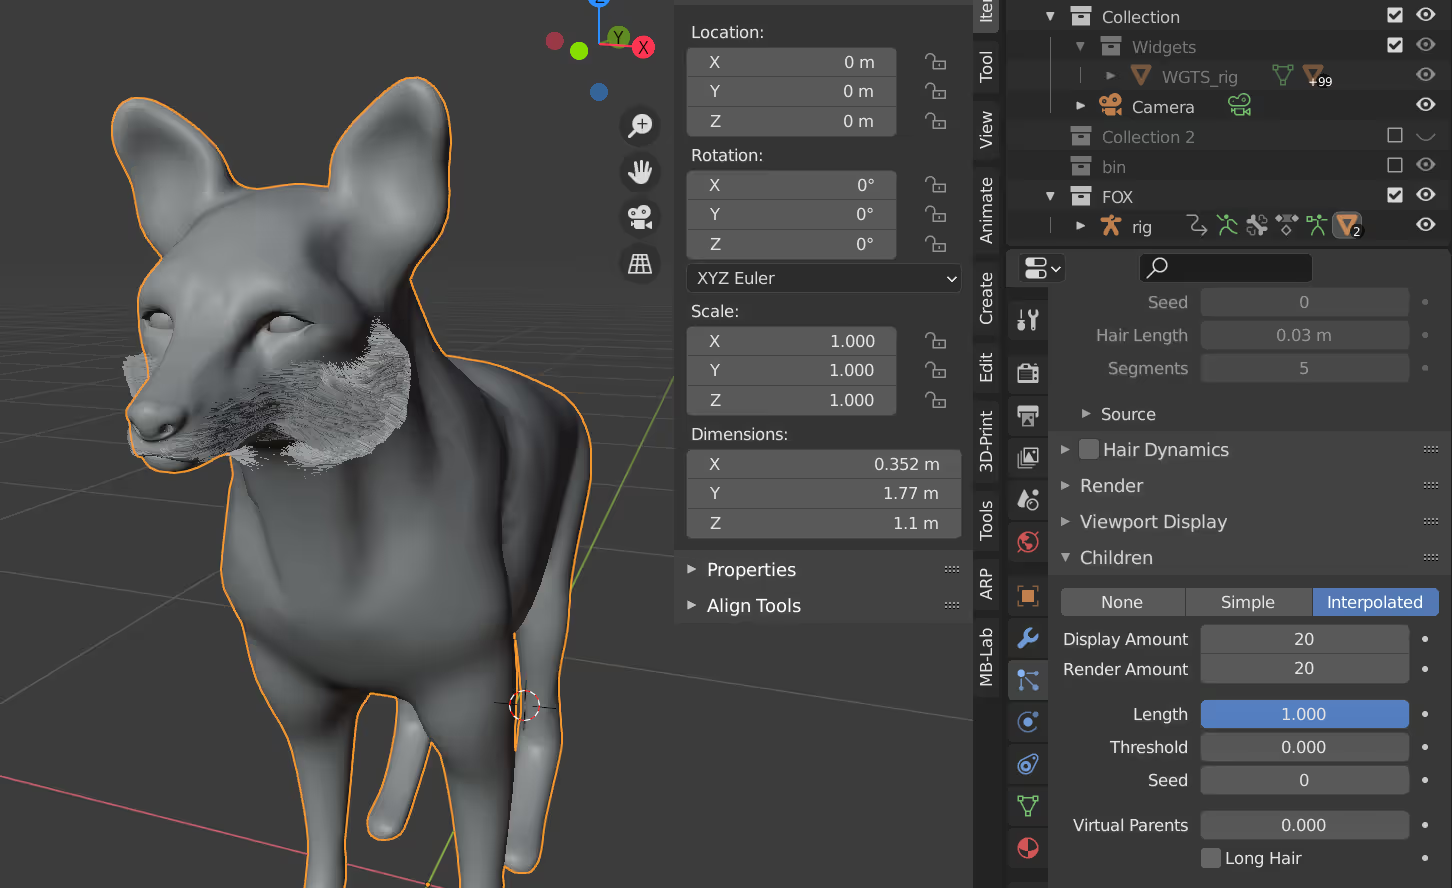
We’ll repeat this process for the following:
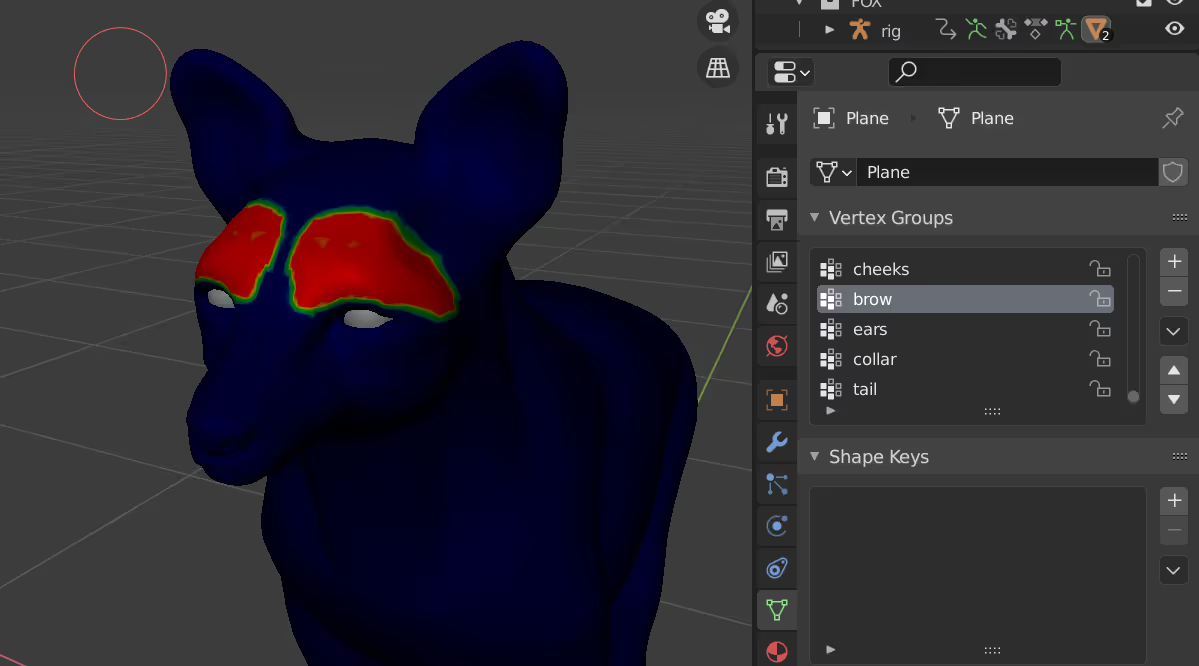
For the fur material, I used a principled hair shader in direct coloring mode and plugged in my color textures.
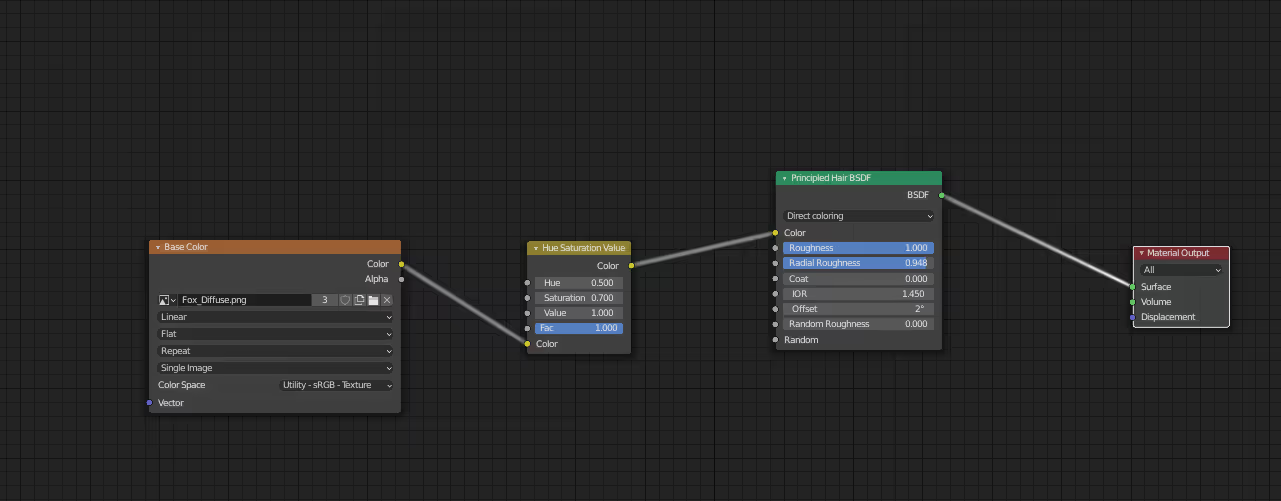
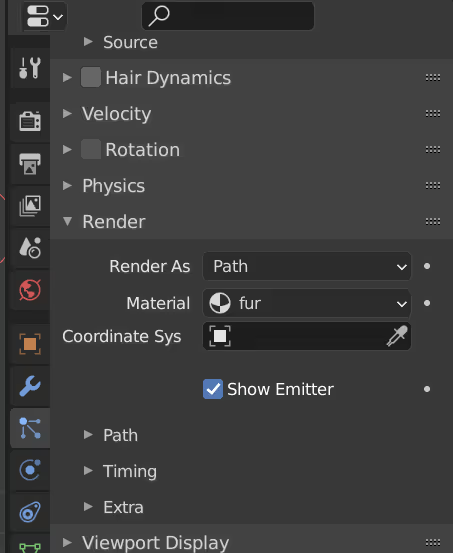
Note: I’m using the ACES color profile. While not necessary, I highly recommend learning about it. You can find out more here.
We’ll need to assign this material to each particle system.
We’ll create one final group for the base fur and in weight paint mode this time we’ll paint in areas we DONT want fur on (or as much fur at least), and in a new particle system, we’ll assign this group and invert it.
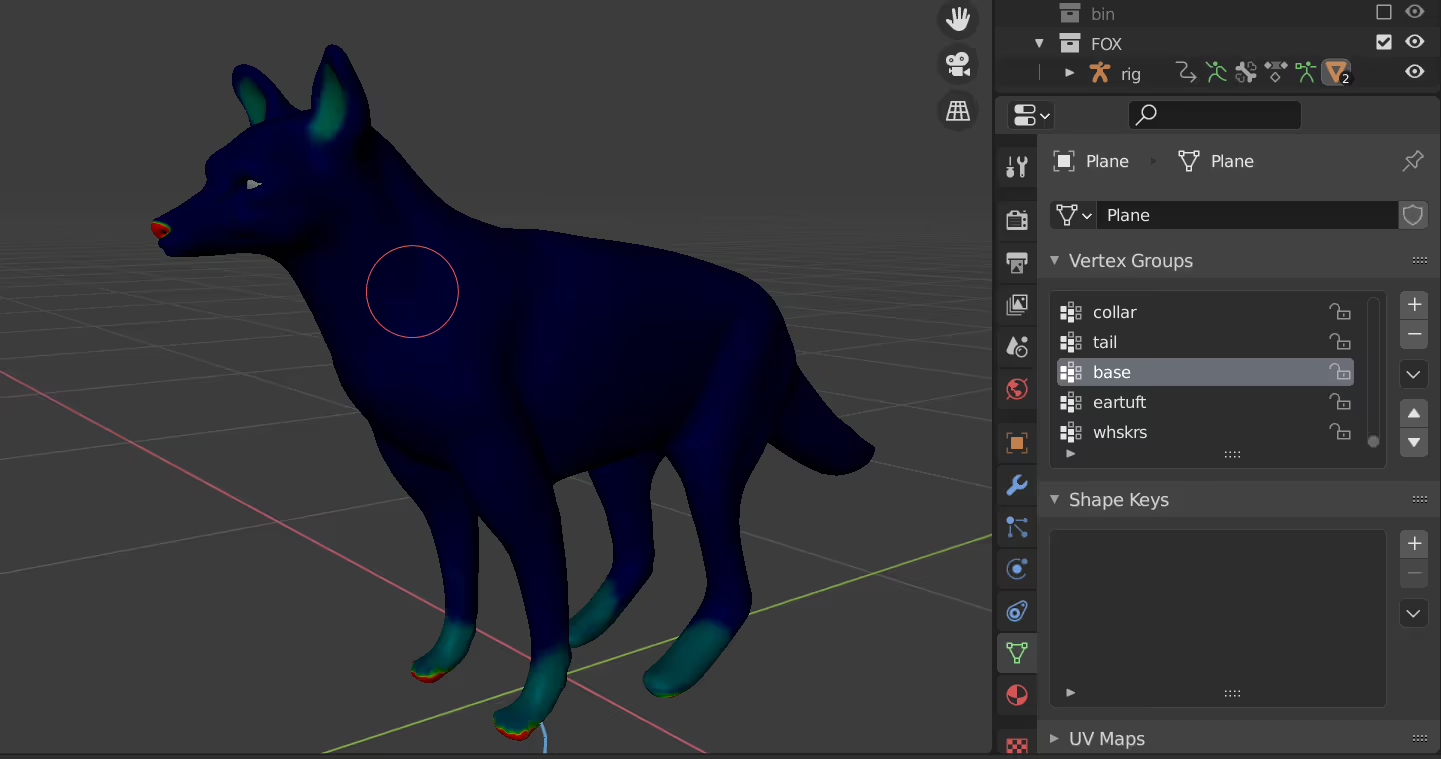
And that’s essentially it. I’ll leave it to you to refine and stage your model. Here’s what I ended up with.
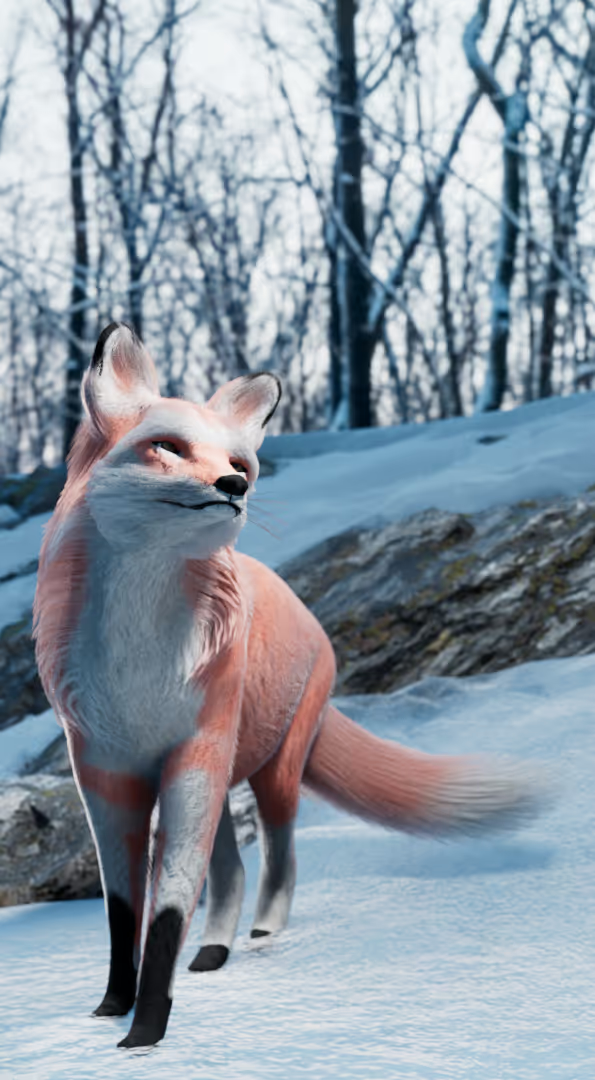
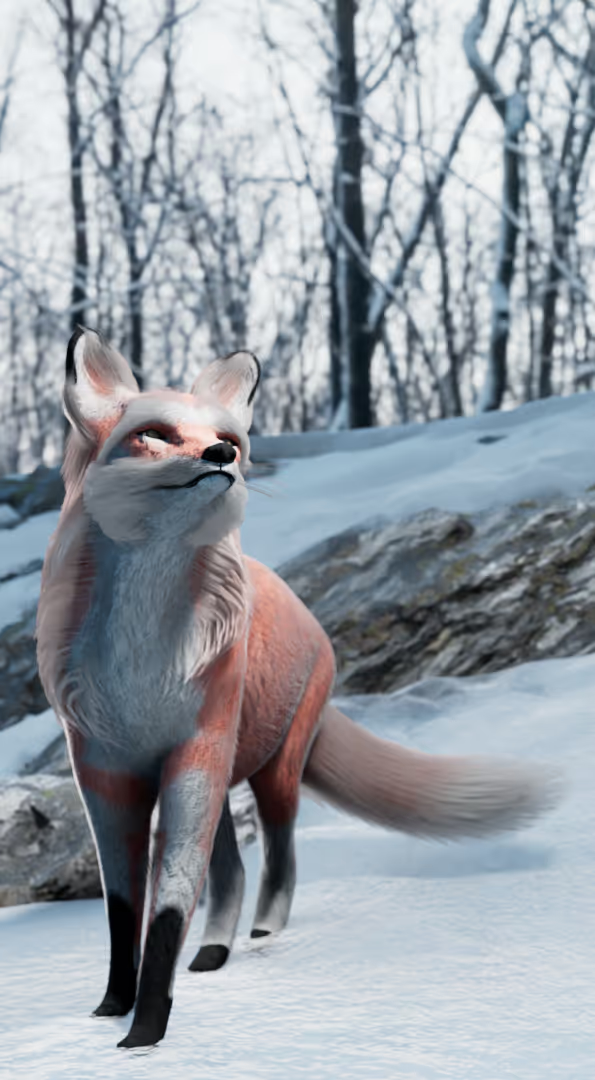
I hope this was informative, and I’d love to see what you come up with, so please tag us on social media if you decide to share your final result, or leave a link in the comments here.