-min.avif)
Are you interested in the world of 3D rendering? Then it’s time to learn 3ds Max. It won’t be easy, but you’ll be glad you did. 3ds Max is the most versatile of the 3D software options; no matter where a 3D file starts and no matter where it ends, 3ds Max is by far the best for importing, editing, and exporting. Many people I know who began in other 3D software (myself included) eventually had to learn 3ds Max just so that they could sell their 3D models online or export them properly for 3D printing, etc.; the list of reasons goes on. It’s not for nothing that 3ds Max is called the Swiss Army Knife of 3D modeling.
Luckily for you, there is no shortage of tutorials for learning 3ds Max. If you are willing to put a little time into learning 3ds Max each day, you’ll be well on your way to becoming a master.

I compare learning 3ds Max to learning to play the piano. You can’t simply sit back and watch tutorials - you must PLAY along. You have to play, and play, and play every day until you have enough muscle memory that when you hear a tune or see the notes written, your fingers can reproduce that music without you even thinking. You have to build muscle memory. You must also understand and accept that the first part will be the most frustrating - and the least rewarding.
Before you run off and start looking for tutorials, here is an outline for you to use as a guide.
The first thing you’re going to want to do is to learn the very basics. Almost any tutorial will begin with a walk-through of the interface. After you’ve got a grasp on the basics of 3ds Max, I recommend that right from the beginning, you follow along with tutorials that focus on modeling something you’re interested in.
I am not recommending any specific tutorials. Everyone’s interests are unique. If you follow tutorials that build things that you are interested in, you’ll be more likely to stick with them and work on it every day. Did I mention that you have to work at it every day? This really is essential. Ideally, if you can make the time, you will immerse yourself so completely in 3D modeling, lighting, and texturing that when you step up from your computer and look around at ordinary objects, you will not be able to help yourself from thinking about how those objects would be modeled in 3D, how their textures would be made in 3D, how a certain lighting effect would be created in 3D. This is the state of mind you want to achieve, and you can only get yourself there by constant, persistent dedication.
Before we get to it, a small plug - whether you’re an experienced 3D artist making the switch to 3ds Max or a total beginner, at some point, chances are you’ll need some extra rendering power from a reliable and affordable online render farm. We offer cloud rendering services that tick those boxes and more! If you anticipate rendering a long animation or a large number of stills in 3ds Max in the future, you can check out our industry-leading 3ds Max render farm, where you can chat with their support team anytime, and they will be happy to answer any questions you might have.
Let’s go over the 3ds Max Basics.
Modeling in 3ds Max can actually be quite simple, and it can be broken down into two steps: creating objects and modifying them.
In 3ds Max, we start by creating primitives - a sphere, or cube, for example, or a line (lines and paths are called splines in 3ds Max) - and then we modify those primitive forms into our desired forms by editing them, which is done by adding various modifiers. Even basic editing requires an ‘edit poly’ modifier, or if it’s a spline, an ‘edit spline’ modifier.
Good news! Although there are hundreds of objects and modifiers, you really only need to know a handful of them to make almost any form.
Before we get into specific modifiers, however, you’ll need to know how to manipulate the object in three ways: by Polygons (faces), by Edges, and by Vertices (points). This will be covered early on in any beginner tutorial.
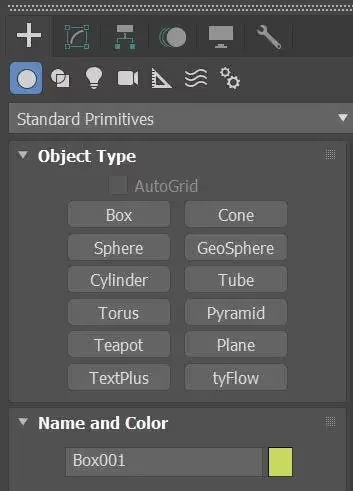
But wait! Which primitive shape do we begin with? As you become more experienced, you’ll know right away which object to start with. Keep following tutorials until you get the hang of it. The two main categories, to begin with, are Objects and Splines. For objects, you’ll typically begin with a plane, a box, a sphere, or a cylinder. See if you can find those four in the image below:
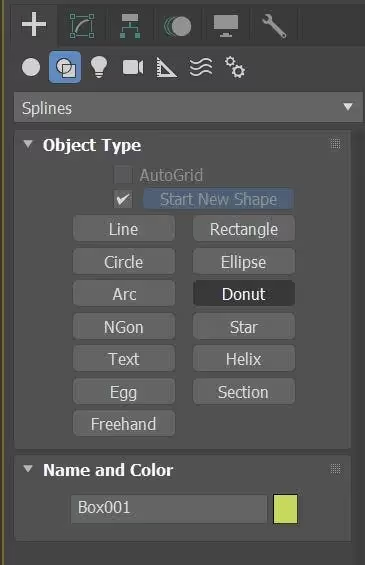
For splines, you’ll probably start with a Line, Circle, or Rectangle for 99% of the objects you create that begin with a spline. See if you can find those in the image below:
Next, it’s time to add modifiers. For objects, Edit Poly is more or less the only modifier you’ll need for most basic editing. For splines, the list is a little longer - you must familiarize yourself with Extrude, Lathe, and Sweep; these are essential. Below is a list of some of my most commonly used modifiers for both splines and objects:
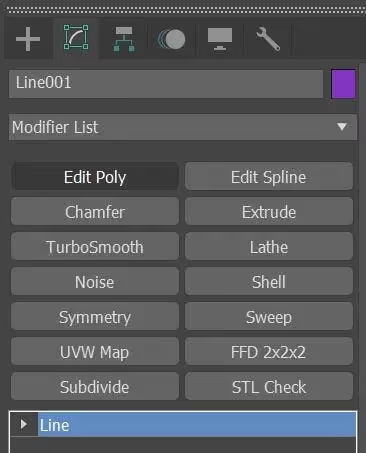
But that’s just for my type of work - it may not suit your needs. Once you have a feel for which modifiers you use most frequently, you can right-click on ‘Modifier List’, and you can configure your own ‘modifier set’, which adds them directly to your interface so that these most commonly used modifiers are always just a click away.
It’s important to note that there is almost always more than one way to model any given shape. It should also be added that many objects - plants, for example - are readily available for download, complete with textures, to be added to your scene. Check online first before you model that hydrangea plant!

Eventually, you will have to apply Materials to your objects - and these are a crucial part of 3D rendering. Of the various attributes, the primary four are as follows: color (sometimes referred to as ‘diffuse’) - this is the base color of the object if it had no reflectivity or transparency. Simple enough. Then there is bump: is the texture smooth, or does it have a bump to it? Lastly, reflection and refraction. How reflective is the material? Is the reflection clear (like a mirror) or blurry, like shiny leather? Does the reflection change depending on the angle at which you are looking at an object?
Many materials which seem to have no reflection or a blurry reflection when viewed head-on can be as reflective as a mirror when held at an acute angle. Hold a credit card right up to your computer screen - to these very words, and you’ll see that if you angle it right, you can read these words upside down like a mirror. Refraction is how well light and visibility passes through it - like reflection; you can modify the amount, the clarity, as well as other aspects.

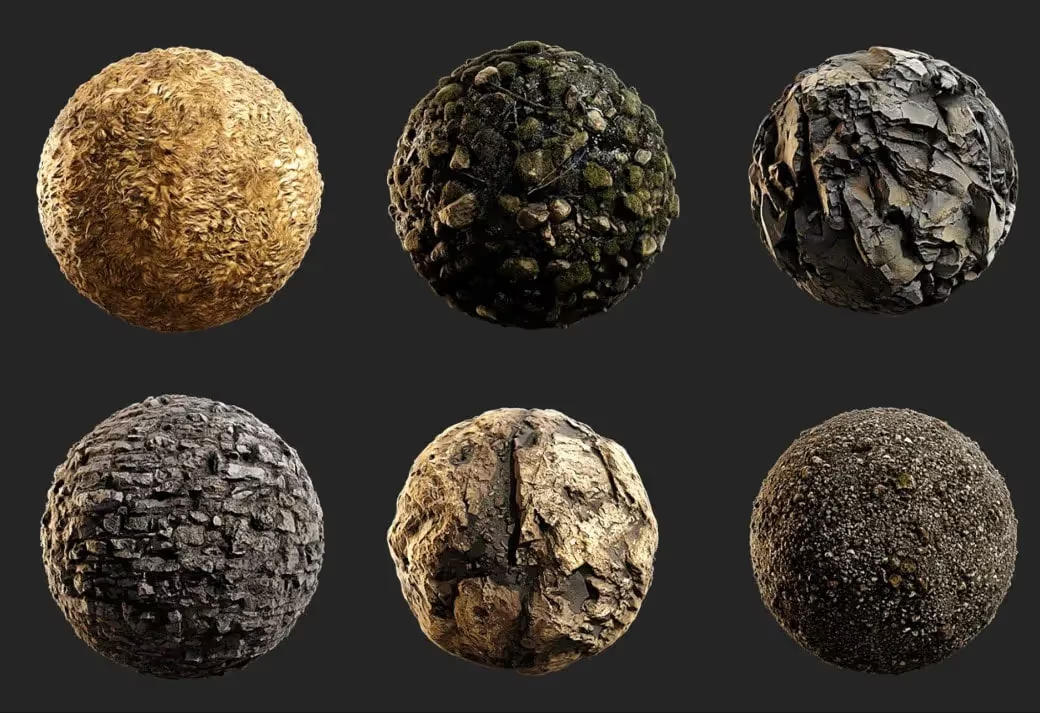
Texture creation will also require a high degree of comfort in Photoshop, as will the post-production of your images. Learning how to edit and clean up the images that feed into your textures, called maps, will also become essential to your workflow. Many complex textures might be available online for you to add directly to your scene. For example:
Lastly - there is lighting, scene set up, and cameras. It’s the most straightforward part but perhaps the most difficult to master. That’s partly because it’s not about 3ds Max - it’s about your own understanding of lighting, cameras, and composition. If you want to make beautiful interior architectural rendering- take a minute to study your favorite architectural interior photographs. What are the light sources? Is there direct sun or not? Is the light source behind the camera, above, or to the side?
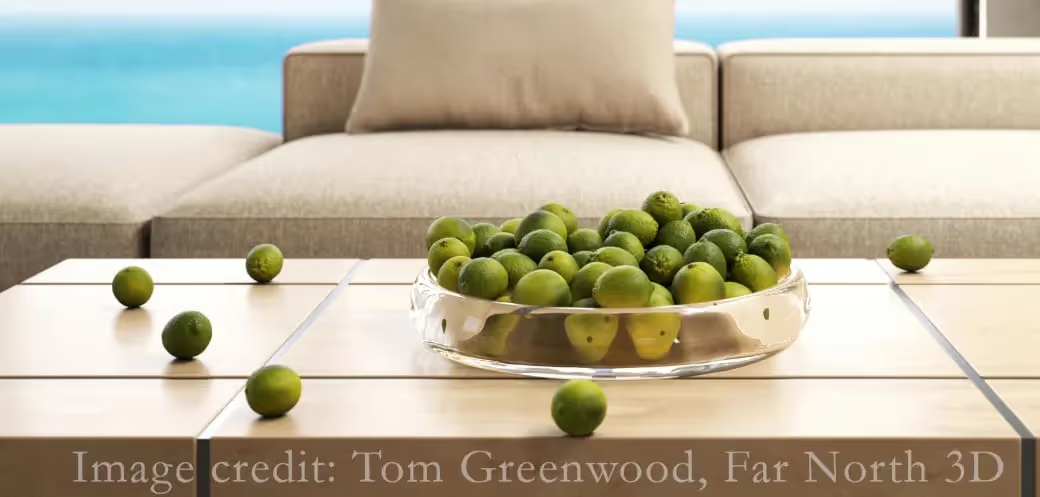
As I stated at the beginning - this is a craft that one learns by doing, over and over. It is also not something that one ever really masters - and I mean that in a good way - because the good 3D artists are always learning. Below is a rendering I did while doing TyFlow tutorials just this year, where I learned a new way to use physics simulators to let the limes fall randomly into a bowl and onto the table:
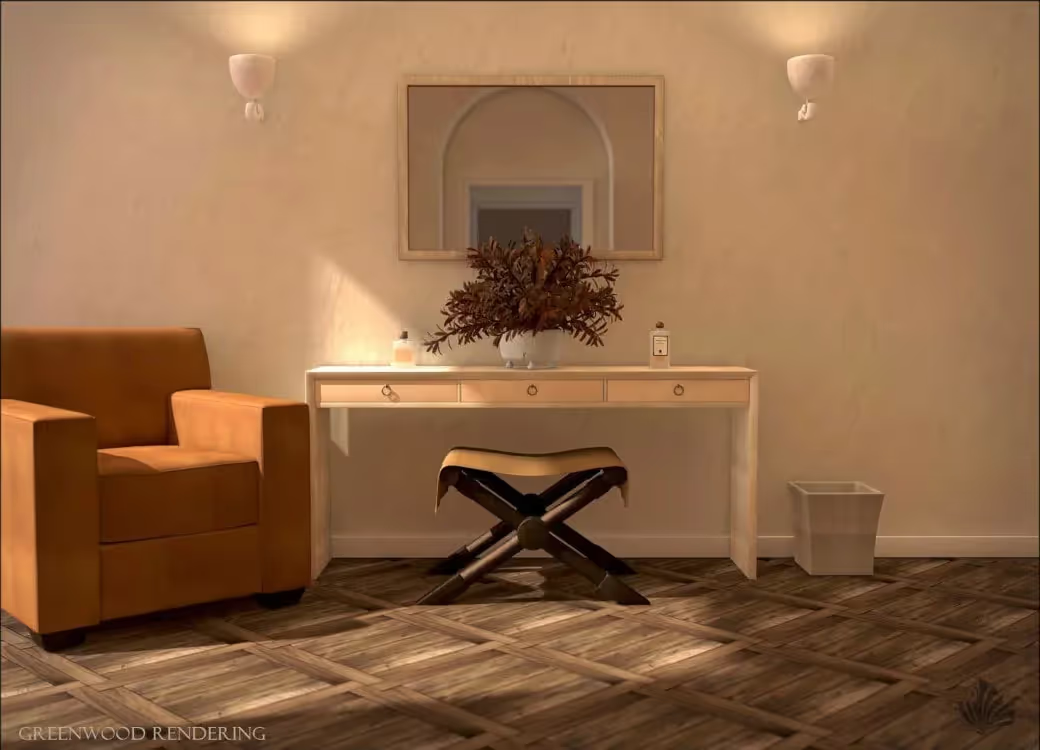
My personal journey might be different from yours. I wanted specifically to learn how to create photo-realistic 3D renderings of architecture, primarily interiors. I found tutorials that set up interior scenes and followed along. Some were good, some not so good. I studied my own favorite interior architectural photographs, and I recreated them as best I could. This is something I’d recommend to everyone. You get to learn 3ds Max while simultaneously building a solid portfolio - and best of all, it will be a portfolio of images in the style and vibe you love best!
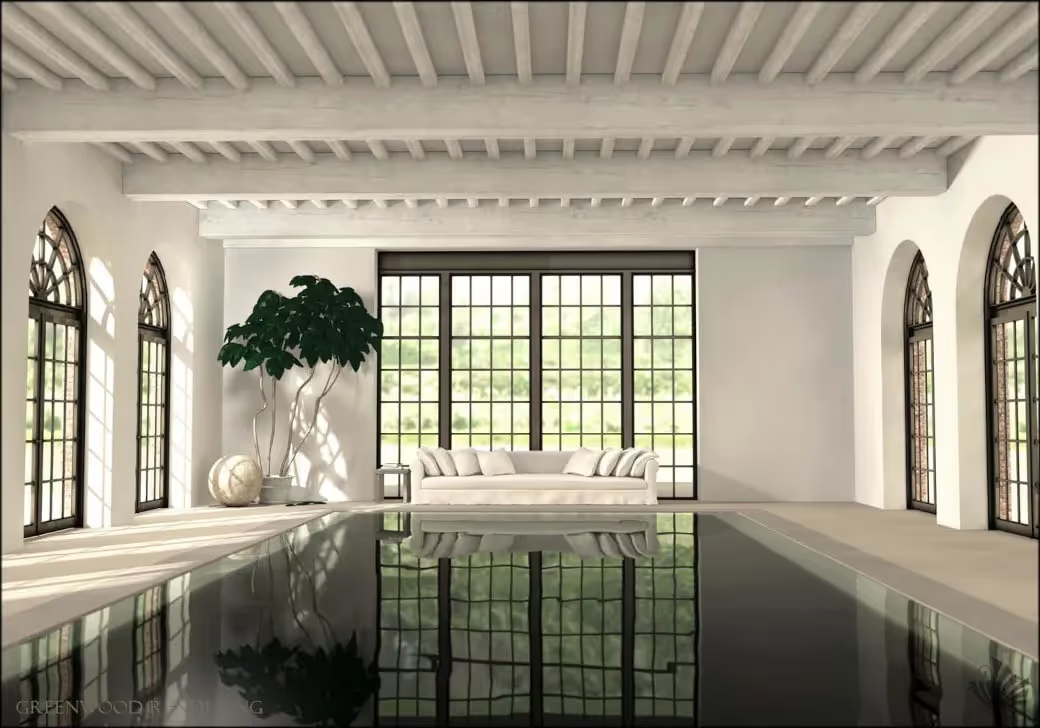
Those first images that I recreated painfully, with frustration and difficulty… those images alone, got me my first rendering job at a firm that I admired. It wasn’t a coincidence - the firm’s work would have fit right into my portfolio - just as the work I showed them would fit right into theirs. Here are a few of them… from 2007! Don’t judge me too harshly; my taste and ability have grown considerably in the past 15 years:
Good luck, thanks for reading, and have fun!
Tom
Far North 3D