Key takeaways
- The global 3D rendering market was valued at about USD 4.3 billion in 2025 and is projected to reach about USD 5.23 billion in 2026 (Mordor Intelligence).
- Rendering turns 3D scenes into finished images or animation frames.
- Good lighting, clean materials, and simple test renders can help beginners improve faster.
- Test renders help you spot problems early before committing to a slower final output.
TL;DR
Rendering is the process of turning a 3D scene into a finished image or animation. For beginners, the most useful starting point is understanding how models, materials, lighting, cameras, and render settings work together. Once those basics are clear, it becomes easier to improve quality, reduce mistakes, and manage render time without feeling overwhelmed.
Introduction
Rendering can feel confusing at first because it sits at the point where many parts of a 3D project come together. A model may look finished in the viewport, but the final render depends on how the scene is lit, what materials are applied, where the camera is placed, and how the render engine calculates the image. As the 3D rendering market continues to grow, with a value of about USD 4.3 billion in 2025 and a projected rise to about USD 5.23 billion in 2026, more beginners are learning rendering for design, animation, architecture, product visuals, games, and creative production.
What rendering means
Rendering is the process of converting a 3D scene into a final image or sequence of images. The scene may contain models, lights, materials, textures, cameras, and effects, but the render is what turns all those choices into something viewable and shareable.
The difference between the viewport and the final render
The viewport is where you build, adjust, and preview your scene while working. The final render is the polished output created by the render engine, usually with more accurate lighting, shadows, reflections, materials, and image quality than the working preview.
Still renders and animation renders
A still render creates one finished image, while an animation render creates many frames that play in sequence. This is why animations often take much longer to render than still images, even when the scene itself looks simple.
The main parts of a render
A render is shaped by several creative and technical choices working together. Beginners do not need to master every setting at once, but it helps to know what each major part does before trying to fix problems.
Models

Models provide the shapes in the scene. Clean, organized models are usually easier to light, shade, and render because they give the render engine clearer geometry to calculate.
Materials and textures

Materials control how surfaces look. A material can make an object feel like glass, metal, plastic, wood, fabric, skin, ceramic, or painted surface, depending on settings such as color, roughness, reflection, and transparency.
Textures add surface detail to materials. They can create patterns, color variation, scratches, bumps, labels, fabric weave, or other small details that make a render feel more complete.
Lighting

Lighting affects the mood, clarity, and realism of a render. A simple lighting setup can often do more for an image than adding extra objects or complex effects.
Camera
The camera decides what the viewer sees. Framing, angle, distance, and focal length all influence how professional or readable the final image feels.
Render settings
Render settings control details such as resolution, samples, denoising, output format, and quality. Higher settings can improve an image, but they can also increase render time, so beginners should change them carefully.
Common types of rendering
Different workflows use different rendering methods. Beginners will often hear terms like real time rendering, offline rendering, CPU rendering, and GPU rendering, so it helps to understand the basic idea behind each one.
Realtime and Offline Rendering Explained - by the lemon
Real time rendering
Real time rendering produces images quickly enough for interaction. It is commonly used in games, viewport previews, virtual production, and interactive design tools where speed matters.
Offline rendering
Offline rendering focuses more on final quality than instant feedback. It is often used for polished still images, product renders, architectural visuals, visual effects, and animation frames.
CPU rendering
CPU rendering uses the computer’s processor to calculate the image. It can be useful for certain render engines, complex scenes, or workflows that rely on large amounts of system memory.
GPU rendering
GPU rendering uses the graphics card to calculate the image. It is often faster for modern 3D workflows, but it can depend heavily on available graphics memory and software compatibility.
Why rendering takes time
Rendering takes time because the computer has to calculate how light, surfaces, camera settings, and scene details interact. A simple scene with basic lighting may render quickly, while a heavy scene with reflections, transparency, dense models, high image resolution, and many effects can take much longer.
Resolution
Resolution controls the size of the final image. A small preview render is faster because it has fewer pixels to calculate, while a larger final render needs more processing power.
Samples and noise

Samples help clean up grain and visual noise in a render. Too few samples can make an image look rough, while too many samples can waste time if the image is already clean enough.
Reflections and transparency
Reflective and transparent materials can increase render time because the render engine has to calculate more light interactions. Glass, mirrors, glossy floors, and shiny metal surfaces often need more careful testing.
Scene complexity
Heavy models, large textures, hair, particles, smoke, cloth, water, and other simulation elements can slow down rendering. Simplifying what the camera cannot see is often one of the easiest ways to make rendering more manageable.
A simple rendering workflow for beginners
A good beginner workflow is built around testing often and improving one part of the scene at a time. This keeps the process easier to understand and helps avoid wasting time on long final renders before the scene is ready.
Start with small test renders
Begin with low resolution test renders to check the camera, lighting, materials, and overall composition. This lets you catch problems early before committing to a slower final render.
Choose the camera angle early
A clear camera angle gives the scene direction. Once you know what the viewer should focus on, it becomes easier to decide what needs detail and what can stay simple.
Build the lighting before polishing materials
Lighting can change how every material looks. Testing lights first helps you avoid overcorrecting materials that only look wrong because the scene is not lit well yet.
Adjust materials one at a time
Changing too many materials at once can make it hard to know what improved or what caused a new problem. Work gradually so each change is easier to judge.
Save final quality settings for the end
Final settings are best used once the scene already looks good in previews. This keeps the workflow faster and gives you more room to experiment before the slowest stage.
Common beginner rendering mistakes
Many beginner rendering problems come from rushing into final output too early. Rendering at full size before checking the scene, adding too many lights, raising samples without understanding the noise source, ignoring the camera, or using overly heavy assets can make the process slower and more frustrating than it needs to be.
Using high settings too soon
High settings can make test renders slow, which makes experimentation harder. Fast previews are usually more useful at the beginning because they let you make more creative decisions in less time.
Adding too many lights
More lights do not always create a better render. A few purposeful lights are usually easier to control than a crowded lighting setup with unclear shadows and uneven highlights.
Ignoring composition
A technically clean render can still feel weak if the composition is unclear. The subject should be easy to read, and the camera should guide the viewer toward the most important part of the scene.
Overloading the scene
Adding more objects, textures, and effects can make a scene harder to render and harder to understand. Beginners often improve faster by simplifying the scene and making each visible element matter.
How to make renders look better
Better renders usually come from clearer choices rather than more complicated settings. Good lighting, balanced materials, clean composition, and regular test renders can make a beginner scene feel more polished without turning the workflow into a technical puzzle.
Use simple lighting with purpose
A strong main light, soft shadows, and a little contrast can help a render feel more finished. The goal is to make the subject readable and give the scene enough depth.
Keep the focus clear
A render should have a clear visual priority. Remove distracting elements, reduce clutter, and make sure the main subject stands out from the background.
Improve materials gradually
Good materials often come from small adjustments to roughness, reflection, color, and texture strength. Beginners should compare changes through test renders instead of guessing from the viewport alone.
Compare versions
Rendering a few variations can make decisions easier. Try different camera angles, lighting setups, or material values, then choose the version that communicates the scene best.
When a render farm can help
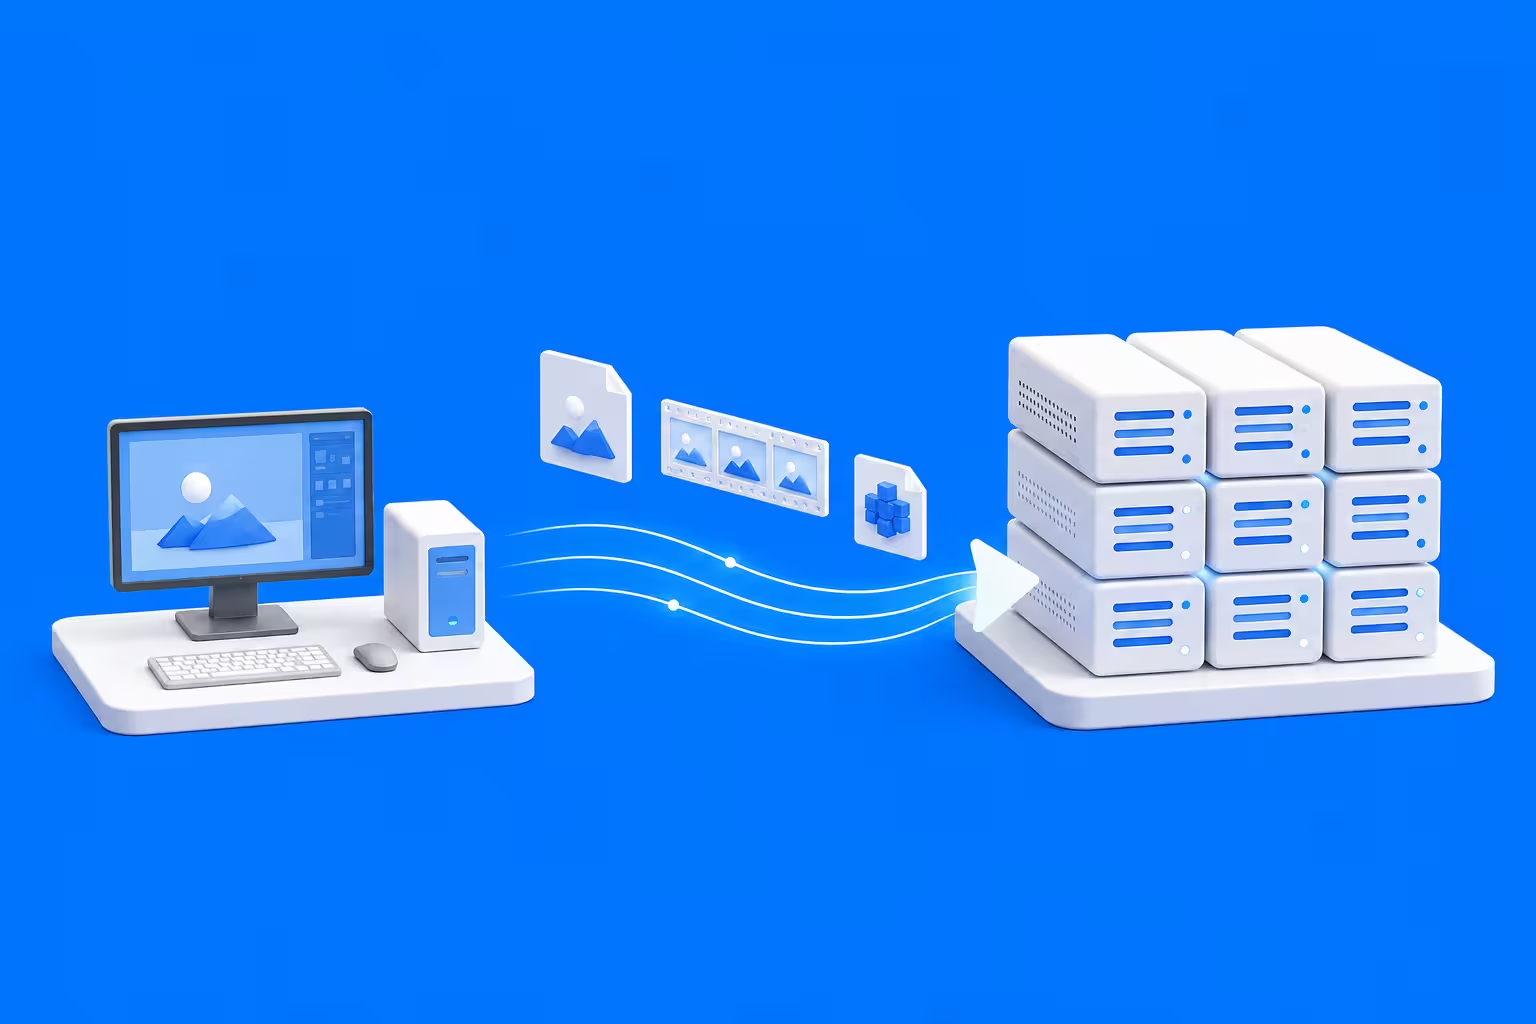
A render farm uses multiple machines or cloud resources to process renders faster than one local computer can. Beginners may not need one for simple tests, but it can become helpful when a project has long animation sequences, heavy scenes, large final images, or deadlines that make local rendering too slow.
Rendering animations
Animation rendering can take a long time because every frame has to be calculated. A render farm can divide frames across multiple machines, which helps the whole sequence finish more efficiently.
Rendering large still images
High quality still renders can also become slow when the scene has complex lighting, large textures, reflections, or heavy geometry. A render farm can help when a final image is too demanding for a local workstation.
Keeping the workflow moving
Long local renders can interrupt creative work because the computer may become slower while rendering. Sending heavy work to a render farm can let artists keep adjusting scenes, preparing other shots, or reviewing results without waiting as much on one machine.
Basic rendering terms to know
Learning a few common terms can make tutorials, software settings, and troubleshooting easier to follow. You do not need to memorize everything at once, but these words will come up often as you practice rendering.
Render engine
A render engine is the tool that calculates the final image. Different render engines can produce different looks, speeds, and workflows.
Samples
Samples are calculations used to clean up the image. More samples can reduce noise, but they can also increase render time.
Denoising
Denoising is a feature that helps reduce grain in a render. It can be useful, but it works best when the render already has enough information to create a clean result.
Render pass
A render pass is a separate output for part of the image, such as shadows, reflections, lighting, or depth. These are often used in compositing and more advanced workflows.
Render queue
A render queue is a list of renders waiting to be processed. It is useful when rendering multiple frames, camera angles, or versions.
Final thoughts

Rendering becomes easier when you stop treating it as one big final button and start seeing it as a series of small choices. A clear camera, simple lighting, clean materials, and regular test renders can help beginners build confidence quickly. As projects become larger, tools like render farms can support heavier work, but the strongest results still come from understanding the basics and improving the scene step by step.
Register Now and Get $50 FREE Credits!