


If you are an enthusiastic animator and looking for guidance on how to use Blender, you have landed in the right place!
But before delving into the Blender Fundamentals and its usage in the animation industry, let's briefly discuss the increasing significance of Animation in today's contemporary world.
3D computer graphics taking over…
The animation isn't confined to the entertainment industry anymore. Nowadays, the ubiquitous influence of Animation can be seen in all industries, particularly in advertisement, and education.
Businesses are increasingly banking on 3D computer graphics to market themselves – entrenching it as the most influential marketing tool. Animation has many privileged characteristics that no other marketing tool can match.
3D Animation grasps the audience's attention instantly and showcases the proper usage of the product or service, leading to high customer engagement. Once the 3D model is built and textured, it can be put into any 3D environment, and the textures would react as they would in the real world. The 3D renders allow businesses to creatively advertise their products or services in thousands of environments without worrying about the hefty advertising budget.
While some businesses stick to orthodox photography to market themselves, others are experimenting with this 'new' marketing mediums. They surpass the bridled boundaries of conventional methods and use photorealistic rendering for marketing their products and services.
Photorealistic rendering has a plethora of advantages over traditional photography. It allows businesses to start marketing their products right away before they are even manufactured. This benefits the businesses by saving up their efforts and time and allowing the prospects to tweak around with the design until they are fully satisfied.
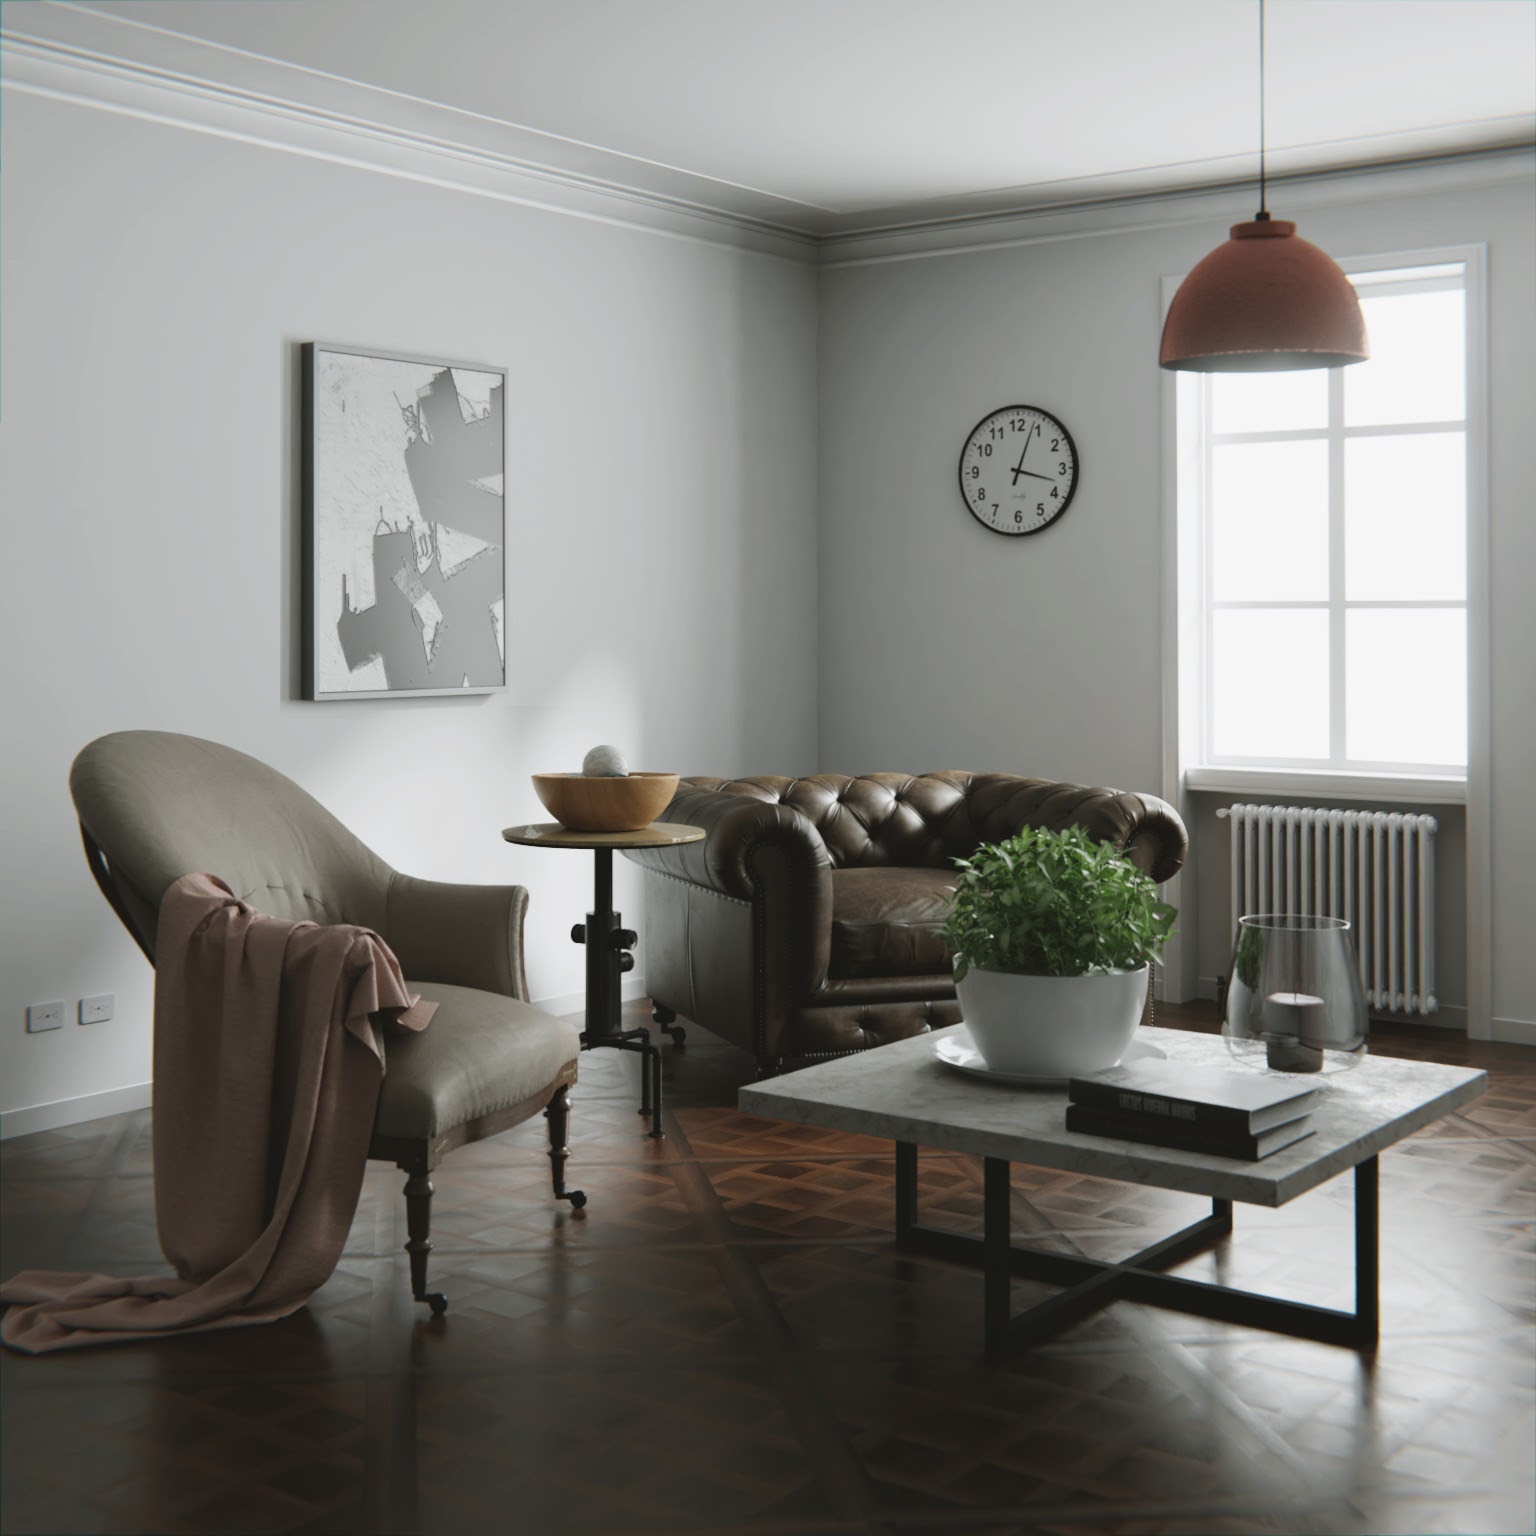
Take a look at the 3D rendering of furniture; for instance, the furniture looks indistinguishable from real photos. Moreover, lighting and natural surroundings also look eccentrically appealing.
The increasing demand for 3D Animation has rendered animation software a necessity.
Animators often face the conundrum of trying to find the software that best serves their project's purpose. While there are myriads of free and paid animation software out there, Blender, an open-source 3D animation software, has lately prevailed in the 3D computer graphics industry.

Welcome to Blender!
Unlike most animation software, Blender enables users to experiment with 2D objects within a 3D environment. The intuitive set of powerful tools are widely lauded amongst the 3D Computer graphics industry. The 'freestyle' feature, for instance, allows the users to make 3D objects appear 2D.
The latest version, Blender 2.9, is pretty much the same as the older version except for one thing. The newest version self-upgrades with the latest features, bells, and whistles, being supported only so long as the version is 'live.' But this doesn't mean that the older versions aren't needed anymore.
While Blender 2.9 allows access to the latest features and effects to create engaging content, the older version, Blender 2.83, prevents the breakage of projects when opened into newer versions. Both versions hold significance at their respective places.
In this post, we will discuss blender fundamentals that include different aspects of 3d production within Blender.
So, without any further ado. Let's get right into it!
Blender Fundamentals
3D modelling
Generally, a 3D scene consists of three primary components; Models, Materials, and Lights.
In this section, we will be discussing models. In literal terms, 3D modelling refers to the mathematical representation of any surface of an object in three dimensions through specialized software. 3D modelling is done using different modelling modes.
Don’t get confused if you see several modelling modes in any Blender tutorial as each one of them serves a different purpose, and help in the creation of different objects.
While Blender encompasses several modelling modes that serve other purposes, the ‘edit mode’ dedicatedly do modelling only. Animators often use edit mode to create models of various objects including Meshes, Curves, Surfaces, Metaballs, and Text objects.
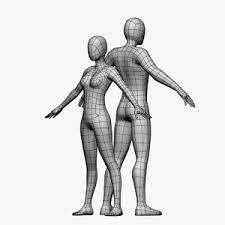
The most conventional type of modelling in the blender-dom is Mesh Modelling. A mesh refers to a collection of vertices that define a three-dimensional object. Despite the large number of polygons needed, 3D mesh modelling is still better than other techniques as it produces smooth curves leading to high-quality animations!
Texturing and shading
Creating a 3D model isn’t enough.
If you think modelling is the most challenging part of the animation world, you couldn’t be more mistaken. The interesting part comes now.


Texturing and shading involve controlling color information, surface details, and visual properties of a 3D model and play a crucial role in the character’s believability and appeal. If you are a newbie, and wondering about how to use Blender for texturing and shading, don’t worry. Keep reading as we briefly enlighten you on how this process is conducted in Blender.
Materials work on optical properties of the 3D model that include color and whether it’s dull or shiny. They also define the character’s interaction with the surrounding light. Explore blender tutorials online to tediously learn how Principled BSDF, Principled Hair, and Principled Volume shaders help create various materials and add value to the 3D characters and objects.
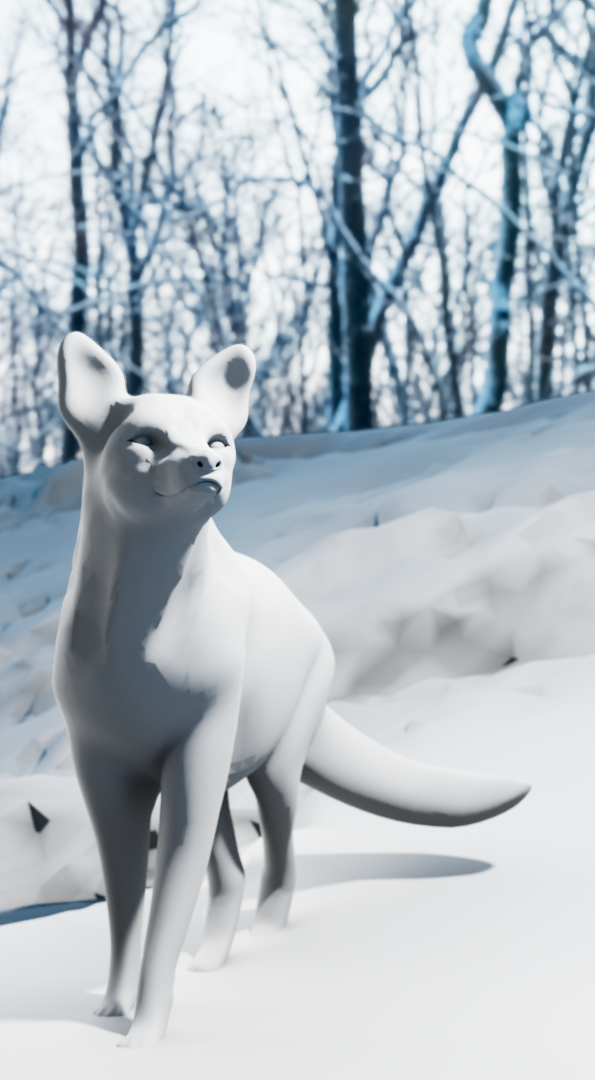
While materials determine the color and light of the 3D model, texture adds more detail to the uniform appearance of the material. To see how the fox above was textured and shaded, watch this tutorial
Be clear about this!
Textures can’t be applied to the 3D models without materials. In simple words, you cannot apply a texture to an object without a material.
The smooth ‘texture space’ feature of Blender makes it convenient for users to experiment with the characters’ appearance. The visualization of the texture space can be activated in the Viewport Display.
Talking about textures reminded us of another amazing feature of Blender; Texture painting modes! The smart feature enables users to play around with various UV textures and images conveniently within the image editor or 3D viewport. Check out the 6-minute Blender Tutorial on ‘texture painting nodes’ for better understanding.
3D computer graphics in Blender
3D computer graphics, also known as 3D animation is the latest trend in the animation bandwagon. Modelling, rigging, animation, simulation, rendering, compositing; you name any process of the 3D animation and Blender has it. The software enables users to conveniently carry out all the essential 3D processes and create smooth 3D animations.
Keyframes hold immense significance in the animation process. They consist of information of a start/endpoint of an action. A keyframe reveals two important things; first, it tells you what the action of your frame is at a certain point of time; second, it tells you what time that action occurs.
Don’t stress over how to use Blender for 3D animations. Why?
Because Blender’s strong algorithm automatically determines the accurate position of the 3D model for all the frames depending on the chosen interpolation method such as Linear, Bezier, or Quadratic.
Once you are done adding keyframes, the next important step is rigging. Rigging gives control to objects. In simple words, rigging is like adding bones to your character. Blender encompasses a variety of tools for rigging that include Armatures, Constraints, Object Modifiers, Shape Keys, and Drivers. These tools give more control to the 3D models – leading to interesting gestures and postures for games and movies.
How to use Blender for lighting 3D models
Proper lighting breathes life into everything. I am sure you will agree with us on that one!
Lighting in 3D animation holds a close resemblance with lighting in photography and film making. In the latter, the lighting artist uses different light sources in various situations; to draw attention to a special part, set the overall mood of the scene, or represent the natural properties of the scene. More about lighting you can learn from Joni Mercado's article, 'Light: The art of exposure'.
Similarly, in the animation world, animators vigilantly work on the lighting aspect as it heavily influences the story and mood of the shot. Lighting helps define factors such as location, time and even the weather. These factors may seem trivial during the animation process but, in reality, they take the shot to whole another level – leaving the viewers in awe!
Blender features five different lamp types; Point, Spot, Area, Light, and Sun lamps. Each lamp comes with its own unique strengths and restrictions. Check out this 5-minute blender tutorial to learn more about these lamps. While most directors, in the animation industry, use High Dynamic Range Images – that involves several pictures of the same scene, with different exposures, to bring out the best lighting, Blender allows animators to use these lamps to bring out similar, rather better, impact.
The use of cameras in Blender
Using the camera in a 3D scene is difficult. Unlike real-life movies, you don’t get to hold the camera physically. In fact, it’s the opposite.
Camera animation involves technicalities, and getting a shot, as good as the real scene, can be overwhelming especially for an aspiring animator. But don’t worry.
Blender to the rescue!
Blender comes well equipped with various camera lenses that perfectly imitates the real cameras and allow animators to showcase different angles in a shot. These camera lenses include perspective, Orthographic, and Panoramic. While perspective lens comes with a focal length feature that determines the amount of zoom, Orthographic comes with an orthographic scale that controls the apparent size of objects projected on the image.
Blender also offers features like depth of field and aperture to create scenes as good as the real ones. In case you are wondering about how to use Blender to add depth of field and aperture to your render, read our blender tutorial or watch this blender tutorial on youtube.
Rendering in Blender
Rendering plays a significant role in 3D computer graphics. The process involves combining all the stages, carried out in the 3D animation production pipeline, and turning them into a sequence of 2D still images.
Blender embodies three render engines; Eevee, Cycles, and Workbench. Each engine comes with its own strengths and limitations. Eevee is a physically-based real-time renderer, cycles is a physically-based path tracer. Workbench is designed for layout, modeling, and previews. Apart from these three engines, Blender allows animators to use render engines from third-party developers.
Wrapping up
Blender has become the new-favorite for several professionals and animation enthusiasts. The 3D computer graphics software is widely lauded for its intuitive set of powerful tools. These tools have helped pull off some of the finest pieces in the animation industry. Users with limited computing power also has easy access to more powerful machines for rendering thanks to blender render farms. And to add to that, its user-friendly interface has helped several animation enthusiasts to kick-start their careers.
No wonder why Blender stands strong amongst other frontrunners in the animation industry!
What’s your take on this? We hope our brief journey down the Blender fundamentals has helped you understand the software. Let us know in the comments below!
Register Now and Get $50 FREE Credits!