


“To be successful as a 3D renderer, you have to be fast” - Confucius
How to render in 3ds Max quickly and efficiently? This is one of the most important topics for any 3ds Max renderer.
Faster render times not only save you time and money, but they usually make your clients happy, which, let’s face it, is the key ingredient to success for a 3D rendering business. Getting feedback from a client and being able to send back updated renderings within an hour might spoil the client… but it more or less guarantees that they’ll come to rely on you. More importantly, as your success builds, you’ll find yourself in the pickle that all successful 3D renderers experience: too many clients and simultaneous projects. Speed and efficiency, being able to produce good results quickly, will become crucial to your success and survival.
There are three parts to being fast. Working fast, getting enough sleep, and reducing your rendering times. Even with a reliable online render farm at your disposal, optimizing projects will always be a boon to your future self! Today we will focus on reducing rendering times, specifically for 3ds Max and V-Ray. Follow the advice in this post, and I can help you reduce your render times so much that online render farms will wish I’d never shared these industry secrets with you!
Let’s break the tips down into 4 categories:
Only build what you have to. If you are asked to render a hotel lobby with two bars on either end, but the client only needs renderings looking one way… do yourself a favor and don’t build the bar behind the camera! For that matter, don’t build any furniture or any details that aren’t going to be visible either to your cameras or large reflections. And don’t have any lights shining on any areas that aren’t going to be visible to your cameras (or large reflections).
If you have a scene with multiple rooms or areas that all need to be rendered but are out of view from each other, consider putting all the higher poly objects, such as furniture, plants, and props, on layers specifically to that room. When you are sending the renderings to the farm, you can turn off the layers containing objects that won’t be visible.
This applies to lights as well. Keep lights for separate areas on appropriate layers… just make sure to UNcheck ‘Hidden lights’ in your Render Settings (V-Ray > Global Switches).
Reduce the number of groups in your scene, especially groups within groups within groups. I don’t know why this slows Max down, but it does. Some old-school visualizers will actually go so far as to take complex groups of objects and merge them into single objects with complex multi-sub-object material. In my opinion, that’s overkill; it does help, don’t get me wrong, just don’t get carried away as it can be a nuisance for other reasons. Most folks who work this way probably developed the habit decades ago when processing power was extremely limited compared to today, and every trick helped.
Don’t go crazy with poly counts. In fact, see how little you can get away with. You don’t want to see the facets in your curved surfaces, but going too far will kill your render times. Turbosmooth modifiers are a good example, and chamfers: only use as many subdivisions as you have to. Do tests to see just how much you need.
A good idea is to start with the default 3ds Max/V-Ray settings, and as you make modifications, take notes and run tests.
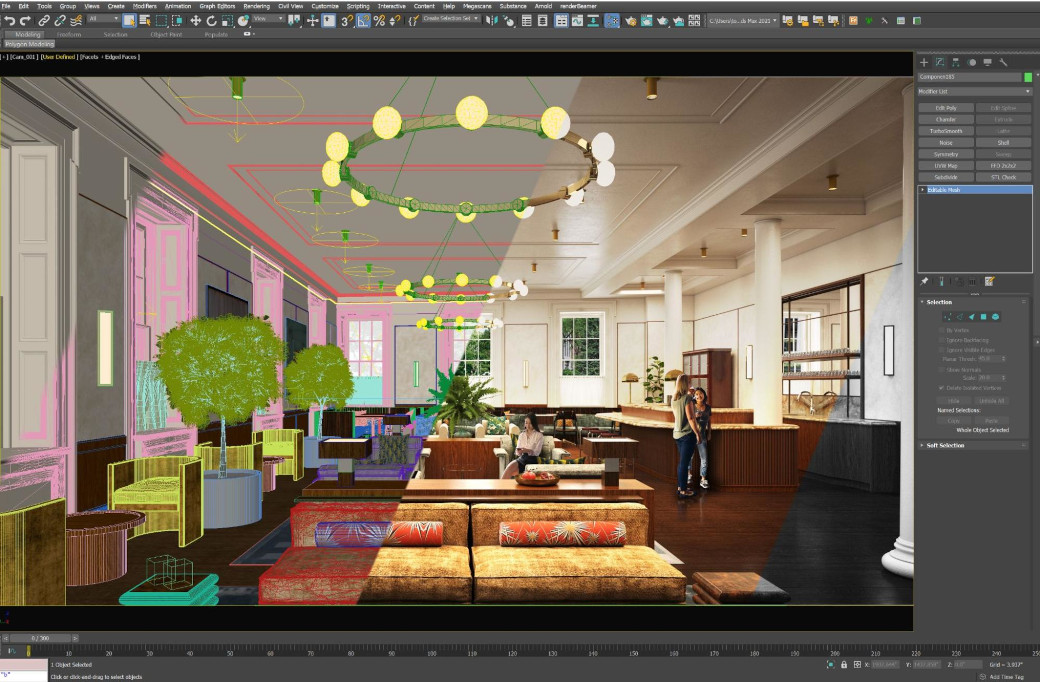
Let’s focus on a few key items, which I’ve highlighted in the reference image:

Resolution. Seems obvious, right? But really, you probably don’t need to render images that are 4500 pixels wide unless the project specifically calls for it. I try never to go above 3000 pixels in any dimension unless I know that the client requires extra high-res for large-scale printing. Large-scale printing is the ONLY reason to render at high resolutions. I know plenty of talented 3D guys who render at high resolution, only to have the images viewed no larger than an iPad screen and printed on high-speed color printers, which simply do not have enough detail to make a difference between 2K and 4K, sadly.
Displacement. Sometimes it’s called for - carpets and rugs, for example - but most of the time it will make no discernible difference in the final result and it can potentially send render times through the roof. If you are thinking of using displacement, run some full-resolution tests of the objects and see if it’s warranted.
Hidden Lights and Full Light Evaluation vs Adaptive Light Evaluation. I keep my lights organized on layers pertaining to each view - and I tend always to aim to have the minimum number of lights needed… so because I NEED all my lights, I keep ‘Full lighting evaluation’ - but if you have many lights in your scene, Adaptive light evaluation can drastically reduce render times. This is something you should absolutely play with.
Override depths for reflection and refraction, and transparency levels. This can kill render times depending on the scene. I keep mine low - far lower than the default, at 5 each - and I only crank these up in scenes with lots of mirrors and glass. Just one small area of your scene with multiple refractions and reflections can increase render times significantly. When I notice a scene taking too long to render… the culprit is often a glass vase of water with some glassware around it on a bar with a mirror behind it… or something like that. The processors get stuck in those little areas.
Buck Image Sampler: Max subdivs. The default is 24 (as of 2022), but I keep mine at 8.
Noise threshold. Run some tests of regions of your scene at 0.005 and 0.01 and see if you can see the difference both in noisiness and render time.
Brute Force vs Irradiance Map. Brute Force is the default, and I tend to use it for most of my renderings, but you achieve good results with lower render times using Irradiance Map instead, as long as you keep the settings low. You should also play with the subdivs in this section as well as with the Light cache.
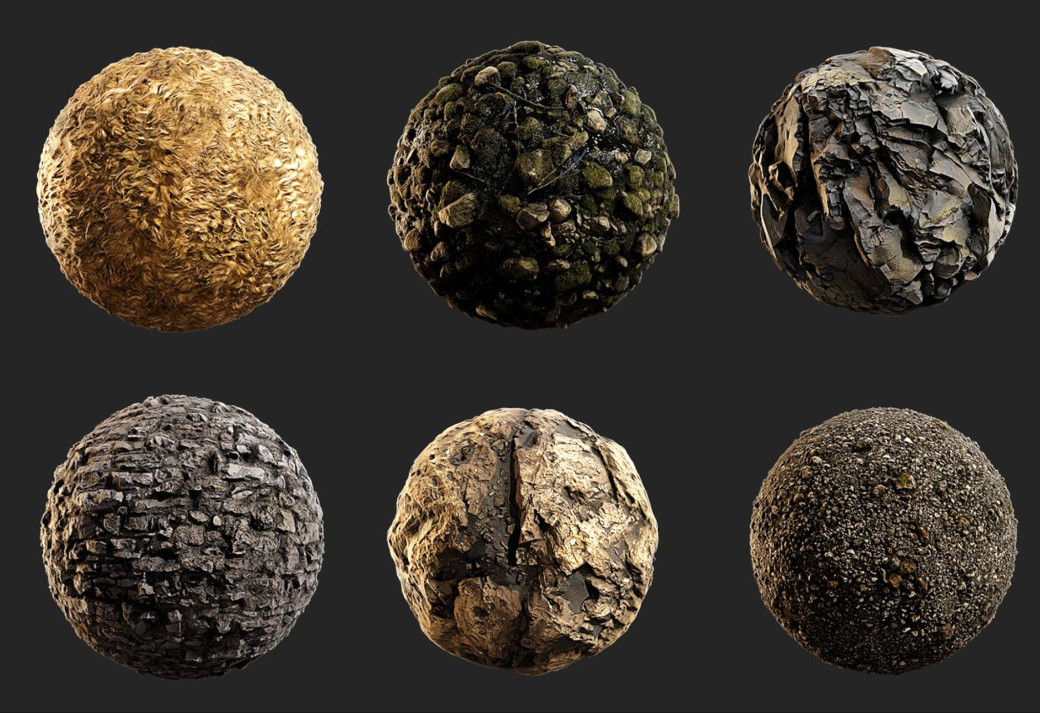
Materials… we’re going to save them for another blog post, but I included them on this list because they are an important part of render time control. If you have a scene that is slow to render… just try applying a basic grey material with no reflection to all your objects and see how quickly the scene renders! 4K textures, while important in some cases, will slow your render times down. 8K textures even more… and these should only be used on very large surfaces.
Region renders, and tests are your friends. It’s a great way to quickly see what ways (from those that I mentioned above) you can save time. Do you really need displacement on that dirt in the flower pot that you can barely see? Region renders allow you to run full-resolution tests quickly, focusing on the area in question. Test with and without that displacement or with the reflection/refraction subdivs increased and decreased, and you’ll know right away whether or not you need them.
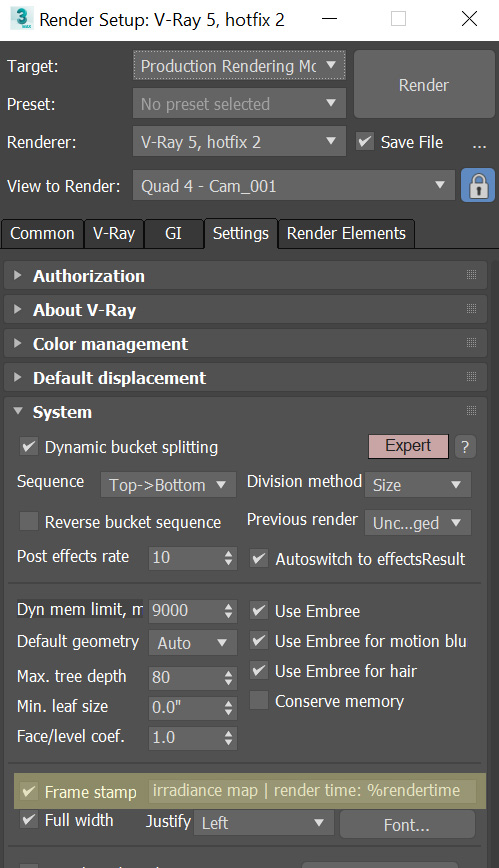
I also like to use frame stamps (under V-Ray > Settings) when I’m doing lots of tests to show the render times right on the image, for example: “[nature of test] | “render time: %rendertime”
Keep in mind that with region rendering, render times that are shorter or longer by even a second or two could indicate exponential savings when rendering the full image. And don’t forget to turn off that frame stamp when you’re finished testing.
Happy rendering,
Tom Greenwood
Register Now and Get $50 FREE Credits!