


In a nutshell, A render farm is a network of computers built specifically for 3D rendering that can be accessed remotely over the internet. They’re a fantastic tool for 3D artists for two reasons - first because they allow us to render large and complex scenes in a shorter amount of time, and second because the work is done on remote machines our local workstations remain free to use for other things.
In this article, we’ll discuss how to best prepare your 3ds Max scenes for online rendering, how to submit them for rendering to the cloud, how to manage them and then how to assemble the files. There are many online render farms, but I’ll be using GarageFarm.NET as an example because that is the rendering service I’ve found best. I’m using 3ds Max and V-Ray, but the guidelines here should be helpful no matter what software you are using, and no matter which online render farm you choose. I’ve been using GarageFarm.NET for several years now because their prices are good, their render times are fast, and their customer service is fantastic and always available (very important!).
Preparing scenes locally
First - let’s talk about preparing our 3ds Max scenes for an online render farm. You’ll want to keep your file sizes down to have faster upload times, and you’ll want to have your objects organized well on layers. Neither of these is necessary - but they’ll keep your upload times down and if you encounter any issues you’ll be able to find them much faster. I’ve seen some less organized 3D artists referencing massive, 500+ mb TIFFs in their materials. This might not be a problem if you are rendering locally, but it’s going to cause problems when your entire file and all related assets are getting beamed up into space and back down to a render farm somewhere. So keep your assets to a reasonable size.
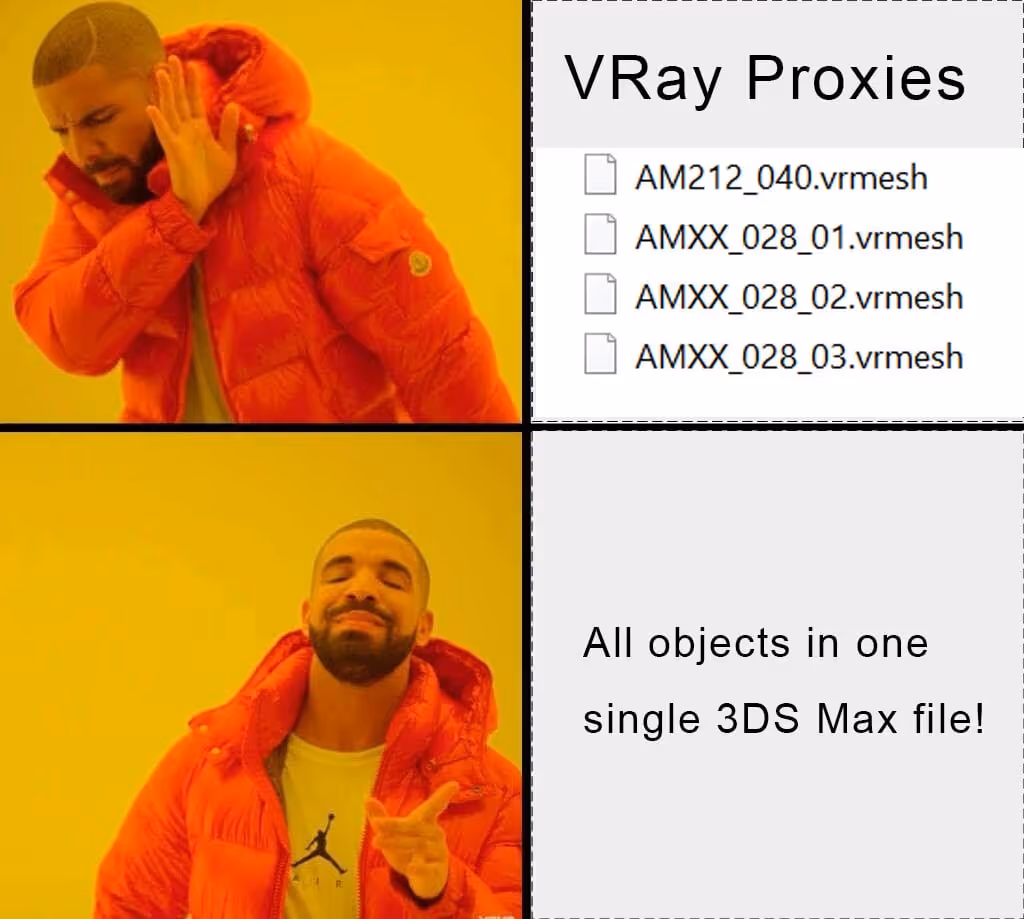
You also will want to avoid using xrefs and vray proxies. I use xrefs in some cases (usually for large amounts of vegetation and trees or for large amounts of surrounding buildings) but I never use V-Ray proxies as online render farms often don’t handle them well during the upload process and reassembly.
Lastly, I like to make sure that all my cameras are going to be rendering using the same Output size and orientation. One of the great benefits of using an online render farm such as GarageFarm.NET is that you can submit dozens of cameras simultaneously as long they all use the same orientation and resolution.
For your render settings, be sure to verify that your ‘Save File’ box is checked under the ‘Render Output’ section of the Common Parameters tab! Get your Render Elements set up and keep the ‘Elements Active’ box checked. You’ll also want to use bucket rendering - not progressive. Keep in mind that online render farms typically use the Common parameters setting for the output size, so make sure that your Output Size is set properly in the Common Parameters tab of your render settings, not the V-Ray tab, in which you should always check the box ‘Get resolution from MAX’ as well as the box for ‘Save RGB’ and ‘Separate render channels’ - that’s it!

Before you submit any project to an online rendering farm there are two crucial steps. The first is to save your work. The second is to run tests. For still images, I like to run a low-resolution progressive render locally in the V-Ray Frame Buffer to make sure my general lighting is good and catch any glaring issues. Then I do some fine-tuning tests, still locally in my Frame Buffer but this time bucket rendering and full resolution, but just rendering small regions to check various materials and see how they are coming out, particularly new materials.
Now that you’ve run your tests and feel that everything is looking good - make sure to switch the settings back to bucket rendering, and make sure that you do not have region render selected either in the Render Settings or in the Frame Buffer. Save your work and then submit it. With GarageFarm.NET, there will be a new menu in 3ds Max named ‘renderBeamer’ and you simply select ‘Beam it up’ to begin the process.
Rendering on GarageFarm.NET

GarageFarm.NET’s own simple software called renderBeamer checks the scene and then brings up a dialog box asking you to check which cameras to render and a few other settings you’ll not likely have to touch, and then it will upload your project. GarageFarm.NET renderBeamer allows you to monitor which projects you have uploaded, which need to be downloaded, but most of the active renderings.


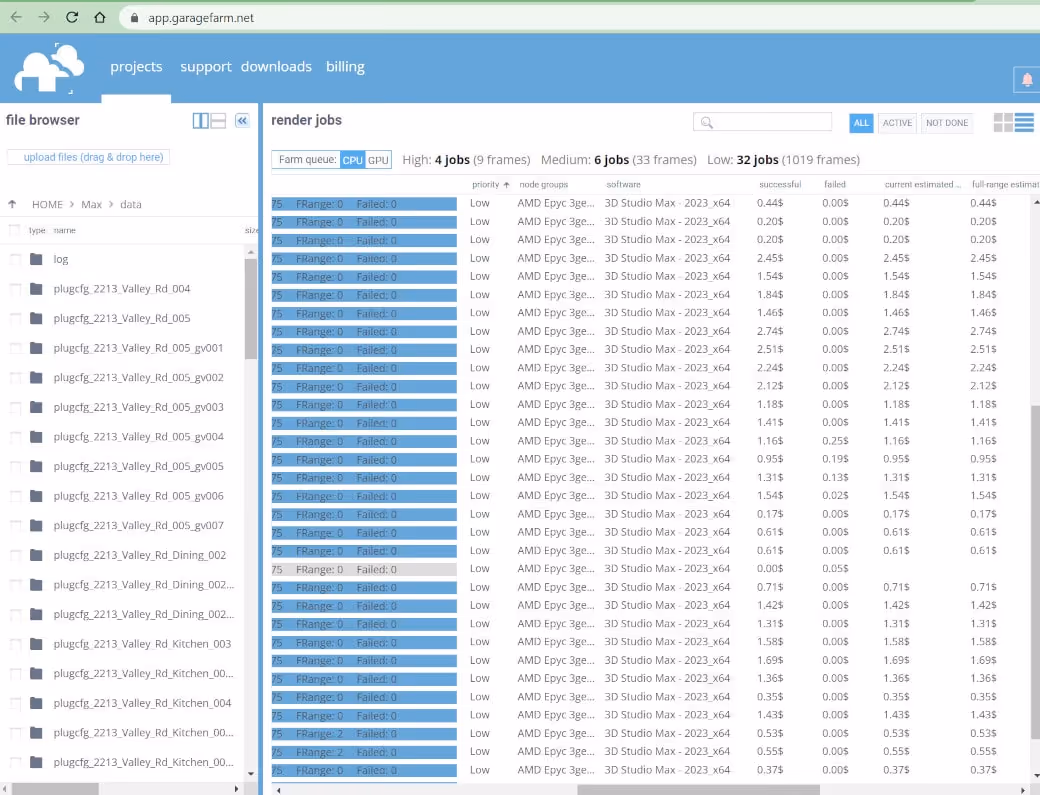
Once the job has been uploaded from Max and submitted using the renderBeamer app, you can monitor everything from a tab in the browser of your choice. You’ll be able to see which jobs are waiting to start, which jobs are active, and which jobs are done. Once a job has begun rendering, you’ll be able to get a live preview of how it’s going (if you are using GarageFarm.NET)
Rarely, a job will fail to render and you’ll see that in the tab. When this happens, you will follow the basic rules for troubleshooting your max file. I have never found a job to render perfectly on my local machine but fails when sent to the online render farm - which means it’s a problem with one of the files or assets, not with the online render farm. The only exception to this is when I was using V-Ray proxies. So the key is to run tests turning various layers on and off, at low resolution, to see which jobs fail and which succeed - this will help you narrow down the problematic asset or object.
The job, once complete, will download the rendering and the corresponding elements to a folder titled ‘Beamed’ on your local machine, where each camera will have its own folder designated by the max file name, the submission number, and the camera name. Every once and a while you should probably clear this folder out and archive old jobs (on GarageFarm.NET this can be done by selecting the old jobs and right-clicking, selecting ‘remove from list’).
I hope this has been helpful to you, and I promise that once you begin using online render farms you’ll never go back to rendering locally or building your own render farm. It is significantly faster and easier. Using an online rendering farm or cloud rendering service such as GarageFarm.NET is better in every single way, and the cost is minimal. Rendering locally bogs down your workstation and it’s very slow compared to a render farm. I used to have my own render farm in my office - it cost a fortune to build, it had to be maintained and the software on each of the computers had to be kept up to date with all software and plugins, and worst of all, get this: the electricity is used cost almost as much as it costs me to use GarageFarm.NET! My last tip is to practice using your online render farm a few times before you actually need it on a tight deadline. That way you’ll know that everything is working smoothly and you won’t have to worry about any unforeseen problems when it’s crunch time.
The statements and opinions expressed in this article may not accurately represent our render farm's features and support, as we update our software support on a regular basis. Please contact our team in our 24/7 live chat for inquiries.
Register Now and Get $50 FREE Credits!