Key takeaways
- Before using a render farm, first determine whether rendering is actually the bottleneck in your production.
- Software, renderer, plugin, asset, and cache compatibility should be checked before committing a full project.
- The best cost and completion-time estimates come from representative frames from the actual project, not theoretical hardware comparisons.
- File preparation, upload time, output consistency, security, and technical support can matter just as much as raw rendering speed.
- A small test job is one of the most useful ways to find problems before they affect the full render.
TL;DR
A render farm can help artists and studios complete demanding renders faster while keeping local computers available for creative work. Before sending a project to one, check whether your software, renderer, plugins, assets, caches, and output requirements will work correctly in a network rendering environment.
It is also worth estimating the real cost, including transfer time and possible revisions, and testing representative frames before committing the entire job. The goal is not simply to find more computing power. It is to make sure the project itself is ready to move from your workstation to a remote rendering workflow.
Why render farms are becoming more relevant
The global 3D rendering market was valued at $4.5 billion in 2025, reflecting the growing use of rendered content across animation, visual effects, architecture, product design, advertising, and other creative fields. As scenes become more detailed and production schedules become tighter, local workstations may struggle to process every frame without slowing down the rest of the project.
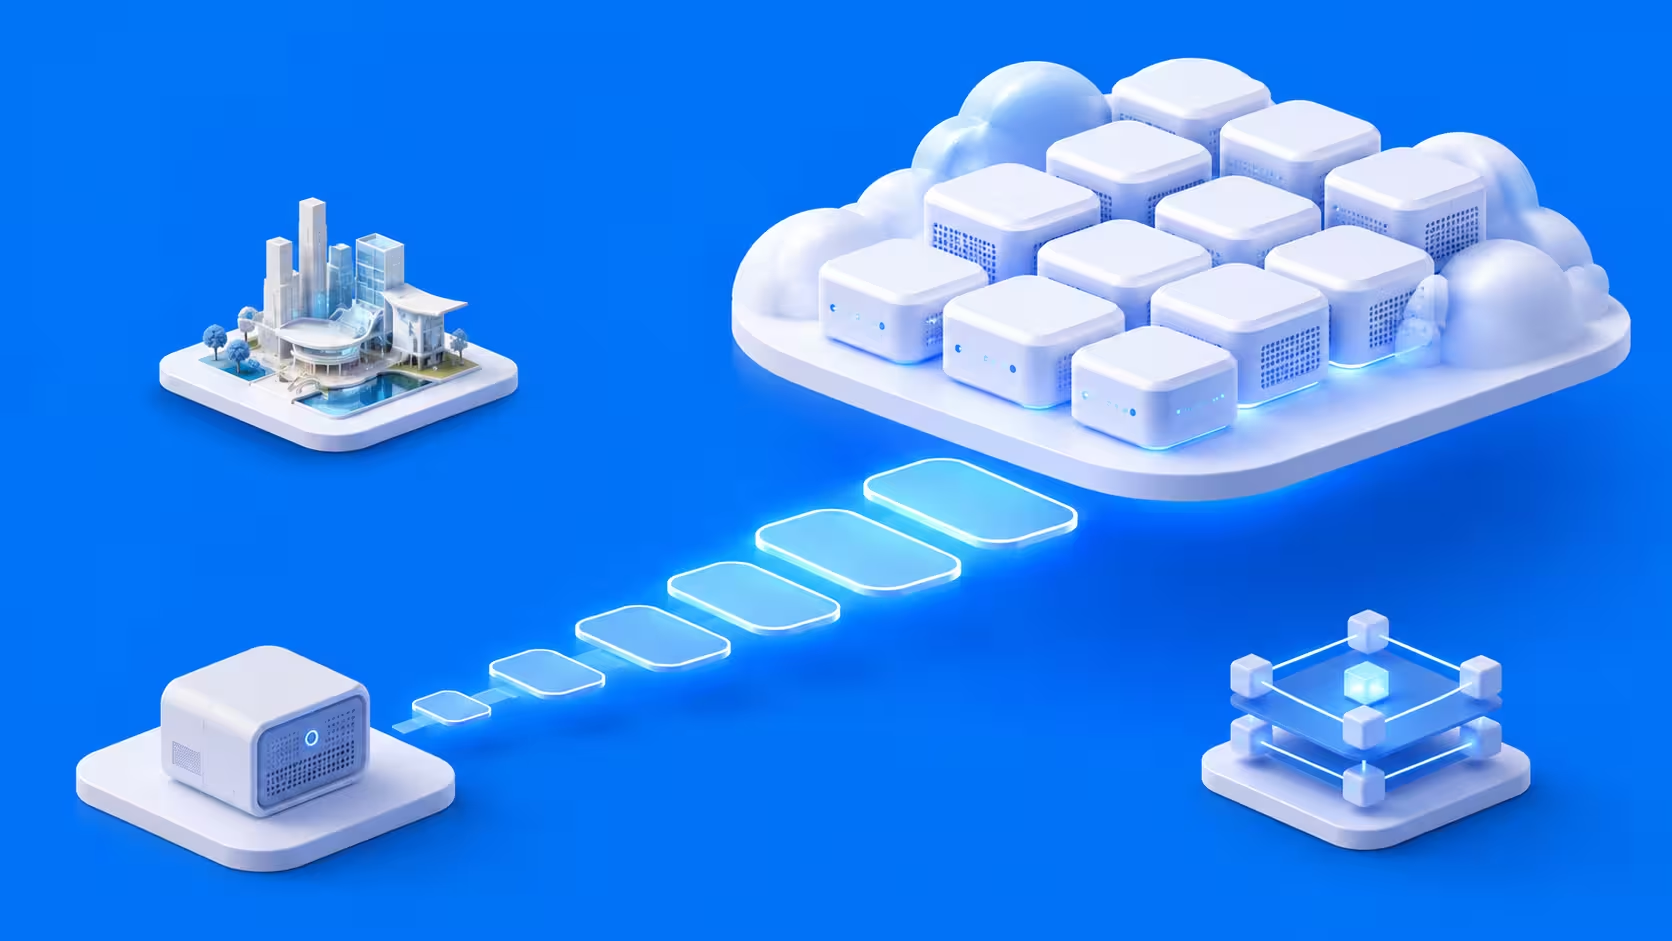
Cloud infrastructure has also become a larger part of modern computing. A render farm applies this model specifically to rendering by giving artists access to additional processing resources when a project requires them.
In practice, however, needing more rendering power does not automatically mean every project should immediately be sent to the cloud. The first step is working out what is actually slowing the production down.
Identify the problem you need to solve
Before using a render farm, determine what is actually delaying the project. Rendering may be the main bottleneck, but delays can also come from simulations, scene preparation, asset organization, compositing, or repeated revisions.
Compare local rendering time with the deadline
Estimate how long the complete project would take on your available computers. For an animation, test several frames from different parts of the sequence rather than multiplying the fastest frame by the total frame count. Complex lighting, effects, geometry, and simulations can cause render times to vary significantly between shots.
This is especially important when a project contains a few unusually heavy frames. From our experience, those frames often tell you more about the practical limits of a workflow than the average or fastest frame does.
The decision does not always have to be all-or-nothing either. In one project rendered with us, Dots Core was producing two videos totaling around 2,400 frames under a 45-day schedule. The studio used the farm for sequences where additional capacity made sense while sometimes keeping heavier scenes local when the deadline allowed for more troubleshooting. That kind of mixed approach can be more practical than automatically sending everything through the same pipeline.
See how Dots Core used a render farm alongside its local workflow.
Consider how local rendering affects other work
A workstation that spends hours rendering may be unavailable for modeling, animation, editing, or client revisions. Sending final renders to an external service can keep local systems free, which may be more valuable than the rendering time saved by itself.
For small studios in particular, this can be one of the main reasons to use external rendering. The question is not only, "How long does this frame take?" but also, "What can the artist not do while that machine is rendering?"
Check software compatibility

A render farm must support the tools used to create the project. Confirm compatibility before comparing prices or hardware because an inexpensive service will not help if it cannot open or reproduce the scene correctly.
Confirm the application and version
Check whether the provider supports the exact version of Blender, Cinema 4D, Maya, Houdini, 3ds Max, or another application used in the project. Different versions can handle materials, simulations, color settings, or scene data differently.
Verify the rendering engine
Confirm that the service supports the renderer used by the project, such as Arnold, Cycles, Redshift, V-Ray, Corona, or Octane. Some renderers depend mainly on CPUs, while others are designed around GPUs, so the available hardware must suit the rendering engine.
Review plugins and custom tools
Create a list of every plugin, script, procedural asset, and commercial extension required by the scene. Ask whether these tools are already installed, whether they can be added, and whether any additional licensing requirements apply.
A scene opening successfully is not always enough. Problems can appear only when it is rendered through command-line or network rendering, which is one reason compatibility should be checked with an actual test rather than from a software list alone.
Understand the available hardware
The number of nodes does not tell you everything about performance. Processor type, graphics hardware, memory, storage speed, and node configuration can all influence how quickly and reliably the project renders.
Choose between CPU and GPU resources
A CPU renderer requires different infrastructure from a GPU renderer. Confirm which hardware will process the job and whether the provider allows you to select a specific node type when required.
Check memory limits
Large scenes can fail when a node does not have enough system memory or graphics memory. Look at the available memory per node, especially when working with detailed geometry, large textures, volumetric effects, or heavy simulations.
Ask whether the nodes are consistent
Some farms contain several generations of hardware. This may lead to different rendering speeds across frames, although a well-managed service should distribute and process jobs consistently. Knowing what hardware will be assigned also makes cost and completion estimates easier to understand.
Prepare the project carefully
A render farm can only process the files it receives. Missing textures, broken paths, incomplete caches, and unsupported assets are among the most common reasons a remotely submitted job produces incorrect results.
A project that works perfectly on the artist's workstation can still fail remotely because the workstation has access to files, plugins, fonts, or caches that the render nodes do not.
Collect all external assets

Package every texture, linked model, reference file, font, cache, proxy, image sequence, and simulation file used by the scene. Files stored elsewhere on a local computer or private network will not be available to remote nodes unless they are included.
Organize file paths
Use relative or project-based paths where possible. This allows the service to locate assets after the project has been transferred to a different storage system.
Bake simulations when required

Cloth, fluids, particles, hair, crowds, and other simulated elements may need to be baked before upload. Recalculating them remotely can add processing time and may create results that differ from the approved local version.
This is one of the areas where local and network rendering can behave very differently. A simulation may look correct on your machine because its cache already exists there, while another render node has no access to that data. Pre-caching simulations is generally a more stable approach for network rendering.
If your project relies heavily on simulations, our guide on saving on render farm costs also covers why caching can prevent failed frames and unnecessary processing.
Remove unnecessary data
Unused models, duplicate textures, abandoned tests, and old cache files can make uploads slower and troubleshooting more difficult. A clean project is easier to transfer, inspect, and render.
Estimate the complete cost
Render farm pricing can depend on processing time, hardware type, node usage, software licenses, storage, priority, and data transfer. The lowest advertised rate may not produce the lowest final cost.
Understand how usage is measured
Providers may charge by processor time, graphics processor time, node time, render points, or another internal unit. Review how the pricing model works and, where possible, base your estimate on actual test renders rather than comparing rates alone.
If you want to go deeper into this, our guide to how render farm pricing works explains why direct price comparisons can be misleading and how test renders can be used to estimate a real project.
Test representative frames
Select a small group of frames that reflect the different levels of complexity in the project. Include simple frames, visually dense frames, effect-heavy frames, and frames that take longer than average.
The key word here is representative. Testing only the opening frame or an unusually simple shot can produce a reassuring estimate that bears little resemblance to the full animation.
For longer sequences, testing frames at intervals across the animation can also expose problems that occur only later in the timeline. Consecutive frames can then be useful for checking flicker, noise, simulations, and other temporal issues.
Our dedicated guide to render farm testing methods covers these testing approaches in more detail.
Account for additional charges
Check whether storage, software licenses, priority access, file transfers, or support are billed separately. You should also understand what happens if a frame fails because of a service issue or an error in the submitted project.
Consider file transfer time
Remote rendering may process frames quickly, but large uploads and downloads can still delay the schedule. The complete project package may be much larger than the main scene file.
Measure the packaged project
Calculate the total size after collecting textures, caches, models, and reference files. Simulation data and high-resolution assets can turn a relatively small scene into a very large upload.
This becomes especially important at scale. For example, Digital Esthetics Studio's workflow with us can involve very large batches and terabytes of rendered data per week. In workflows like that, file transfer and delivery are not side issues. They become part of the production pipeline itself.
Test the actual internet connection
Estimate transfer time using the connection available in the studio. Remember that upload speeds are often lower than download speeds and that other team members may need to use the same connection during production.
Review the transfer process
Some services provide a browser uploader, desktop application, software plugin, or automatic synchronization tool. Choose a process that is clear enough for the team to use consistently, especially when revised files must be submitted several times.
Review security and confidentiality
Rendering projects may contain unreleased films, advertising campaigns, product designs, architectural plans, or client-owned materials. The provider should explain how these files are transferred, stored, accessed, and deleted.
Check storage and deletion policies
Find out where uploaded data is stored, how long it remains available, and whether you can permanently remove it after the project is finished.
Look at access controls
For team accounts, check whether access can be limited by user or project. This can be particularly useful when several clients or departments share the same account.
Confirm client requirements
Some projects may require a confidentiality agreement, specific data locations, private infrastructure, or documented security procedures. Review these requirements before any project files are uploaded.
Evaluate technical support
Reliable support can make a major difference when a render fails close to a deadline. Check when support is available, how quickly the team responds, and whether they understand the software used in your project.
This is difficult to judge from a feature list alone. Rendering problems are often highly project-specific, so useful support needs to go beyond answering account or billing questions.
Check working hours and response times
A provider may offer continuous support or operate within specific hours. Consider the time difference between your team and the support team, especially when rendering overnight or during weekends.
Ask how failed jobs are handled
Clarify how the provider responds to crashed nodes, missing frames, interrupted jobs, and incorrect outputs. Find out whether service-related failures are detected automatically and whether affected costs are refunded or credited.
Test the output quality
A fast render has little value when the result does not match the approved local image. A small test should confirm both performance and visual consistency.
Compare local and remote frames
Render the same frame locally and remotely, then inspect materials, textures, lighting, motion blur, displacement, effects, color settings, and render passes. Even small differences can become noticeable across a full sequence.
Do not limit the comparison to whether the image "looks right" at first glance. Missing passes, incorrect alpha channels, changed color management, or a slightly different simulation can create problems later during compositing even when the beauty render appears acceptable.
Confirm the output settings
Check the resolution, frame range, file format, bit depth, naming system, render layers, and destination folders. A mistake in one setting can affect hundreds or thousands of frames.
Plan how the service fits the workflow
A render farm works best when it is included in the production plan rather than introduced only when the deadline is already at risk.
Decide who will prepare the project, submit jobs, review test frames, monitor progress, download results, and handle failed frames. Leave room in the schedule and budget for revisions because client feedback or technical corrections may require part of the project to be rendered again.
For studios that use rendering frequently, the biggest improvement often comes when the render farm stops being treated as an emergency resource and becomes a predictable stage in the pipeline.
Run a small test before the final submission
A representative test is the safest way to evaluate both the project and the render farm. It can reveal missing assets, unsupported plugins, unexpected costs, transfer delays, and differences between local and remote output.
The test should be large enough to represent the real project but small enough to correct without wasting time or budget. Once the files, settings, cost, and results have been confirmed, the full job can be submitted with much greater confidence.
Final thoughts
Before using a render farm, the most important question is not simply which provider has the most nodes or the lowest listed price. It is whether your project is actually ready to move from a local workstation into a network rendering environment.
Check the software and dependencies, prepare the assets and caches, understand how the job will be transferred and priced, and run representative tests before committing the full project.
The projects that tend to move through a farm most smoothly are not necessarily the simplest ones. They are the ones where the files, settings, dependencies, tests, and responsibilities have been checked before the final deadline is already under pressure.
Register Now and Get $50 FREE Credits!