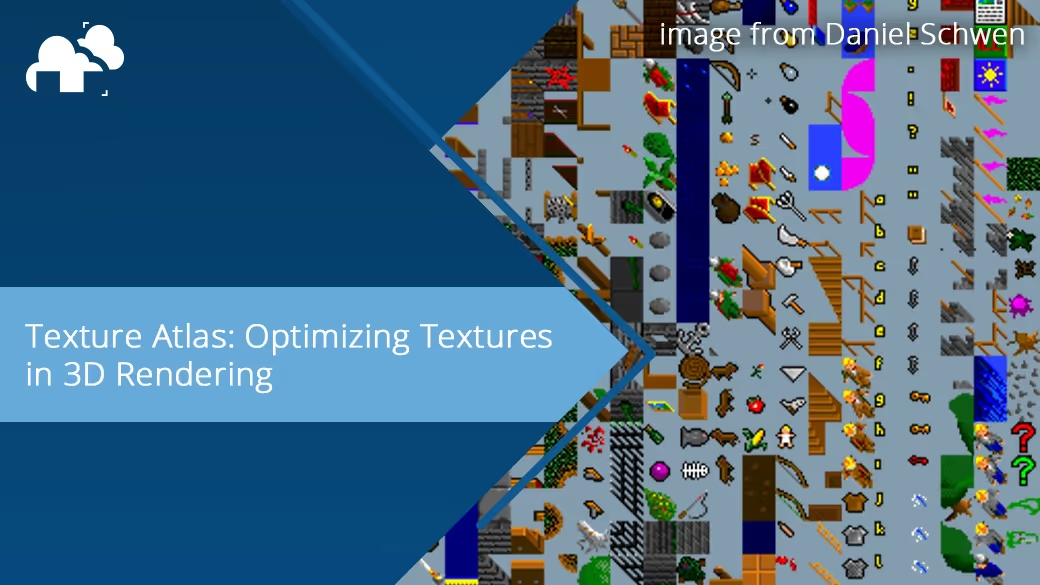
In the fast-paced world of 3D graphics and real-time rendering, performance and efficiency aren't just desirable, they're essential. One powerful technique that both game developers and 3D artists rely on to achieve these goals is the texture atlas. Whether you're working in Blender, Unity, Unreal, or a proprietary game engine, mastering texture atlases can drastically improve both render times and memory usage.
A texture atlas is a single large image that contains multiple smaller textures packed together. Instead of having dozens, or even hundreds, of separate texture files, all the needed images are combined into one. The key here is efficient texture management, especially when rendering or optimizing for performance-critical platforms like mobile devices and VR. Think of it like a sprite sheet in 2D game development, but for 3D models. Each mesh or object accesses only a portion of the atlas, mapped precisely through its UV coordinates.
This approach is invaluable in 3D game development, AR/VR content, mobile applications, and even in static renders where texture management matters.
In any 3D engine, whether it's Unity, Unreal Engine, or Blender’s real-time renderers, the system must bind and switch textures for each object during rendering. This switching creates performance overhead. When using a texture atlas and with fewer texture bindings, your frame rate can remain higher and more stable. Additionally, texture atlases lend themselves well to mipmapping, a technique where smaller versions of the texture are created to display when the object is further from the camera.
Creating an atlas isn’t just about cramming images into a big file. There’s a whole workflow to follow for efficient texture atlas implementation:
Determine the textures you’ll combine. Group them by:
Use a consistent texel density across your meshes. This ensures that textures look cohesive and sharp across your scene. Tools like Blender’s Texel Density Checker can automate this:
Unwrap your models and pack their UV shells into a shared UV space.
There are two ways to go about this:
Update each mesh to point to its new section of the atlas. This step is crucial because without proper UV edits, the model will sample the wrong part of the atlas.
Texture atlases are used in a wide array of contexts. Let’s break down the most common:
Arguably the birthplace of texture atlas optimization, games rely heavily on minimizing texture switches. In mobile gaming, every frame counts, so batching textures and reducing memory usage is critical.
Using a texture atlas can greatly simplify material management in scenes with many small props. For example, crates, barrels, and planks in a medieval game might all share a single atlas.
Mobile GPUs have limited bandwidth and memory. By atlasing textures, you're:
Here are some advanced tips to make the most of your texture atlas:
Textures should be power-of-two dimensions (e.g., 2048x2048, 4096x4096). These work best with mipmapping and most engines.
Don’t waste space storing unused channels. If your object doesn’t use roughness or alpha, discard those channels to save space.
Too much padding wastes texture space. Too little invites mipmap bleeding. Strike a balance, test using different mip levels in your renderer.
If multiple assets use the same detail, like wood grain or concrete, you can assign them the same UV coordinates and reuse tiles. This saves space and improves consistency.
While texture atlases are not always the ideal choice, they are an incredibly efficient solution for most scenes with repeated elements, props, or mobile optimizations. When paired with consistent texel density and a clean UV layout, atlasing can drastically reduce draw calls, lower memory usage, and simplify the texturing process. Mastering this workflow can be a game-changer for artists working in both real-time engines and traditional render pipelines. Keep exploring, keep optimizing, and remember: if your texture management feels cluttered, a well-built atlas might be the answer you're looking for.