.avif)
As you read this, you will undoubtedly already have seen or even participated in discussions about AI art generators and their potential threat to 2D and 3D artists. The anxiety surrounding the issue is palpable, but thankfully there are quite a few ways this new technology can help us improve our practice, and, as usual, the ingenious folks from the Blender community have already found ways to integrate AI directly into our favorite software!
.avif)
AI Render is an addon that allows you to use Stable Diffusion in Blender to generate images or animations using the combined influence of text prompts and your 3D scene. To add to its allure, it’s a no-brainer to set up, but it can also be used with a local installation of Stable Diffusion, which allows for unlimited generations at the cost of using your own hardware to process your AI images.
Before we proceed, if you ever need a cost-efficient and dependable Blender render farm, look no further than GarageFarm.NET! New users get $50 worth of render credit with no strings attached, which is more than enough for a short animated clip or several stills. Our cloud rendering service also has a friendly team of 3D experts that you can chat with 24/7 and would be happy to assist you.
Download the add-on, and run Blender in administrator mode. Install the .zip file from the add-ons tab in the preferences panel by hitting “install” and importing the zip.
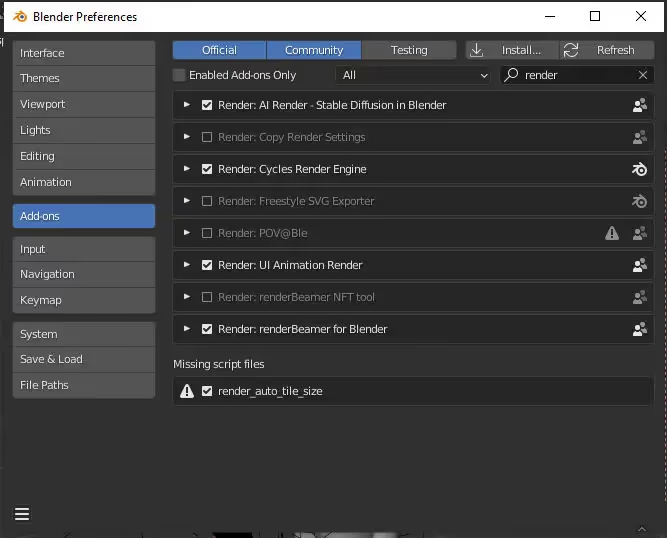
Enable the add-on, and notice the “set up” panel.
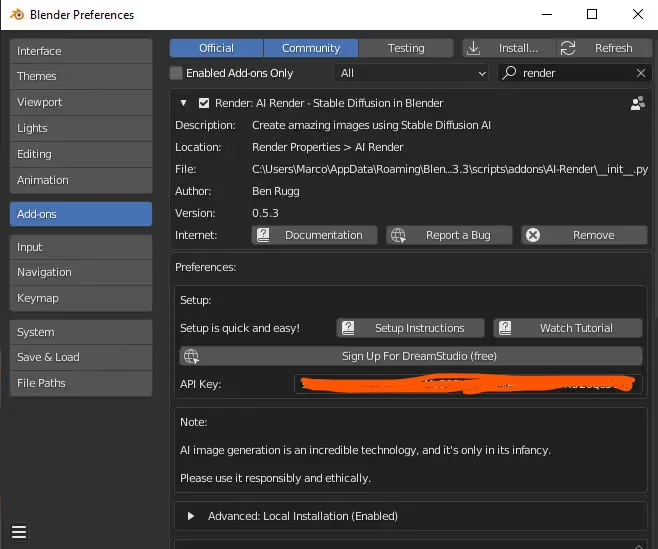
The field that’s scribbled out contains my personal API key from Dream Studio. You’ll need a key of your own to use the add-on.
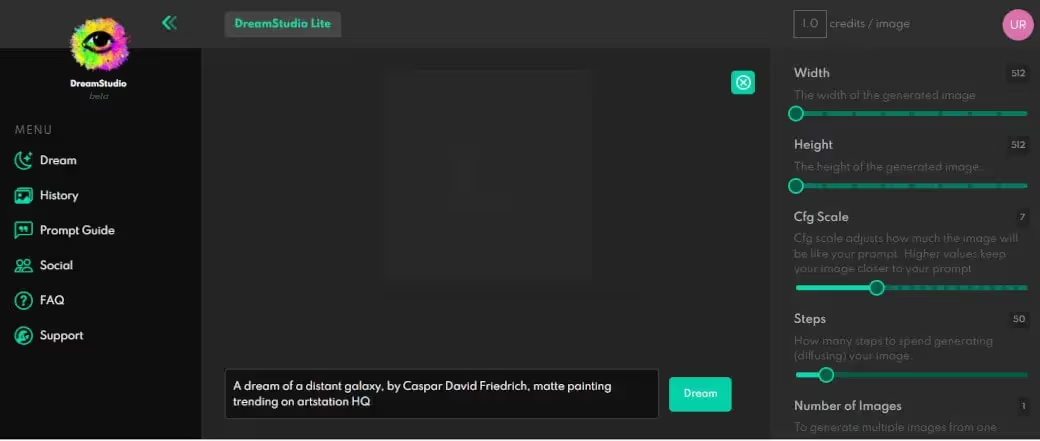
Create an account at Dream Studio. Once your account is set up, click on your profile icon and hit “Membership” in the drop-down.

In the membership page you’ll find the tab for your API key. Copy the API key.
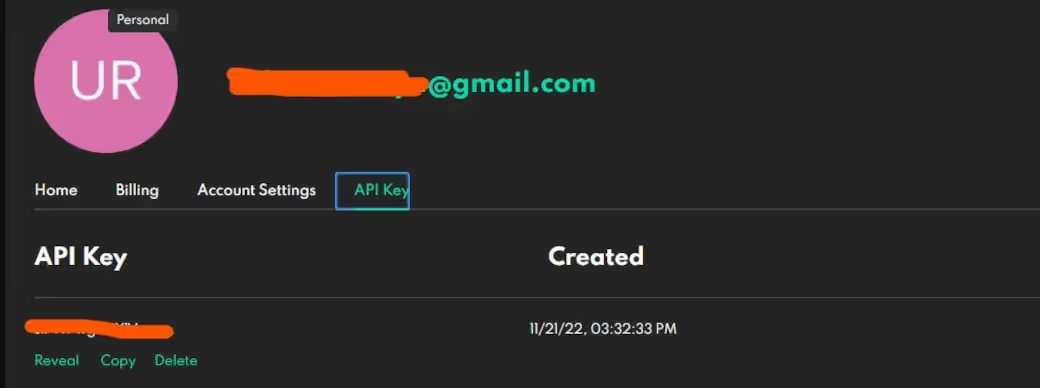
Paste the API key in the field on the add-on settings in Blender’s Preferences panel, save your preferences, and you’re good to go!
Your Dream Studio account will come with $2 of credit, which amounts to around 200 generations. Once you’ve exhausted your credits, you will need to buy more. You’ll notice, however, an option to use a Local Installation of Stable DIffusion, with links to instructions on how to set it up. It requires many more steps, but if you follow them faithfully, you’ll be able to use your workstation’s resources to generate AI images for free.
If you’d rather watch a video about it, YouTuber Royal Skies explains the process nicely! He also left a list of common issues and how to troubleshoot them in the comments.
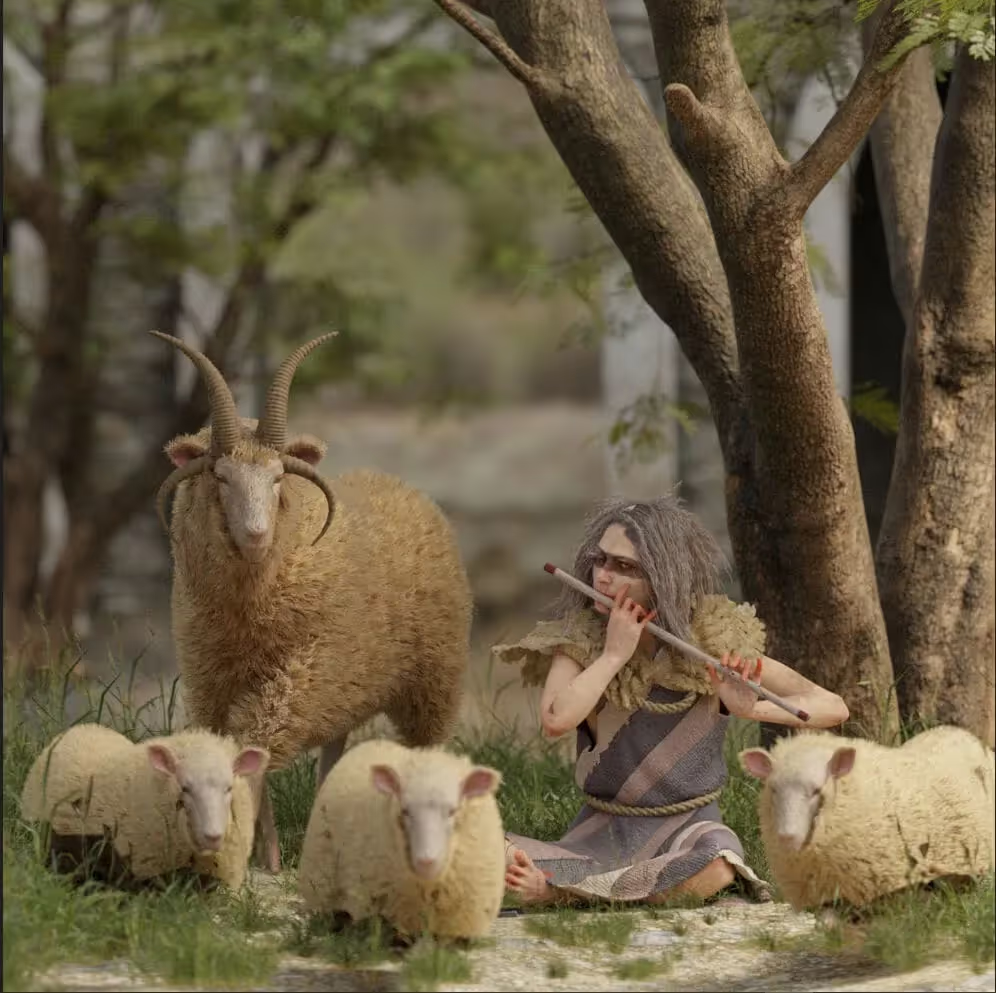
This is a test render from a project I’ve been struggling with. Besides the overall composition and the sheep needing more work, what has me stomped the most is the character’s costume design, which, admittedly, is not my strong suit. I can’t think of a more felicitous scenario for leveraging AI when rendering in Blender!
To start, I’ll isolate and render my character in 512 x 512 pixels- the required dimensions for AI render.
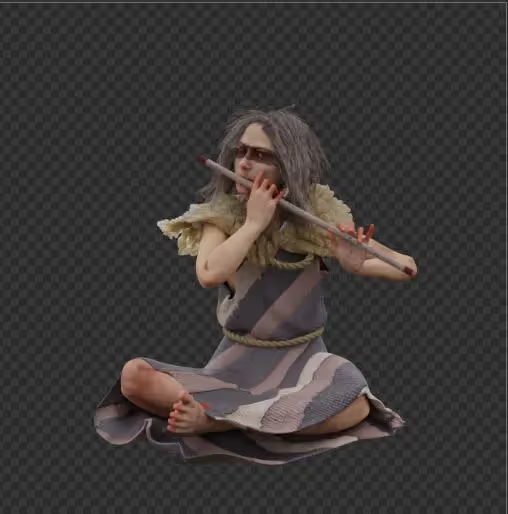
This will serve as a base for AI render to evolve with the help of some text prompts.
If this is your first foray into AI art generators, I encourage you to try whatever comes to mind, at least for the first few images.
There are, however, some key phrases that seem to affect results consistently. Many AI art generators come with presets to help guide the AI toward specific effects. In the AI render addon, we can see that these presets simply add some of these phrases to steer the AI toward a particular look
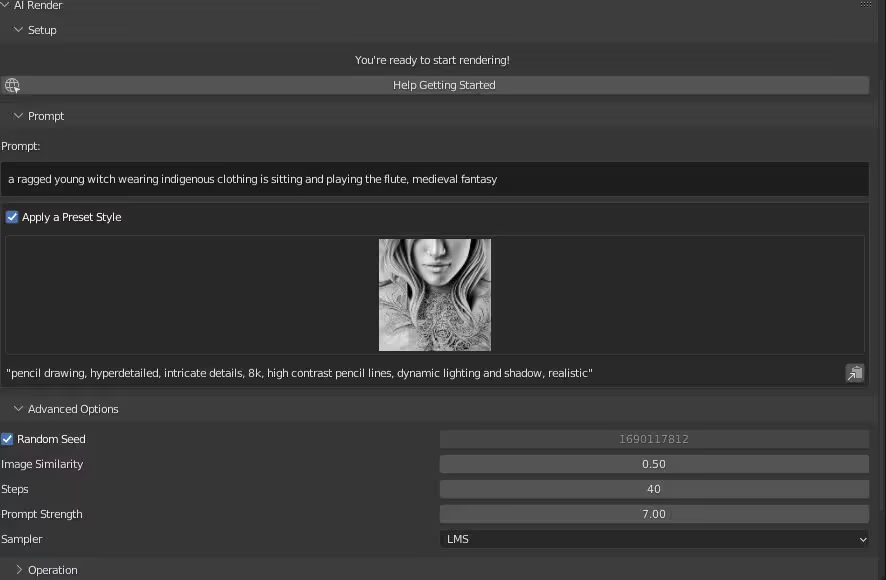
This screenshot of AI render’s settings shows my initial prompt at the top, my selected Preset Style, and the corresponding prompts that make up that style. Because I am not interested in achieving a pencil drawing look per se, I’ll take what phrases I think will suit my needs and manually add them to my prompt instead:
“a ragged young witch wearing indigenous clothing is sitting and playing the flute, medieval fantasy, hyperdetailed, dynamic lighting and shadow, realistic”
The advanced options dropdown has a few parameters that will allow us to exert some control over our results.

Random Seed- Enabling this will randomize every generation. If you want to keep results consistent between iterations, disable this setting.
Image Similarity - Think of this as a slider between the starting image and the prompt. Lower values will preserve more of the starting image, while higher values will favor the prompt
Steps - affect the quality of the image. The developer of the addon recommends staying in the range of 25-50
Prompt Strength determines how closely the prompt will be followed. Using negative integers as values will cause the AI to avoid what was indicated in the prompt instead of trying to adhere to it.
Sampler- This allows you to choose from a few sampling methods the AI will use.
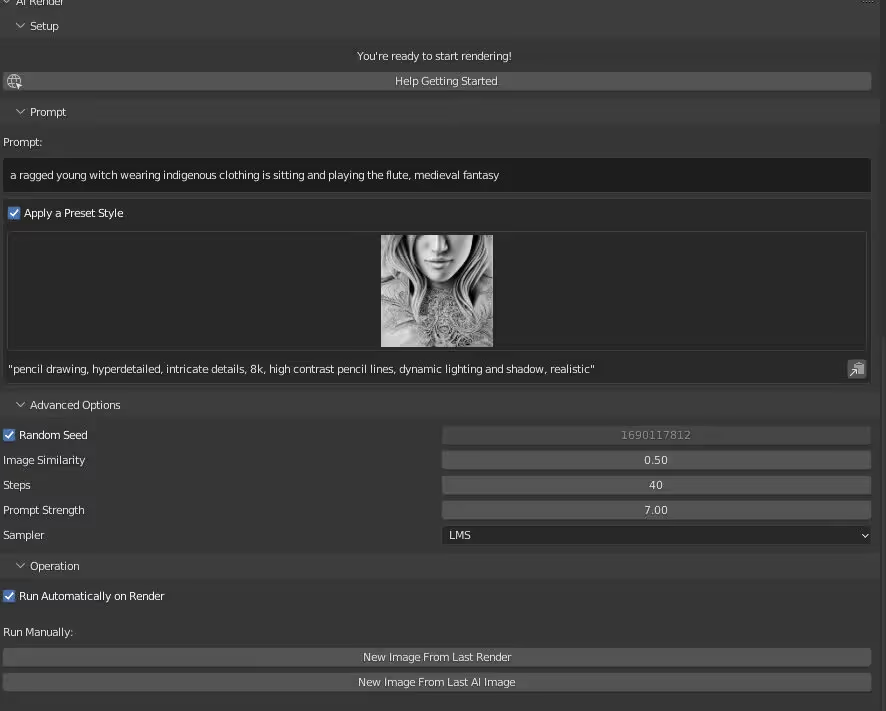

By default, Render AI will generate over a render once it completes, but I already rendered a base image and would rather not have to re-render over and over. Fortunately, we can opt to generate images from the existing render or generate a new image from the existing AI image.
After unticking “Apply a Prompt Style” I hit “New Image From Last Render” and got this result:
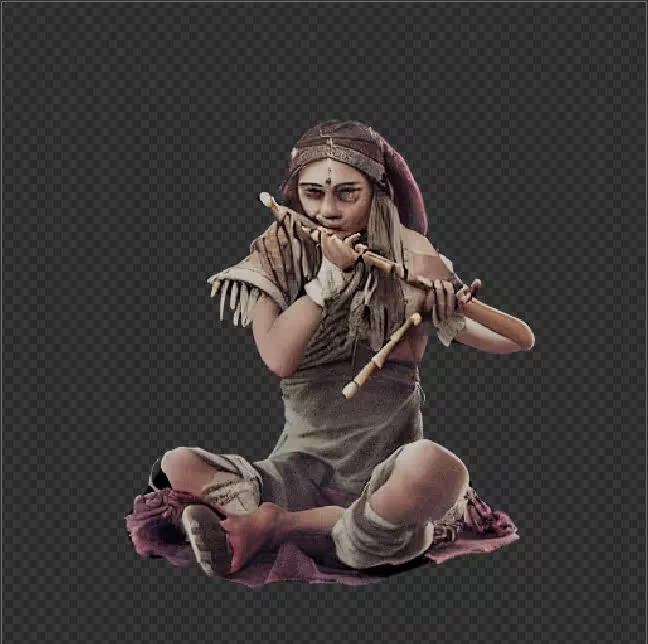
As of this writing, some wonkiness in anatomical generations is to be expected, but already the costume is an improvement from my render. I’d like a little more color though, so I’ll add “colorful” to the prompt:
“a ragged young witch wearing colorful indigenous clothing is sitting and playing the flute, medieval fantasy, hyperdetailed, dynamic lighting and shadow, realistic”
This time I’ll use “New Prompt From Last AI image” to preserve the idea of the costume detail.
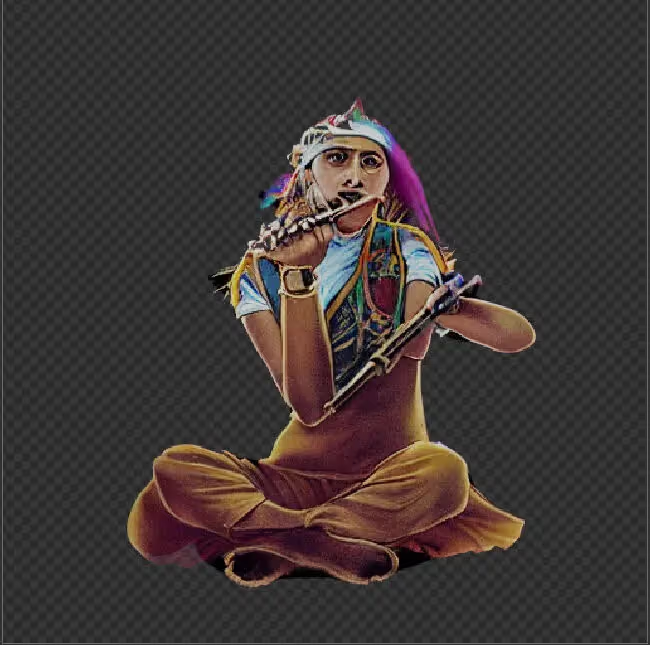
It didn’t turn out too well. I’ll revert to generating from my render, and this time adding to the prompt “Canon 50mm lens”, which I took from the “Photorealistic” Prompt Style.
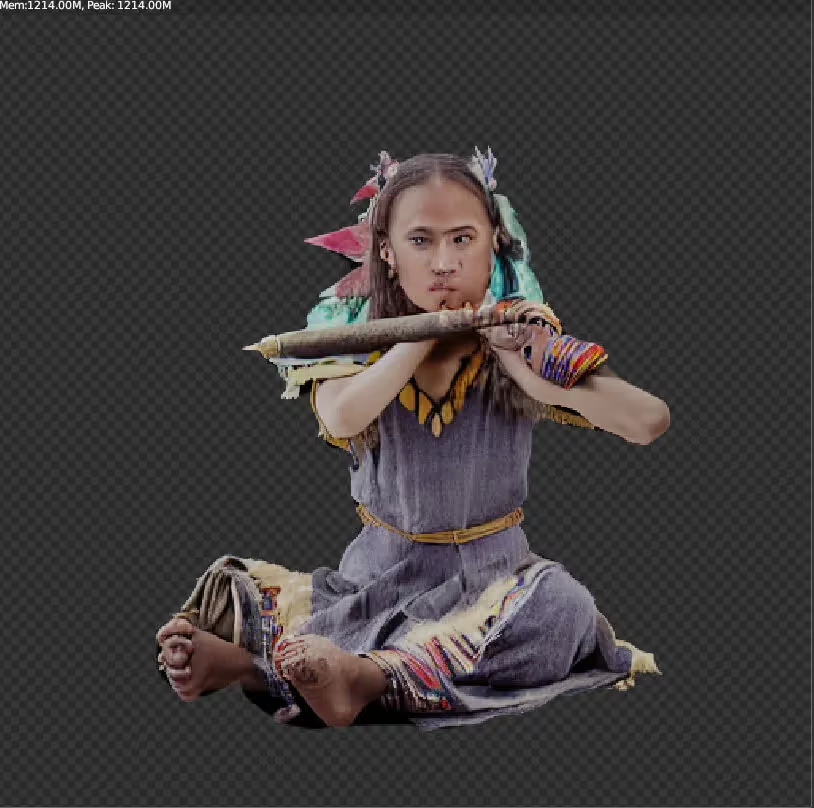
Much better!
From these results, I spent some time generating more images, switching from the previous generation to my base render, and saving the images I liked for future reference. I made some adjustments to the prompt from time to time until I had enough material to inform a better design for my character’s outfit.
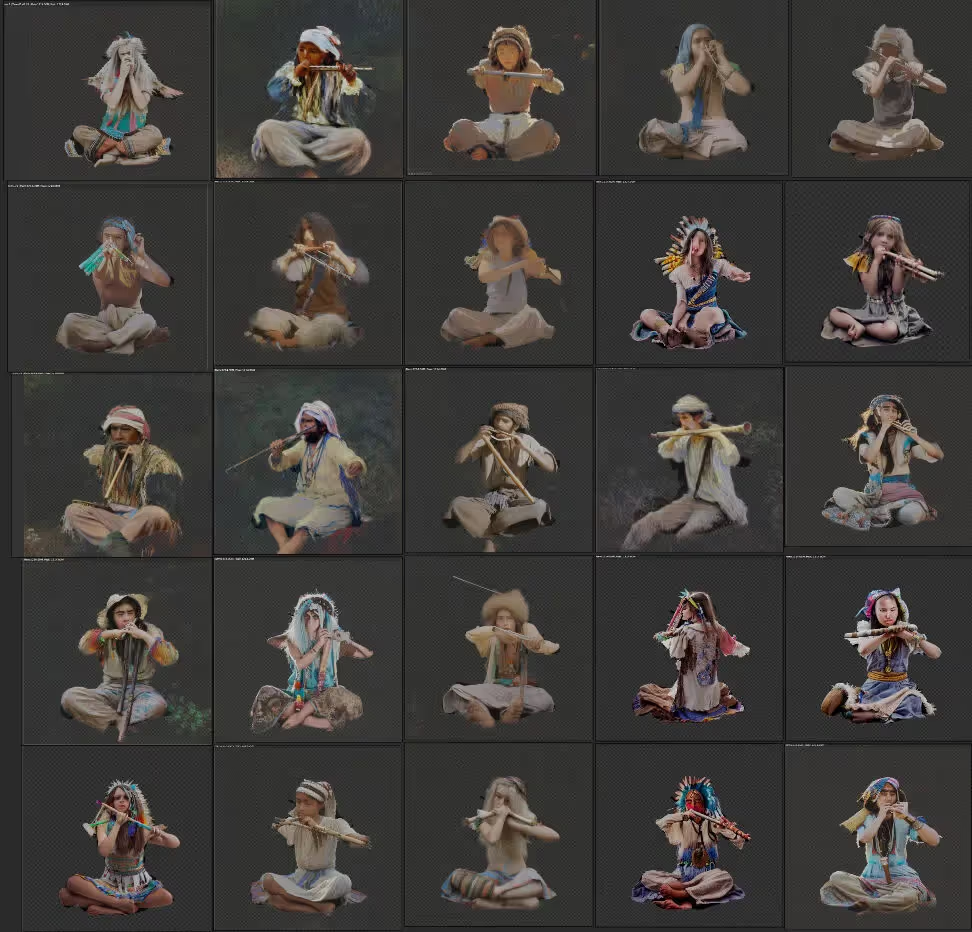
I narrowed down the concepts to the four images I was drawn to the most and created the first variation of my character in Blender.
In my opinion, this was a big improvement from my initial concept, but I found myself more and more interested in this one AI generation:
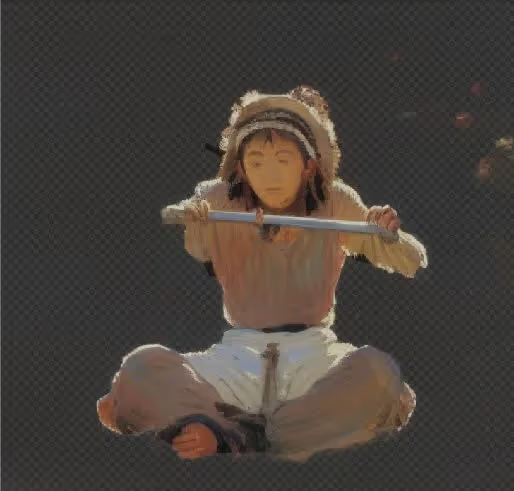
Which ended up solidifying my concept for the entire scene:
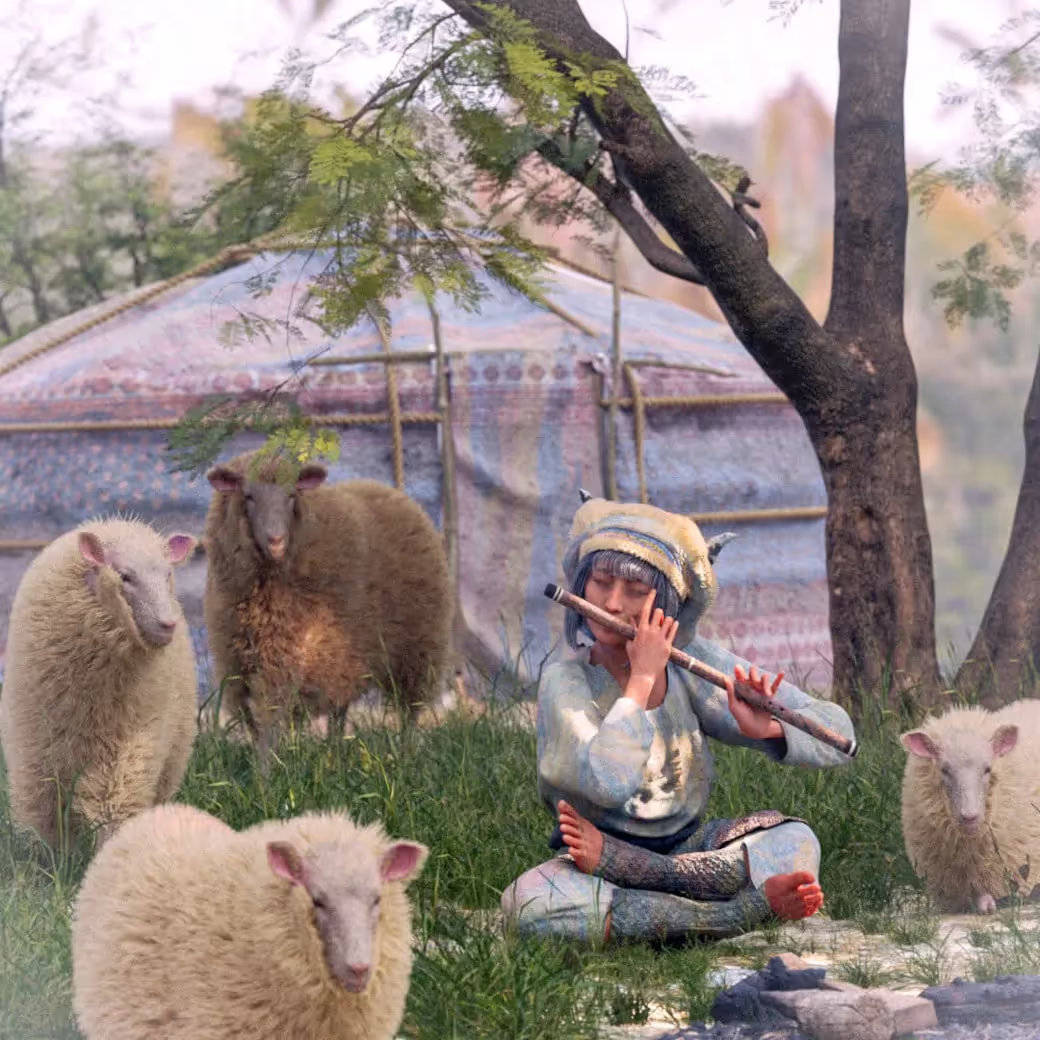
Having previously relied on scouring the internet for photo reference, I found that using AI to help iterate on concepts made it possible to move between exploring different ideas and converging them into a few workable designs much more quickly. Besides that, because generating images takes some intervention on my part, it’s easier to become invested in a particular concept and be willing to see the execution through to the final render.
While the rapid advancement of AI technology in the CG art scene is indubitably a two-edged sword, I hope this use case lends a more optimistic spin to your views on the subject. Always keep an ear on the ground and keep on creating!