


Before we go any further,
What are Smart Materials in Substance Painter?
Smart Materials in Substance Painter are pre-packaged materials that can be used to quickly and easily texture 3D models. However, to add more modularity to your material library, you can use Substance Designer to author your own materials, which can be augmented with special nodes. By exposing the parameters of your materials in Designer, you can export them as SBAR files and import them back into Painter, making them specific to a single asset.
Authoring materials from scratch can be a daunting task. Not only that, it’s tempting to just rely on the pre-packaged smart materials that ship with software like Substance Painter and Quixel Mixer. Substance Designer is a powerful material authoring software and it comes with nodes that can help us author our very own materials. Not only that, it’s possible to augment those materials with special nodes in order to add more modularity to your material library.
Find the Substance Designer Tutorial here!
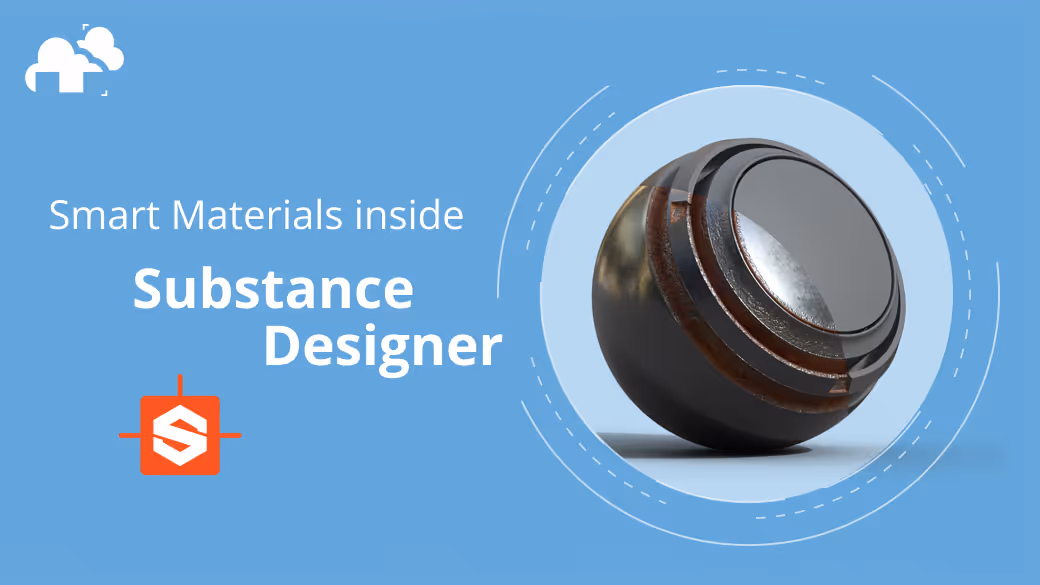
What is a smart material?
Before jumping into Substance Designer, it’s important to understand what exactly is a smart material? A smart material is a stack of materials with different procedural effects being driven by the maps that you bake from your mesh.
While it’s way more convenient and much faster to just stack materials up inside Painter, the problem with that approach is that smart materials inside Painter are saved in the .spsm format. That means you can only open these smart materials inside Painter. So if you wanted to modify certain parameters like the color or the roughness of the asset, you would either open the project file and modify the effects in the layers yourself or if you don’t have the actual project file, you would need to manually modify the map inside an image editing software like Photoshop or Krita.
#1. Creating the material
- Open Substance Designer.
- Click on “Add a new Substance”
- Click on “Painter filter (specific w/ additional maps)”.

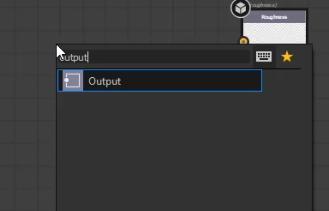
The default scene will be missing a normal map output, in order to add one in, all you need to do is this:
- Press the spacebar to open up the search bar.
- Type in “output” and click on the “output” node.
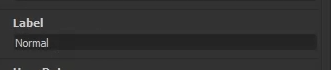
- Set the identifier name to “normal”.

- Set the label as “Normal”.
- Type in “Material” under Group.

- Set the usage type to normal.

#2. Adding to the material
- Add a base material.

- Blend them both by using the material blend mode.

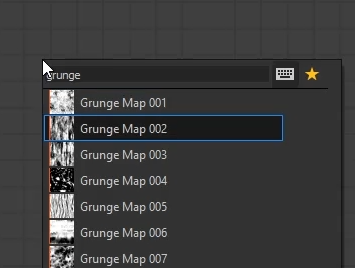
- Add a grunge map 0-2 mode.
- Use the levels node to crank up the contrast.

- Connect it to a slope blurred grayscale node.

- Add a dirt 1 node and set the opacity to 0.5.

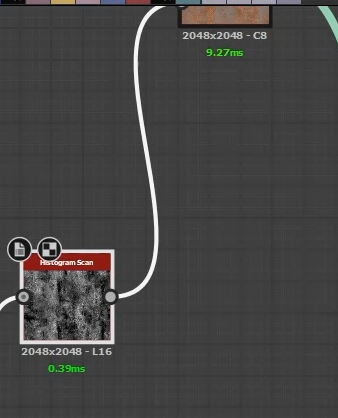
- Add in a histogram scan node.
#3. Importing Maps
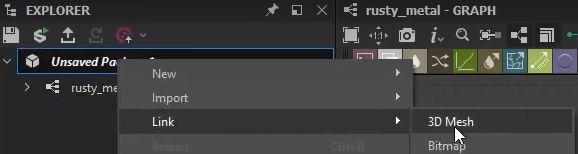
- Import the chair asset from the 3DBee asset library.
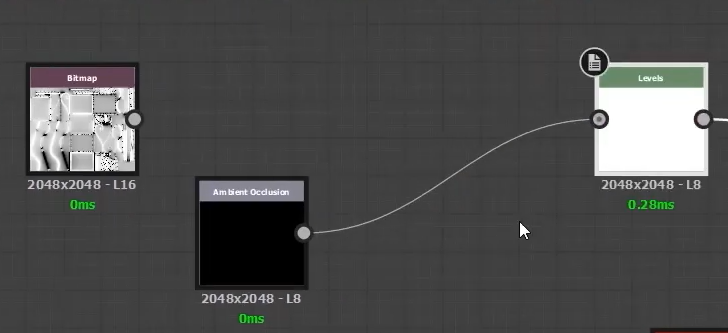
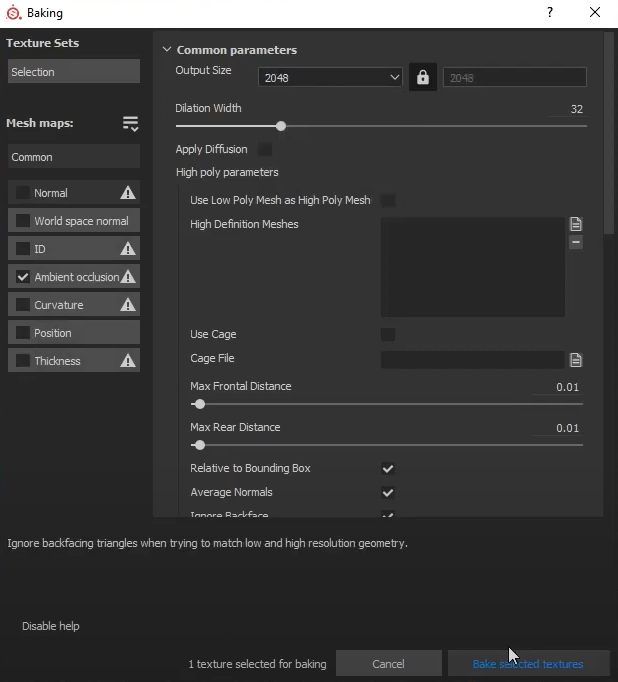
- Choose ambient occlusion and do a quick bake.


- Add it in and add a levels node and invert the values.

- Blend the inverted ao map with a rust mask then set that to multiply to add some variation.

In order to switch between using our bait map or regular mask, we can use a switch grayscale node.

- Plug-in the baked map into true and the regular map into false.

What this means is that if this is set to true we’ll be using your ao map to derive the effect. If false, we’ll be using the regular mask.
#4. Exposing Parameters
- Go up to any parameter in designer and click on expose (give its identifier a name).

- You can label the parameters as well so it’s easier to read them.

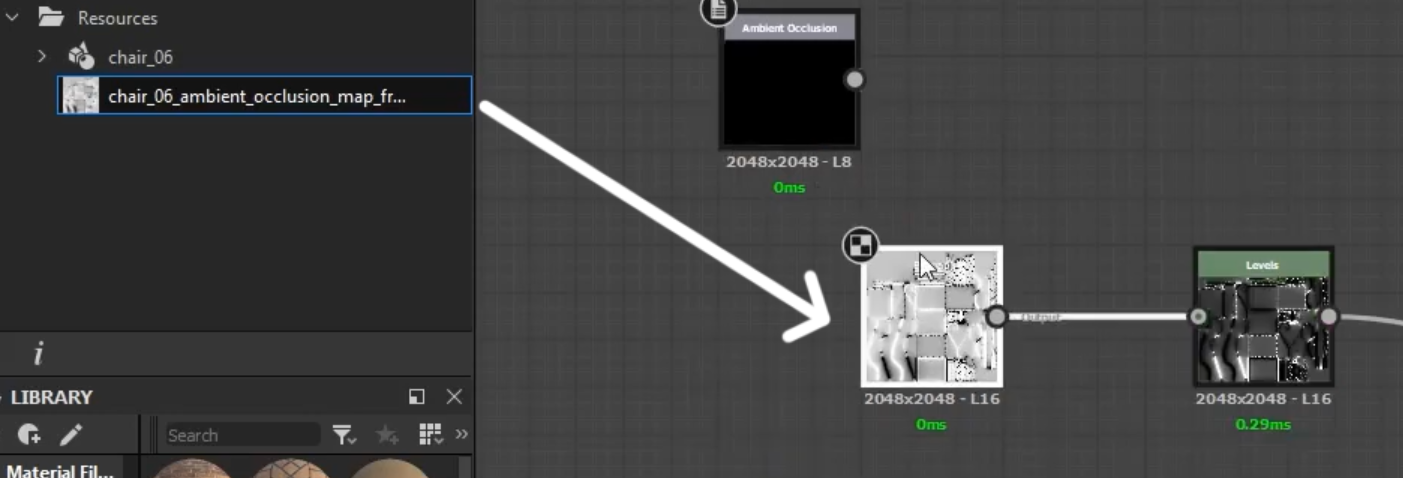
- Connect the Ambient Occlusion (AO) Node and replace the baked map we used to test this material.
- We can now export as an SBAR File and import it inside Painter.
#5. Examples of Possible Uses for this method
- Import this material just like any other material then drag it into the layers tab.

- You’ll notice that it says it’s missing an Ambient Occlusion (AO) map at the bottom. All you need to do is bake our AO Map and it will automatically be plugged in with the material.


- Set the Use Mask parameter to true, and there’s our occluded rust.

- If you just want the smart material to be specific for a single asset, you can just leave behind the maps you baked for your mesh and export that material. Now when you import the mesh and material inside Substance Player, all the parameters you have will be specific for that asset.
And that’s about it! To find more Substance 3d tutorials, check out GarageFarm Academy on Youtube!
Register Now and Get $50 FREE Credits!