


Image tracing is one of those powerful techniques that bridges the gap between the raster and vector world, making it a vital tool not just for 2D graphic design but for 3D artists as well. In this article, we’ll explore how image tracing works, how it's used in modern workflows, and how it can boost your 3D graphics game, whether you’re refining a logo or extracting curves from a bitmap for 3D modeling.
Understanding Image Tracing
What is Image Tracing?
At its core, image tracing is the process of converting raster images (made up of pixels) into vector graphics (made up of paths like lines and Bézier curves). Think of it as translating an image into geometry, transforming dots into directions. Raster formats like JPEG, PNG, BMP, and GIF are composed of pixels. These are great for photographs but lose quality when scaled. In contrast, vector formats like SVG store mathematical instructions for drawing shapes and lines, making them scalable without loss of fidelity. This conversion is what we call vectorization, and it’s particularly useful when you need to:
- Clean up and edit an image,
- Create sharp, scalable graphics,
- Extract geometry for 3D modeling or laser engraving,
- Reduce file size via lossless compression.
Even highly photorealistic raster graphics saved as a JPG or PNG can be converted using raster to vector techniques to ensure the design is scalable and editable. This is especially useful when the original image includes fine curved lines or color gradients that might otherwise suffer from pixelation when resized.
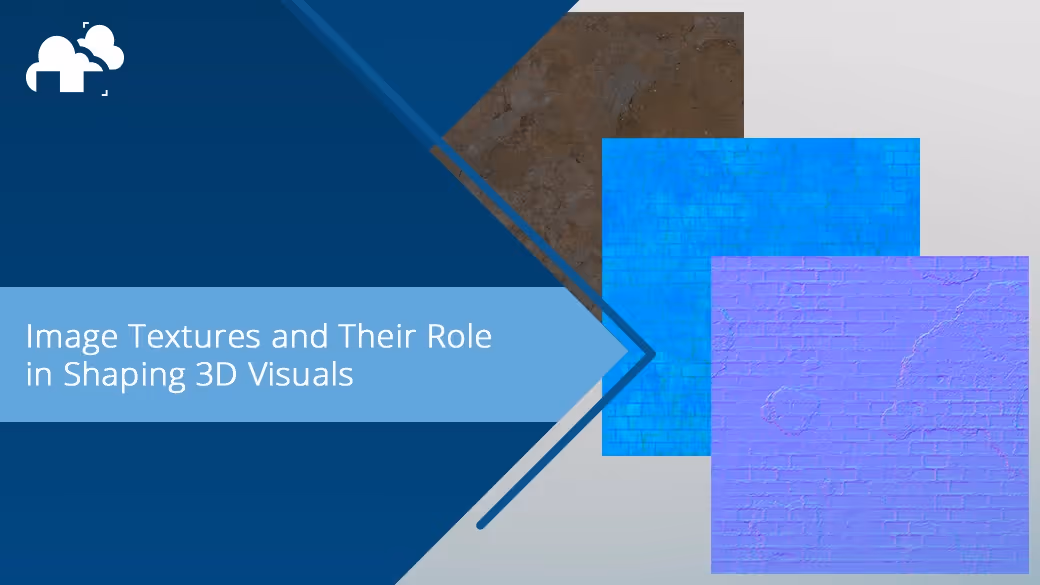
Why Image Tracing Matters in 3D
While traditionally associated with 2D workflows like logo design or poster creation, image tracing finds key roles in 3D graphics too. For example:
- Tracing a logo into a vector shape to extrude into a 3D object,
- Turning sketches or blueprints into modeling references,
- Creating precise patterns for use in shaders and textures,
- Designing displacement maps or mask patterns for materials.
Once traced, the resulting vector image can be scaled to any size without loss of detail, regardless of the file format used or the complexity of the original image.
Applications of Image Tracing
Vector Logos
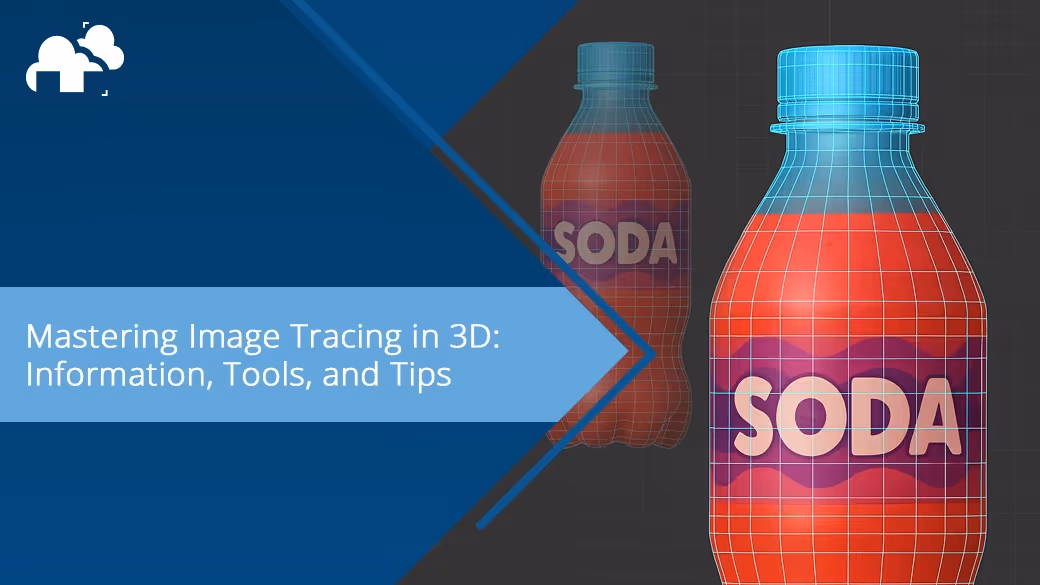
Whether you're bringing a brand to life on a product render or projecting it elsewhere such as on a 3D environment, image tracing allows you to convert low-res logo files (often JPEGs or PNGs) into vector curves for use in 3D software like Blender or Cinema 4D. Once traced, these vectors can be:
- Extruded for a 3D logo,
- Used as masks in materials,
- Or even as cutouts in architectural visualizations.
Reference Sketches to Geometry
Let’s say you're working off a hand-drawn concept. By scanning it and running it through an image tracing process, you can extract clean lines and curves. These can be imported into modeling tools to serve as guides for mesh creation, especially helpful in organic or architectural modeling.
Laser Engraving and CNC
Image tracing is essential when preparing artwork for physical production. Laser engravers or CNC machines require vector input. Traced lines dictate where the machine cuts, etches, or marks.
Image Tracing Softwares and Their Tools
Adobe Illustrator
Arguably the industry standard, Adobe Illustrator offers robust image tracing capabilities. You can do numerous things such as choose tracing modes (Black & White, Color, Grayscale), set path fidelity, reduce noise, and even limit the number of colors.
Blender
In traditional art, tracing involves transferring the elements of a 2D sketch onto paper using a lightbox or other techniques. Similarly, 3D artists use images as a base for modeling in a digital environment, but the process is more dynamic, allowing for real-time adjustments and refinements. In Blender, you can use Grease Pencil for freehand 2D sketching directly in the 3D viewport. The Image Empty object also allows you to project flat images into the scene for precise tracing.
Inkscape (Free and Open Source)
Inkscape is a fantastic alternative. It provides edge detection, brightness cutoff tracing, and color quantization. The output is clean, editable vector graphics that you can export as SVG and import into Blender, AutoCAD, or other modeling tools.
Vector Magic
For ultra-precise tracing, Vector Magic is a dedicated online tool that automates high-quality vector conversions with minimal tweaking required. It's especially good at preserving color gradients and curves.
Step-by-Step: Turning Images into Vector Assets
Step 1: Choose a Suitable Image
Select a high-contrast or high-fidelity image for the best tracing results. Clean line art and simplified graphics work especially well.
Step 2: Trace the Image
Using your preferred vectorization tool:
- Load your image into the software and have it in place.
- Convert the trace image into editable vector paths.
- For 2D, you can select a tracing method (e.g., black and white, limited color palette, or full-color mode) as well as adjust the threshold, path fidelity, and smoothing settings to fine-tune the result.
- For 3D, you can use various techniques such as tracing directly with curves or converting edges from meshes into curves.
Step 3: Refine the Vector
Clean up the traced result by:
- Removing stray or unnecessary paths.
- Simplifying complex shapes if needed.
- Adjusting anchor points and curves to create smoother lines.
- Ensuring consistent path flow, especially around sharp corners or curves.
Step 4: Export in a Compatible Format
Once refined, export your vector artwork in a format suited to your workflow. Common choices include SVG for web and 3D use and DXF or EPS for CAD or print-based workflows.
Techniques for Effective Image Tracing in 3D Software
Using Image Planes
Most 3D software allows you to incorporate reference images into your scene as image planes or background images. To set this up, you simply import your reference image and place it within your 3D environment, adjusting it to the correct scale and positioning. The image serves as a backdrop or guide for your models, ensuring that your geometry aligns with the reference perspective. Using the image as a template, you can model around it, staying true to the proportions and angles of the reference while working within your 3D viewport. This technique allows you to maintain accuracy in your work by keeping the reference visible throughout the modeling process.
Sketching Directly in 3D Space
Many 3D applications such as Blender have tools that allow you to create sketches or drawings directly onto your 3D canvas. These tools enable you to quickly draw 2D lines or shapes in the 3D workspace, helping you create base designs or concepts before fully diving into 3D modeling. After importing your reference image, you can trace over it using a sketching tool, which then can be converted into 3D geometry or used as guides for further sculpting and detailing. This approach helps you establish a visual reference while retaining the flexibility to adjust the design in the 3D space.
Projecting Images onto Models
Certain software allows you to project reference images directly onto your 3D models, which is especially useful for detailed sculpting and texturing. To set this up, you load your reference image and project it onto your model, adjusting its position and angle to ensure that it aligns correctly with the mesh. As you refine your model, you can trace the projected image directly onto the surface, which helps you add precise surface details, textures, or patterns with ease. This method keeps your model aligned with the reference and makes the process of detailing and sculpting much more intuitive and accurate.
Best Practices for Image Tracing
Aligning Turnarounds and Ensuring Accurate Dimensions
When working with multiple reference images, such as turnarounds (front, side, and top views), it is essential to align them properly in your 3D workspace to ensure consistency and accuracy. Carefully position the images in such a way that they all match up in terms of scale and alignment. This helps in achieving a uniform look across different angles and prevents any disproportionate details. Pay attention to the dimensions of the reference images and ensure they match the intended size for your model. Many 3D programs, such as Blender, offer tools or add-ons which can assist with automatically aligning reference images to the correct dimensions, making this step much easier.
Organizing Your Workflow
Efficiently managing your layers, reference images, and textures is crucial. Use separate layers for each reference image, especially if you’re working on different views (front, side, top) or name the images accordingly to avoid any confusion in the future. In general, this is basically keeping images and project files organized for easy access and quick updates.
Conclusion
Using image trace can be a great tool for artists. Whether you’re converting a hand-drawn doodle into a dynamic 3D shape, prepping a logo for projection mapping, or extracting architectural curves from a scanned blueprint, image tracing is a cornerstone technique. It provides precision, scalability, and opens up endless creative paths. As 3D artists, we thrive at the intersection of technology and art. Image tracing sits right at that edge, bridging bitmap reality and vector abstraction, one pixel and curve at a time.
Register Now and Get $50 FREE Credits!