Key takeaways
• The global animation market is projected to reach approximately USD 400 billion by the end of 2025 (Vidico).
• A well‑structured 3D animation production pipeline can reduce production schedules by 30‑40% and minimize revision cycles by around 25% (industry case studies suggest these kinds of efficiency gains) (Educationalvoice).
• AI‑powered tools are increasingly embedded in 3D workflows, automating tasks like in‑betweening, lip sync, rigging support and reducing production time significantly in many studios.
• Establishing a robust workflow means translating creative vision into commercial success, while maintaining consistent quality, meeting deadlines, controlling cost and enabling reuse.
TL;DR
The animation workflow guides a project from idea to final delivery. While 2D, 3D and motion graphics share similar stages, 3D comes with added steps like modeling, rigging, lighting and rendering. Studios that define clear stages, use the right tools (including AI and cloud support), and keep teams aligned tend to work more efficiently and creatively. Adapting the workflow to fit your project’s size, tools, budget and format really pays off.
What is an animation workflow and why does a studio need one?
In 3D animation production, a "workflow" or pipeline is the step-by-step process that brings an idea to life, from the first spark of a concept all the way to the final animation. It’s not just a simple checklist, but more like a framework that brings together the people, tools, software, assets and collaboration needed to make everything run smoothly. A well‑structured 3D animation production pipeline can reduce production schedules by 30‑40% and minimize revision cycles by around 25% (industry case studies suggest these kinds of efficiency gains) (Educationalvoice).

The core phases of a 3D animation workflow can be broken down to three segments: pre-production, production, and post-production. Now let’s get to it!
Pre production: setting the stage for your animation
Before you jump into animating, pre production is where your idea starts taking shape. This is the planning phase, where you lay down the creative and technical groundwork that will guide the entire animation.
Developing your concept
Start with a strong idea. Think about what kind of story you want to tell and the world your characters live in. Keep it simple but clear. While it could help, you don't need a full-length script right now; just an outline or a few key moments that you can build on later can work.

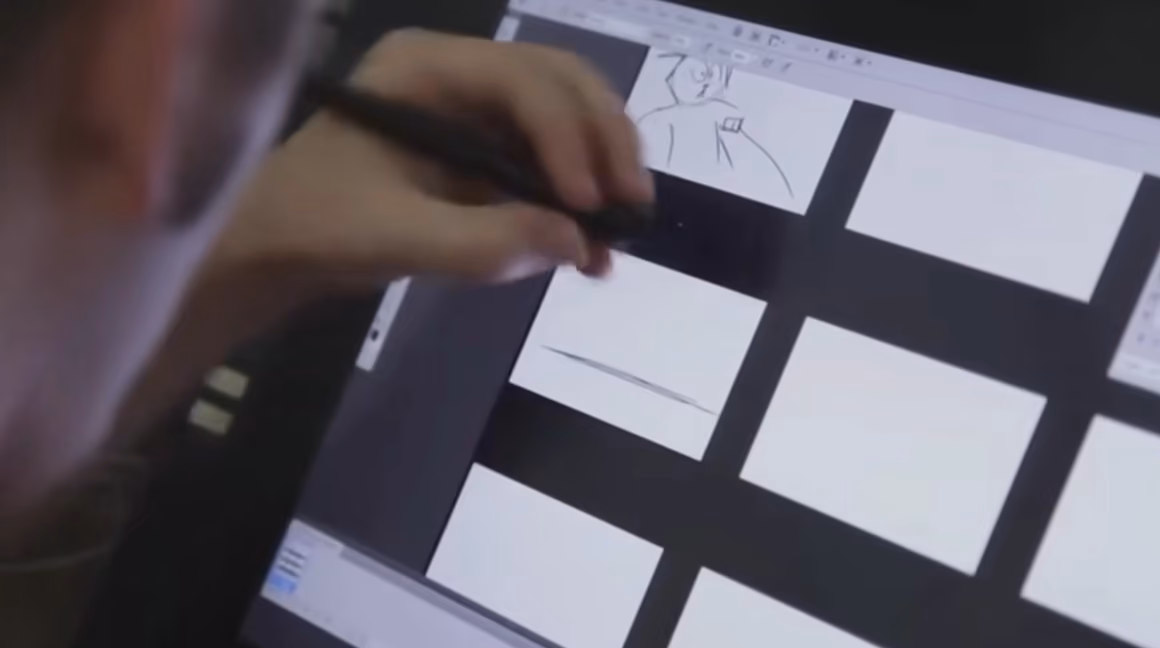
Writing and storyboarding
Once you have your idea, try writing a basic script or scene breakdown. Then sketch out a storyboard. This helps you visualize how the story will unfold. You don’t need to be an artist; rough sketches are fine as long as they show what’s happening in each shot.
Creating an animatic
An animatic is a rough video version of your storyboard. Add temporary audio or dialogue if you want. This will help you get a sense of pacing and timing before you start animating. It’s also helpful if you intend to show your work to others and get feedback.
Designing your visuals
Think about how your characters, environments and props will look. This is where you begin developing the style of your project. For beginners, try working with basic shapes or simple characters. A great silhouette is also important in distinguishing your characters.

Planning your workflow
Even small projects benefit from good organization. Create a folder structure, name your files clearly and think about which software you’ll use. This helps you avoid confusion later. Most professionals prefer to animate in Autodesk Maya, but Blender is a free alternative that can do just as good.
“Our focus is to create animation that not only tells a story but also embodies the brand’s message and connects powerfully with its audience.” – Michelle Connolly, founder of Educational Voice. (Educationalvoice)
Production: bringing your animation to life
This is where you start creating your 3D scene and bringing your characters and ideas into motion. Each step builds on the one before it, so taking things in order will help you stay focused.
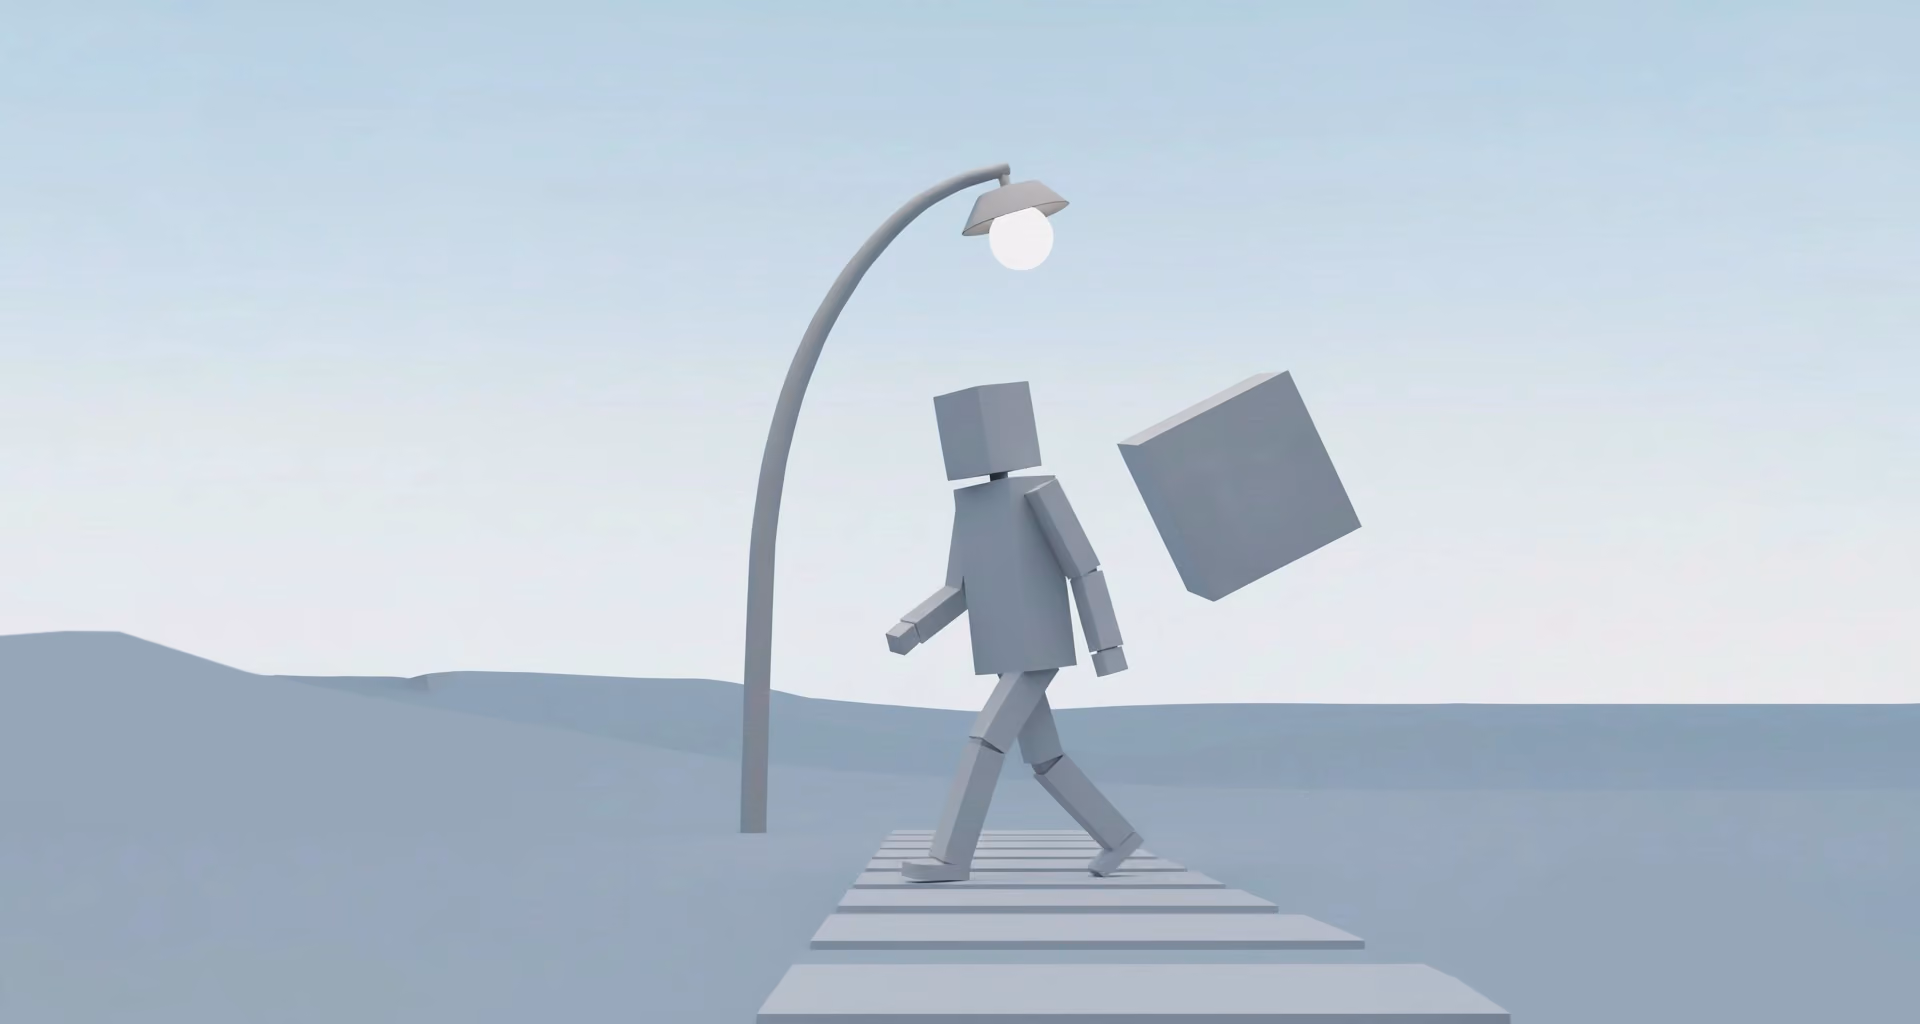
Layout and blocking for previsualization
Begin by placing simple objects to represent characters and environments. Block out the main camera angles and movements. This stage is about planning, not detail, so there is no need to go overboard. What’s important is how the story is told and how each scene flows together.
Modeling and texturing
Build your 3D models. If you’re a beginner modeler, start simple: boxy or stylized models are easier to manage when you’re learning. Then add textures to give surfaces color or detail. However, if you want to focus purely on animation, there are countless resources online such as Artstation and Sketchfab where you can get ready-made 3D models.

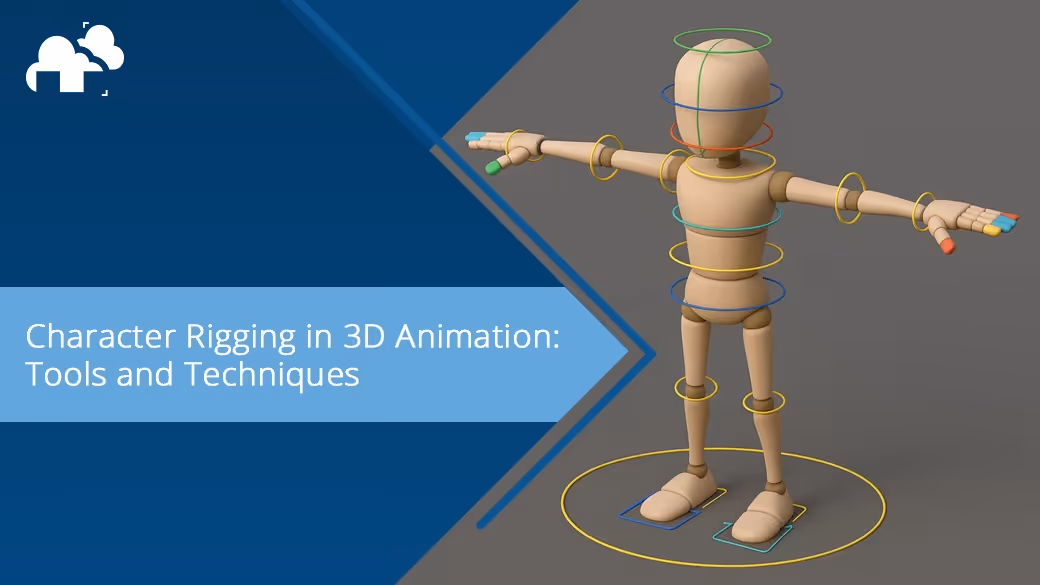
Rigging your characters and props
To make your characters and props move, you need to rig them. This means creating a skeleton and controls that allow for animation. Learn how to create bones and how to place them to ready for animation. Beginners can use pre-rigged models if rigging feels too complex at first, but knowing the fundamentals and how to do it yourself will be a huge advantage, especially when you want to achieve realistic and expressive results such as how Pixar rigged Joe, from the animated movie Soul:
How Pixar's Movement Animation Became So Realistic | Movies Insider
Animating your scenes
This is where your project really comes to life. Focus on key poses and timing. Use reference footage to know how different joints, mechanics, and expressions look like, and so you can animate them properly without the uncanny-valley vibe. A walk cycle or a short reaction can be a great place to start and is usually the go to homework most animators begin with (besides the bouncing ball of course!). This tutorial by CG Geek also covers how to animate a 3D character:
Adding simulations or effects (optional)
If you want to try things like hair, cloth or particles, this is where those effects come in! Simulations are a great way of adding more depth and coolness to an animation, so learning this can prove useful. Check out various online tutorials and build on that by applying it to different simulations. For an example, this one tutorial from CocoSpyder teaches how to do a character’s hair simulation and you can potentially use this for other hairy characters or objects:
Lighting and rendering
Good lighting makes a big difference. Use light to set mood and focus attention. Then render your scene into images or video. Start small and render just a few frames to test settings. Lighting artists also help to establish emotions and storytelling. A video by Insider explains the importance of lighting perfectly perfectly:
Post production: refining your animation
This phase is about polishing everything and preparing your final video. If you intend to animate for video games, this can still apply but in a game cinematic sense (without exporting a video).
Compositing your renders
Render and combine your render passes (like shadows, lighting and effects) into a final image. Even basic compositing tools can improve the final look of your project.

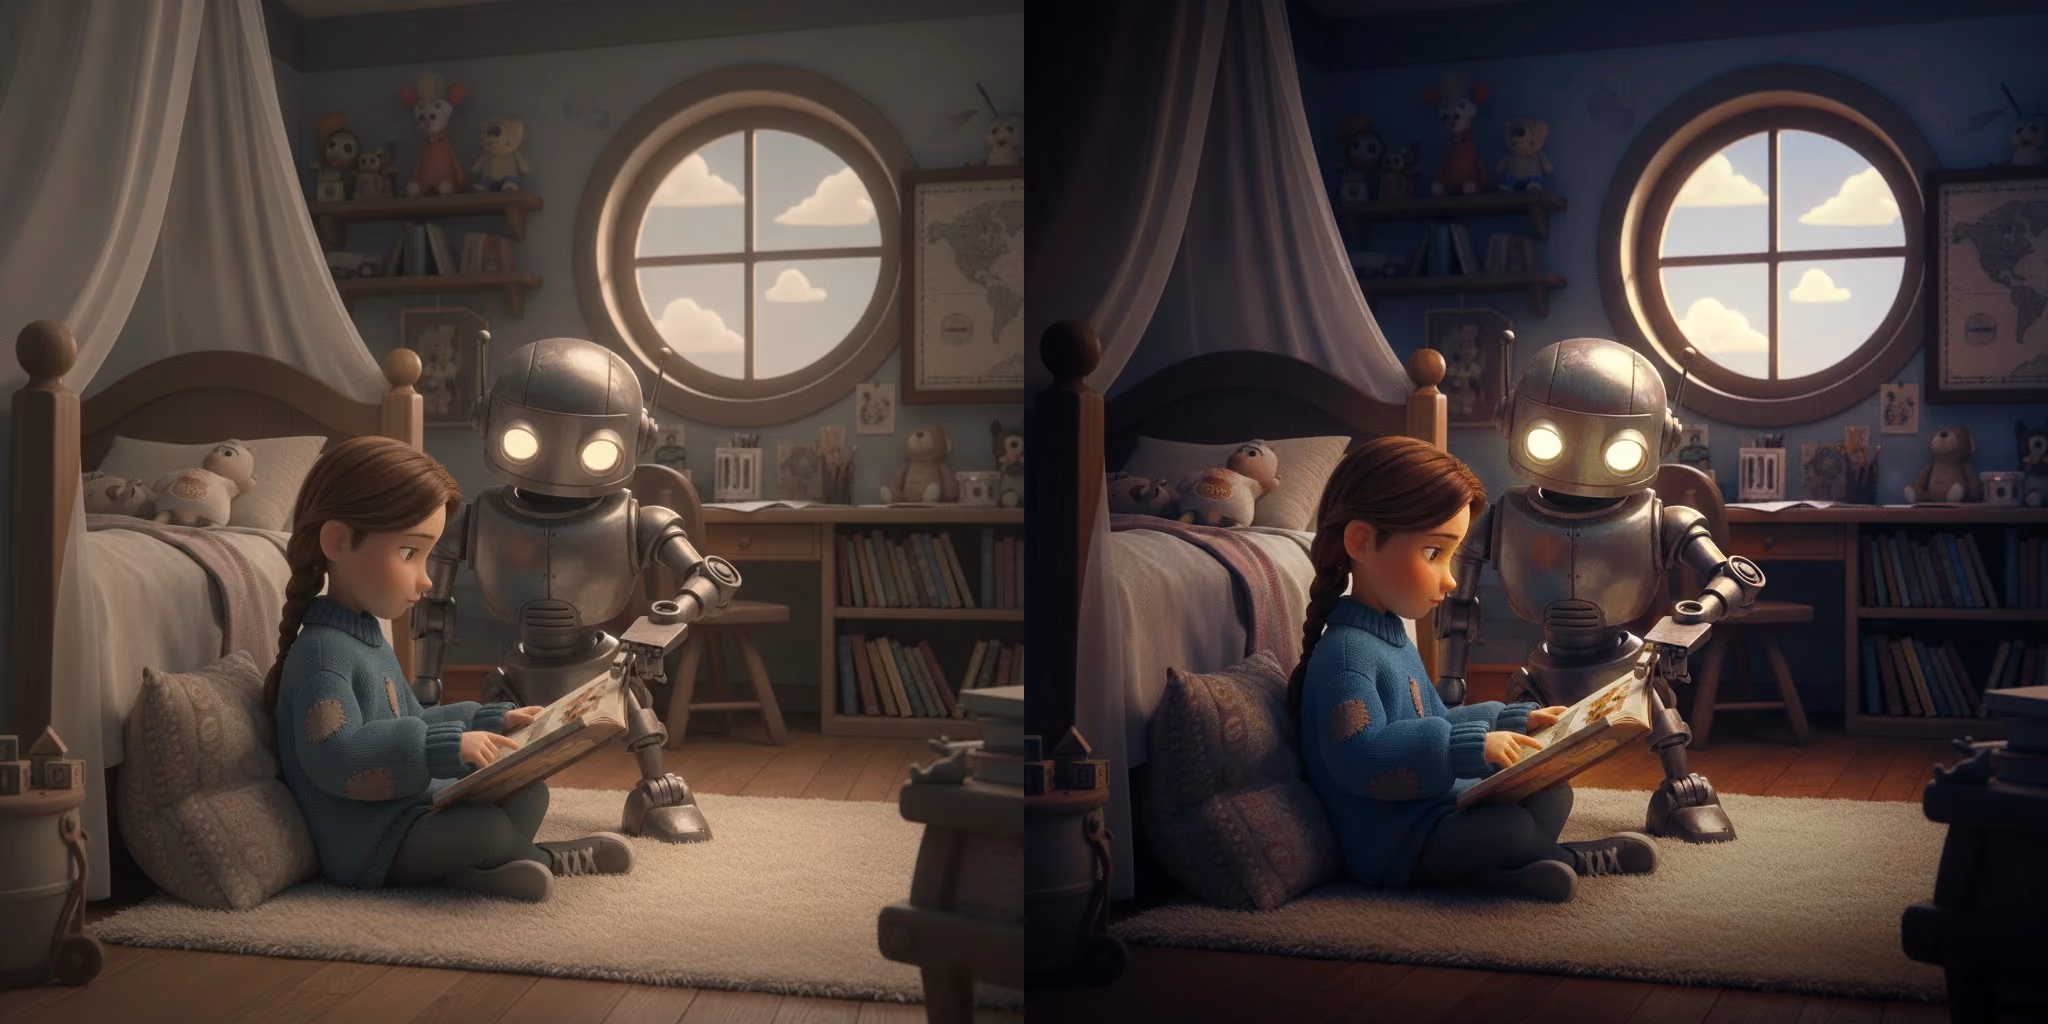
Color-grading
Adjust the brightness, contrast and colors so your animation looks consistent and visually appealing across all scenes. This is the place to add that extra kick to a scene and to emphasize the mood.
Adding sound
Music, dialogue or sound effects (foley) can enhance your animation. Syncing audio to the animation adds impact and helps tell the story. New Plastic showcases this perfectly in their video below about sound design for 3D artists:
Exporting your final video
Render your animation to a final video file. Save it in multiple formats if needed, and make sure to back up your project files. And you’re done!
How do different animation styles affect workflow requirements?
2D animation workflow specifics
The 2D pipeline can be more stylized and less technically intensive (for example less render time, simpler rigs) compared to 3D. The main phases (pre‑production, production, post‑production) remain but asset workflows differ, such as hand‑drawn key and in‑between frames and compositing of 2D layers. The 2D animation pipeline also contains notation that is important to be familiar with, as explained perfectly in this video by Spywi’s Mind Palace:
3D animation and CGI process requirements
By contrast, 3D pipelines must handle geometry, UVs, material maps, rig controls, simulation caches, lighting and render passes. The workflow must manage heavy assets, large file sizes, render farm scheduling and version control. Moreover, 3D layouts allow full 3D camera moves and spatial logic, which is more complex than many 2D scenes. However, it offers more flexibility with camera angles and is easy to get consistent proportions and designs since they are all 3D models. This video by Motionplex perfectly covers the 3D animation pipeline:
Motion graphics and hybrid approaches
Some projects adopt motion graphics or hybrid 2.5D/3D pipelines. Here, the breadth of tools increases: AfterEffects, 3D elements, camera moves, quick transitions. The workflow tends to emphasise reuse (templates, asset libraries) and faster turnaround rather than full‑feature complexity. The most popular example of this is Arcane, in which the film has 3D characters but also has props and backgrounds that were over-painted from a 3D base, and projected back to 3D again. This video by Zeyu Ren shows this wonderfully in their video below:
Stop‑motion and specialized techniques
Even stop‑motion (or mixed physical/digital pipelines) rely on workflow planning: photographing frames, tracking, clean‑up, digital composite, final edit. While not purely 3D, many of the pipeline principles (hand‑off, asset tracking, version control, compositing) apply. This video by Mashable has a great explanation of the stop-motion technique:
Which tools and software power modern animation workflows?
Industry‑standard animation software
In 3D workflows you will commonly see tools like Autodesk Maya and 3dsMax, Blender, Houdini for simulation, Substance Painter/Substance Designer for materials, and rendering engines like Arnold, RenderMan, Redshift.
Project management and collaboration platforms
Pipeline‑support tools such as ShotGrid, ftrack or proprietary studio systems help track asset versions, shot progress, approvals and notes.
How has AI changed the animation workflow in 2025?
AI is increasingly embedded in the pipeline: e.g., AI cleanup of motion capture, predictive denoising in rendering, auto‑rigging assist, or even storyboarding support. These tools reduce manual effort and shorten iteration cycles.
AI‑assisted pre‑production and storyboarding
In pre‑production, AI tools are used to generate concept art variations, assist with storyboards or animatics, analyse pacing or generate shot lists. This speeds up the creative iteration stage and allows earlier detection of story or layout issues.

Automated tasks and time‑saving features
AI is taking over many of the repetitive or labour‑intensive tasks in 3D animation workflows. For example auto‑rigging scripts, in‑between generation, motion cleanup, procedural texture generation, predictive render optimisation. These reduce manual labour and allow artists to focus more on creative performance. This video by Polynox gives us an example of the power of AI in this auto-rigging tool here:
Intelligent rendering and post‑production
On the rendering side, neural denoisers, AI‑driven render optimisers, and auto colour‑matching tools streamline the finish. There are also AI interpolation tools that help create smoother looking animations as we can see in this video by GRisk A.I. Sandbox:
What are the biggest workflow challenges animators face?
Even small animation projects can run into roadblocks. Whether you're a student or just starting out, understanding the common challenges in animation workflow can help you plan better and avoid unnecessary frustration.
Keeping files organized and versioned
As your project grows, you’ll end up with multiple versions of scenes, models, and textures. Without a consistent way to name and organize files, it becomes easy to lose track of what’s current. This can lead to redoing work or accidentally using outdated or wrong assets.
Balancing creativity and technical setup
It’s common to jump straight into animating without setting up rigs, lighting, or layouts properly. This often results in backtracking or redoing parts when things break or don’t look right. Learning to plan ahead (even in small steps) helps keep your workflow smooth and focused.
Working alone or without feedback
When you're animating solo or in a small group, it can be hard to spot problems early. Without feedback, it's easy to spend hours on a scene that might need major changes later. It is also important to not be too attached to your work and to not take criticisms personally; remember that it is for your improvement as an animator.
Hardware and rendering limitations
3D animation can be demanding on your computer. 3D productions involve heavy compute resources (render farms, simulation caches, etc.) and costs can escalate quickly if render times or revisions spike. Long render times, crashes or laggy software are all common issues. Simplifying your scenes, working in lower resolutions during testing, and using efficient render settings can help you work within your system’s limits.
Time management and burnout
Animation takes time and patience. Without a clear schedule, it's easy to overwork or get stuck. Breaking your project into smaller tasks and tracking your progress can make the process feel more manageable and motivating.
Staying consistent with style and quality
As you learn and improve, your early shots might not match your later ones. This can affect the flow of your animation. Saving style references, keeping notes on lighting and color, and revisiting your first shots near the end can help you keep everything consistent. You can even set up procedural systems for texturing, lighting, and more that can be tweaked and applied easily to keep everything consistent.
“Animation takes a lot out of you, and it’s a very demanding profession, but people keep coming back for more because it’s so rewarding. It’s like any creative endeavor, you just want to continue making things and continuing to learn and experience new challenges.” - Andrew Chesworth, Disney Animator (Lift Off Global Network)
Questions to ask when choosing the right workflow for your animation project
Project scope and complexity assessment
Is your project a short web video of under 2 minutes or a 90‑minute feature? The complexity will dictate how heavy your workflow can be, such as the number of characters, VFX, simulation, and camera moves. The larger and more complex the project, the more rigorous the pipeline needs to be.
Team size and skill level considerations
A lean team of 5‑10 artists may thrive with a lighter pipeline; a project with dozens of departments needs a full production pipeline with asset tracking, render farm scheduling, and version control. The workflow must match team capabilities.
Client requirements and delivery formats
Is the deliverable for mobile, web, broadcast, cinema or VR/AR? Each format has its own resolution, colour space, compression, real‑time vs offline rendering constraints. Build the workflow to accommodate your target output early.
How are leading studios innovating their animation workflows?
Real‑time rendering and virtual production
More studios are incorporating real‑time engines (e.g., Unreal Engine, Unity) into their 3D pipelines so that layout, lighting, animation previews and even final renders can happen more interactively. This speeds iteration and supports immersive formats.
Hybrid 2D/3D production techniques
Some pipelines merge 2D and 3D: modelling in 3D but rendering in stylised 2D look, or using 2D effects layered on 3D renders. This creates flexibility, especially for TV/web series where style and speed matter. The most popular examples of this is the Arcane series and Klaus.

Cloud‑based collaborative workflows
Remote production, global teams and cloud render farms enable studios to scale across continents and time zones. Asset libraries, review platforms, version control and compute resources are moving into the cloud to support distributed teams.
How much time can a proper animation workflow actually save?
Structured workflows lead to measurable improvements in animation projects, including shorter production times, reduced revision cycles and lower costs. For instance, some UK studios report up to a 25% drop in revisions and 30-40% faster production when hand-offs and review stages are clearly defined (Educationalvoice). By locking designs early, using proxy assets, and managing render resources efficiently, teams can cut down on wasted time and expensive rework. These process improvements also boost visual consistency, reduce last-minute fixes, and lead to higher client satisfaction and trust.
Where is animation workflow technology heading in the next 5 years?
Future production workflows will increasingly integrate advanced AI for tasks like auto rigging, animation, asset reuse prediction, generative environments, and intelligent rendering, all designed to cut costs and boost iteration speed. Cascadeur is a great example of this as an AI-assisted keyframe animator:
As immersive content becomes mainstream, workflows will also need to support VR and AR assets, real-time engine rendering, spatial audio, and interactive feedback.Below is an example by AniMatrix of one of this technologies, VR (virtual reality), and how it can be applicable to creating animations.
The global animation market is projected to reach approximately USD 400 billion by the end of 2025 (Vidico), with the 3D animation segment growing rapidly (one report estimates the 3D animation market alone could approach USD 81.41 billion by 2035 (Marketresearchfuture).
Register Now and Get $50 FREE Credits!