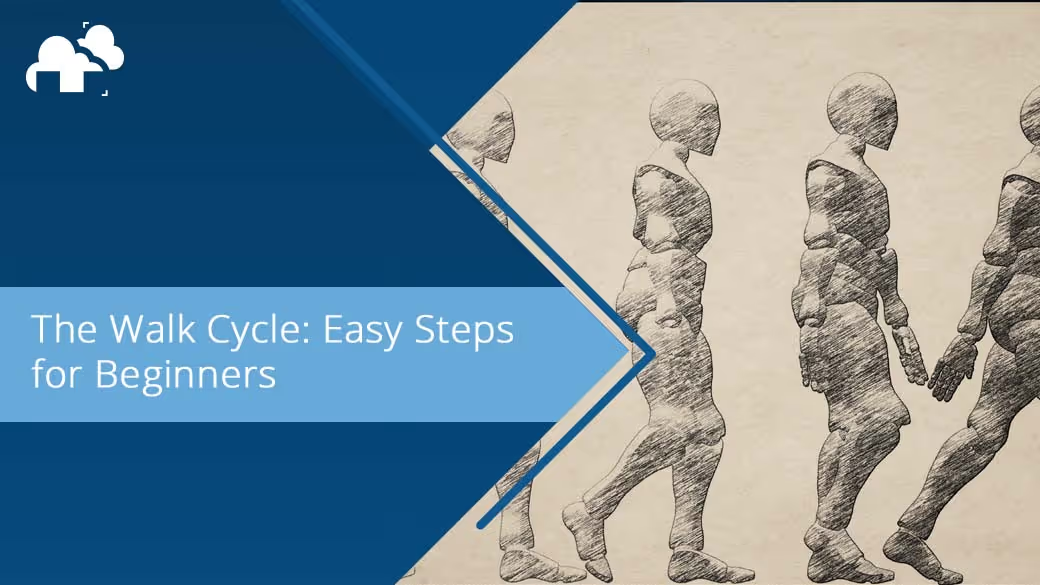
Animation has been captivating audiences for over a century, evolving from the hand-drawn magic of traditional animation to the intricate, lifelike movements in modern 3D animation. One of the fundamental building blocks in any animator's toolkit is the walk cycle. Creating a believable walk cycle can bring your character to life,setting them up with the foundation needed to imbue them with personality and making them feel grounded in the world they inhabit. This guide will walk you through the essential steps to animate a walk cycle, perfect for beginners eager to dive into the world of character animation.
What Is a Walk Cycle?
A walk cycle is a foundational animation sequence that loops seamlessly to create the illusion of a character walking. This technique is indispensable in both 2D and 3D animation, allowing animators to establish the basic mechanics of a character's movement without reanimating each step for every scene. In practice, walk cycles serve as a starting point, providing the groundwork for more detailed and context-specific animations.
Walk cycles are often customized and refined during production to fit the particular needs of a scene. For instance, a character might need to walk at different speeds, navigate uneven terrain, or interact with their environment, such as climbing stairs or avoiding obstacles. Additionally, walk cycles are adapted to reflect the character’s personality and emotions, transforming a generic walk into a happy, tired, or sneaky walk, depending on the scene’s requirements.
In essence, while the basic walk cycle ensures consistency and saves time, it is frequently adjusted and enhanced to create a more dynamic and engaging animation that aligns with the story and character development. Nevertheless, animating walk cycles is a crucial exercise for animators for several reasons, spanning from mastering fundamental principles of animation to ensuring efficiency and consistency in production.
How Many Frames Is a Walk Cycle?
The number of frames in a walk cycle can vary depending on the desired speed and style of the walk. Typically, a walk cycle consists of 24 frames, with each frame representing a unique position of the character's limbs and body. This frame count allows for smooth animation at a standard frame rate of 24 frames per second (fps), which is common in both film and animation.
Key Poses in a Walk Cycle
Animating a walk cycle involves several key poses that define the character's movement. These poses are critical as they establish the primary actions within the walk sequence. The four main key poses in a walk cycle are:
- Contact Pose
- Down Pose
- Passing Pose
- Up Pose
Each pose serves a distinct function in the overall movement, contributing to a realistic and fluid walk.

Contact Pose for Feet and Hips
The contact pose is the initial and final position of the walk cycle where one foot touches the ground while the other begins to lift. In this pose, the character's feet are at their farthest apart, and the hips are at a neutral height. The weight is equally distributed between both legs, and this pose sets the foundation for the rest of the cycle.
Down Pose for Feet and Hips
The down pose happens after the contact pose when the leading foot fully plants on the ground, and the body's weight shifts forward. The hips are at their lowest point in this position, creating a sense of weight and impact. The knee of the leading leg bends slightly to absorb the body’s weight, while the trailing leg prepares to push off.
Passing Pose for Feet and Hips
The passing pose occurs midway through the walk cycle. In this position, one leg passes the other, and the character's weight shifts from one foot to the other. The hips are at their highest point in this pose, and the arms swing naturally to balance the body's movement.
Up Pose for Feet and Hips
The up pose follows the passing pose and occurs when the trailing leg pushes off the ground, propelling the character forward. The hips rise to their highest point, and the leading leg begins to extend forward. This pose gives the walk cycle a sense of upward momentum and fluidity.
Foot Arc from Front View
From the front view, the feet follow an arc as they move through the walk cycle. This arc is essential for creating a natural and believable walk. The foot should lift off the ground, move forward in an arc, and then land back on the ground. This motion ensures that the walk looks smooth and grounded.
The Video below demonstrates the first steps of creating a walk cycle in Blender 3D using Mixamo's YBot character model. Blender's native pose mirroring features make it possible to focus on the first round of Key Poses and then duplicating and mirroring those poses for the second half of the cycle. At the end is a side by side comparison of the initial results and the results after a second pass.
Common Mistakes and How to Avoid Them
Working Straight Ahead
One common mistake in animating walk cycles is working straight ahead, where animators create each frame sequentially from start to finish. This approach can lead to uneven pacing and disorganized movements. Instead, it's crucial to block out the key poses first to maintain even pacing and structure.
A walk cycle consists of two instances of the key poses before returning to the first contact pose. To stay organized, start by placing the contact poses at frames 0, 12, and 24. Next, add the passing, down, and up poses, spacing them evenly with 3 frames between each pose. This method ensures that the walk cycle remains consistent and smooth, making it easier to refine and adjust the animation later.
Trying to Do Everything at Once
Animation is inherently an iterative process, and trying to perfect everything in one go can lead to frustration and subpar results. Instead, focus on setting up the key poses properly first. These poses are the foundation of your walk cycle and should be prioritized.
Once the key poses are in place, gradually refine the animation in successive passes. Add secondary movements, such as the sway of the arms or the bounce of the head, to enhance the realism. Shift the character’s weight to ensure that the walk feels grounded and natural. Expect to do multiple passes on your animation, making incremental improvements each time. This iterative approach not only simplifies the process but also allows for more precise adjustments and a more polished final product.
Not Using Reference
Neglecting to use reference material is a common pitfall that can result in stiff and unnatural animations. Using reference footage of the key poses, whether enacted by yourself or a collaborator, can significantly enhance the believability and natural performance of your walk cycle. Observing real-life movements provides valuable insights into timing, weight distribution, and subtleties that are difficult to invent purely from imagination.
References make the initial blocking of key poses more accurate and the subsequent refinements much easier. By closely studying and mimicking real-life walks, you can infuse your animation with authenticity and fluidity, making the character's movement more convincing and engaging.
Smoothing Out the Walk Cycle
To create a smooth walk cycle, it’s crucial to focus on the transitions between key poses. Interpolating frames between these poses can help create a more fluid motion. Using software tools that offer onion skinning or motion paths can also assist in visualizing and refining the movement.
Adding Personality to Your Walk Cycle
One of the most exciting aspects of animating a walk cycle is adding personality to your character. A confident character might have a swagger in their step, while a timid character might take smaller, hesitant steps. Experiment with different poses and timings to convey the desired personality and emotion.
Tools and Software for Creating Walk Cycles
Several software tools can help you create walk cycles, each offering unique features to streamline the animation process:
- Blender: A free and open-source 3D creation suite with powerful animation tools.
- Maya: A professional 3D software widely used in the industry, known for its robust animation features.
- 3ds Max: Another industry-standard software offering comprehensive tools for character animation.
- Cinema 4D: Known for its intuitive interface and powerful animation capabilities.
Learning Resources and Tutorials
Numerous resources are available online to help you master walk cycle animation:
- YouTube Tutorials: Channels like CGBoost and SouthernShotty offer step-by-step guides.
- Online Courses: Platforms like Udemy and Coursera provide structured courses on character animation.
- Books: "The Animator’s Survival Kit" by Richard Williams is a must-read for aspiring animators.
Advanced Techniques and Tips
Once you’ve mastered the basics of walk cycle animation, you can explore more advanced techniques to enhance your work:
- Animating Different Walk Styles: Experiment with various walk styles such as sneaking, running, or limping.
- Adding Secondary Motion: Animate elements like hair, clothing, or accessories to add realism and depth.
- Using Animation Curves: Fine-tune your animations with animation curves to create more nuanced and polished movements.
Animating a walk cycle is an essential skill for any animator. It lays the groundwork for more complex animations and helps you understand the principles of movement and timing. By following this comprehensive guide, beginners can learn to create smooth, realistic walk cycles that bring their characters to life. With practice and experimentation, you can develop your unique style and add a personal touch to every walk your characters take.
Register Now and Get $50 FREE Credits!


