


Cinema 4D has always dominated the Mograph and Motion Design niche in the 3D industry, but if you’re coming from other software, you may be surprised to find that C4D also offers some interesting features that could really benefit character or creature animation workflows!
One such feature is the simple but powerful Jiggle Deformer. This deformer has been in Cinema 4D for a while and is great for giving 3D text (or any model, really) a sort of wobbly, gelatinous effect. Like any other deformer in C4D, it just needs to be set as a child of the mesh that’s to be affected to see any result. The deformer has several parameters that can be adjusted to fine-tune the “jiggle” as it were, but the deformer is only half of the fun.
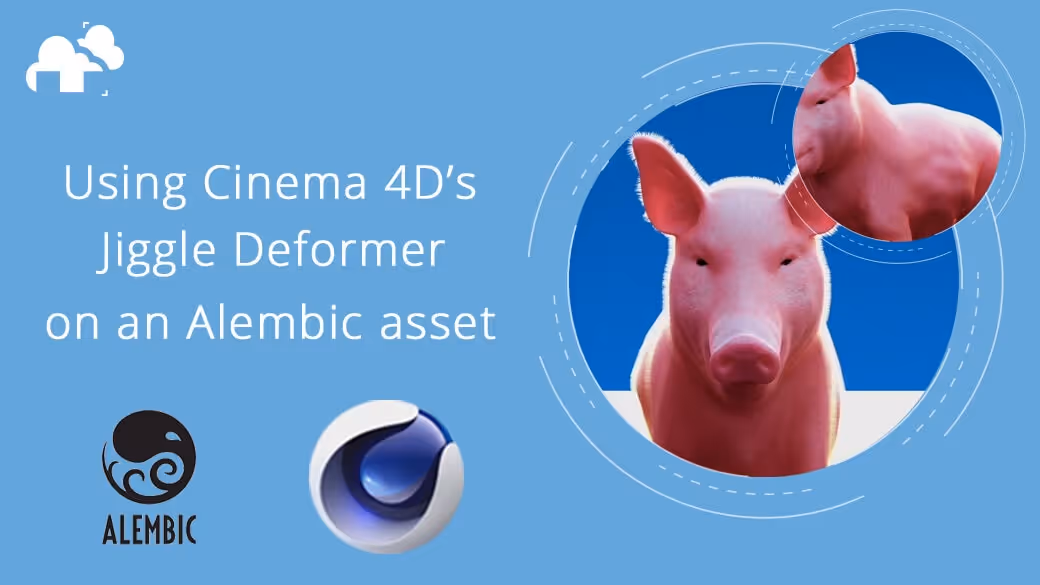
Another great feature of Cinema is its seamless support of alembic, which makes it very easy to work with assets coming from other software including animated characters or creatures! In this article, we’ll export an animated pig model from Blender using the alembic format, and bring it into Cinema 4D S26 to add a jiggling effect.
Before we get started if you’ve got scenes that need to be rendered quickly and without any hassle, check out our Cinema 4d render farm! We support all major DCCs and some relatively obscure ones, too! Our support team is available 24/7 and would be happy to answer any questions you might have.
And now, back to the program.
A few words about Alembic
Alembic is a 3D file exchange format developed by Sony and ILM, and its main purpose is to facilitate easier collaboration between studios that may be using different programs for 3D rendering. Alembic supports static and rigged meshes with animation, UVs, lights, cameras, particles, curves, subdivision surface AND object hierarchies and the transform information in them.
Alembic assets are sampled data from the original scene that was exported. This means they are less resource-intensive than their original forms, but also that any animation or particle simulation is baked into the asset, and cannot be modified as thoroughly as the original.
Exporting an animated asset as an Alembic File (in Blender)
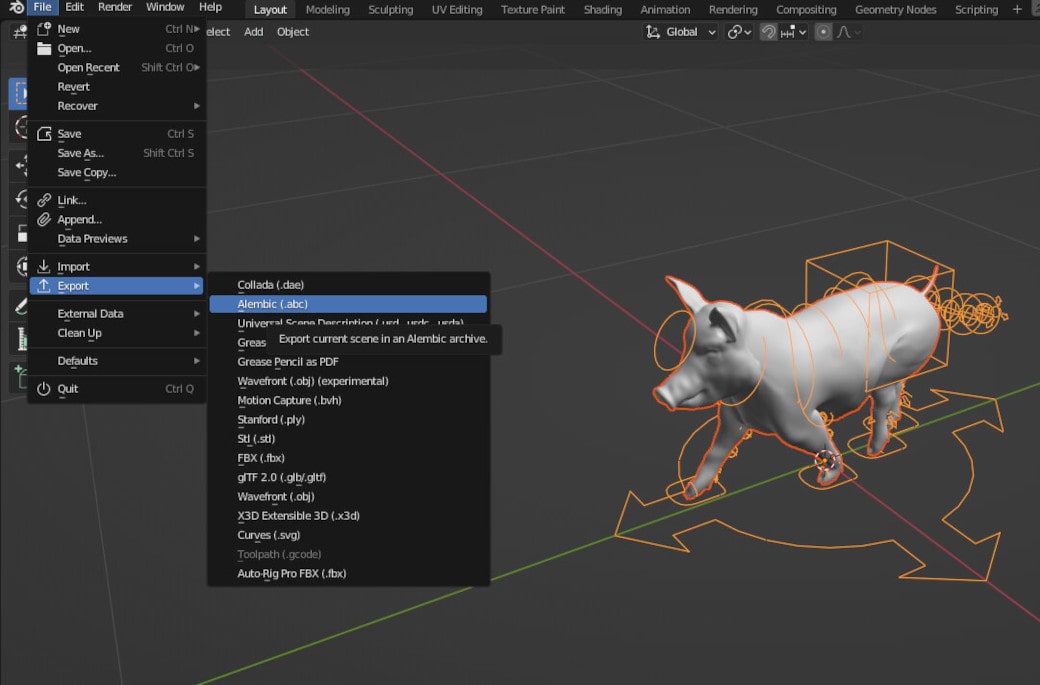
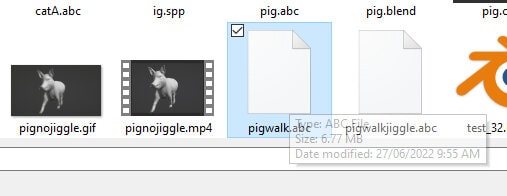
This little pig will act as our test asset. We see that it’s been rigged and animated for a simple walk cycle. To export this as an Alembic file, we just need to select the model and the rig, and in the export group down, choose Alembic (.abc).
In the succeeding menu, we can check our frame range, object scale and orientation. In this instance, we’ll leave everything as it is.

Importing Alembic into C4D
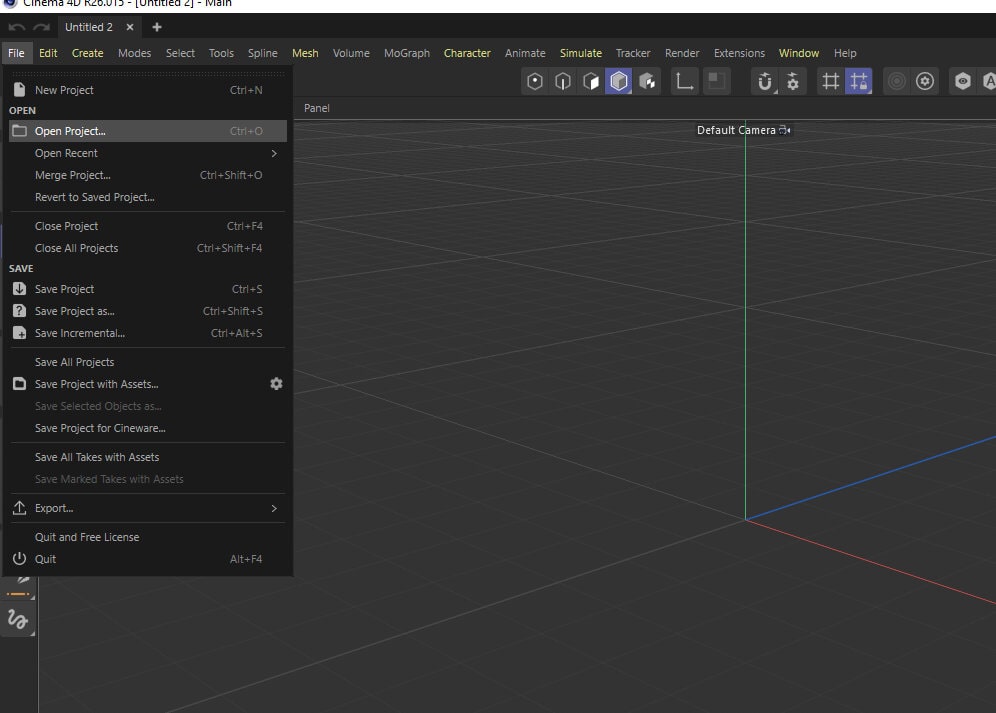
Importing the file into Cinema is a strange, but welcome process. We need only hit “open” in the File dropdown and select our .abc file.
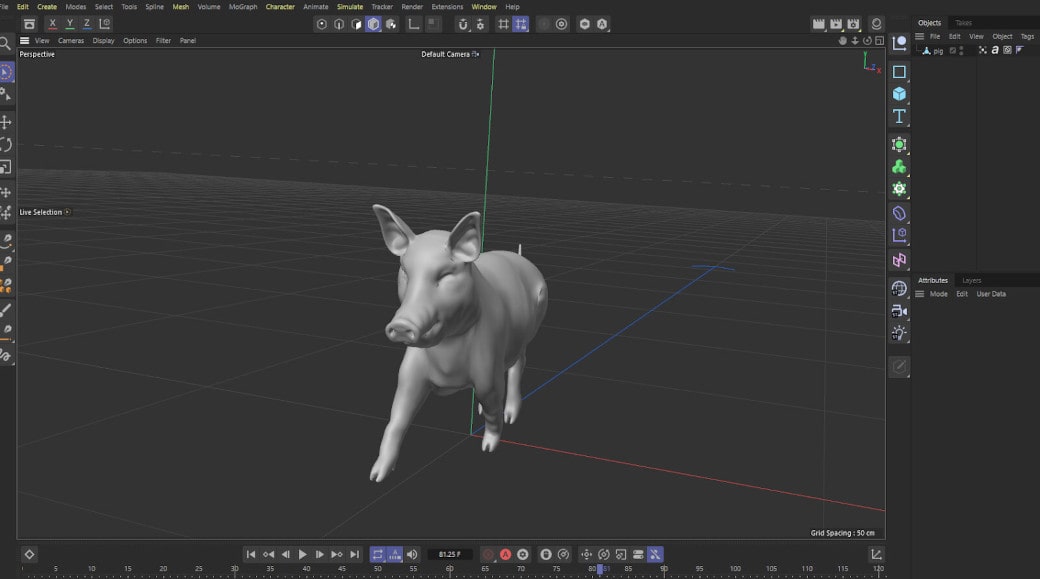
We have our animated asset in Cinema, and everything works as it should. Notice, however, that the animation is baked into the mesh. We no longer have the rig to control, but that isn’t a problem for us in this case.
The Jiggle Deformer
To add the Jiggle Deformer, we select our pig, hold down shift and choose Jiggle from the deformer drop-down.
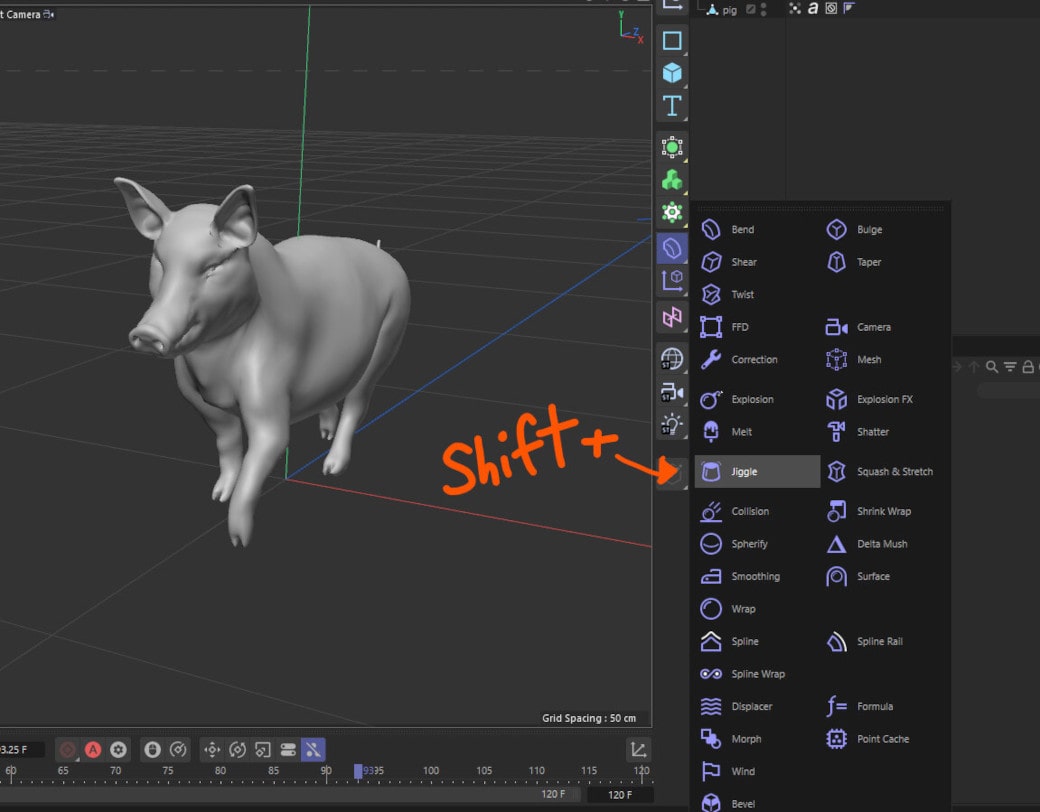
This should already place the deformer inside of the pig asset as a child on the outliner window. Once we hit play we would already see it take effect.

Of course, it would be better for the pig to not be entirely jiggly. It would make more sense for the jiggle to be isolated to the fatty areas of our porcine friend. To achieve this, we need to first convert our asset into an editable object. To do this, just select it and hit “c”.
Now on the toolbar to the left of Cinema’s viewport, let’s choose the Paint Tool and begin painting the mesh.
We get a sort of heat map on our pig that shows the unpainted areas as red, and the painted areas as yellow. We want to use varying amounts of weight on certain parts of the pig depending on what areas should jiggle more than others.
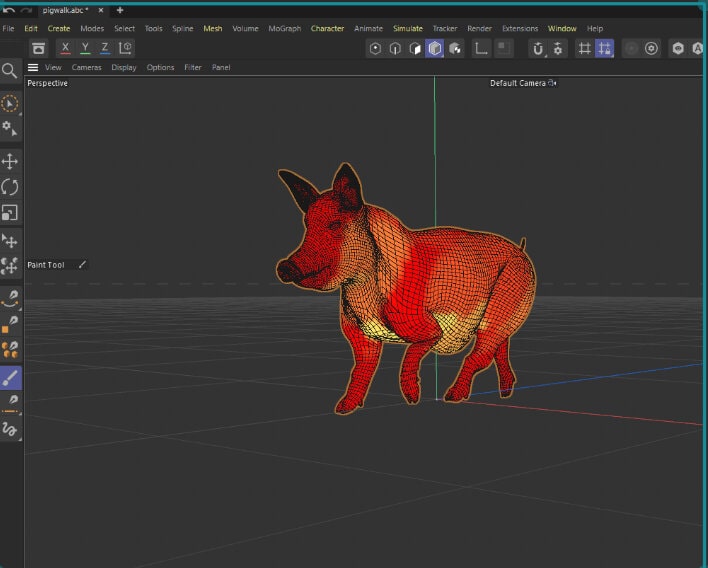
Here the most weight is allocated to the belly region and less is added to the neck and haunch areas, for example.
After painting, we can see that our asset has a new tag assigned to it on the outliner.
On the parameters of the Jiggle Deformer there are fields for maps that we can use to drive the effect. For the map field of the Stiffness parameter, we’ll hit the eyedropper tool and select the weight tag next to our object.

Then tick “invert”.
Now when we play back our animation we see that the effect is localized to where we added weight to the model. At this point, we can adjust the Strength, Stiffness and Structural sliders until we’re happy with the result.
We can now develop a shot for C4D rendering or export our changes out to a new alembic file that we can bring into other software.

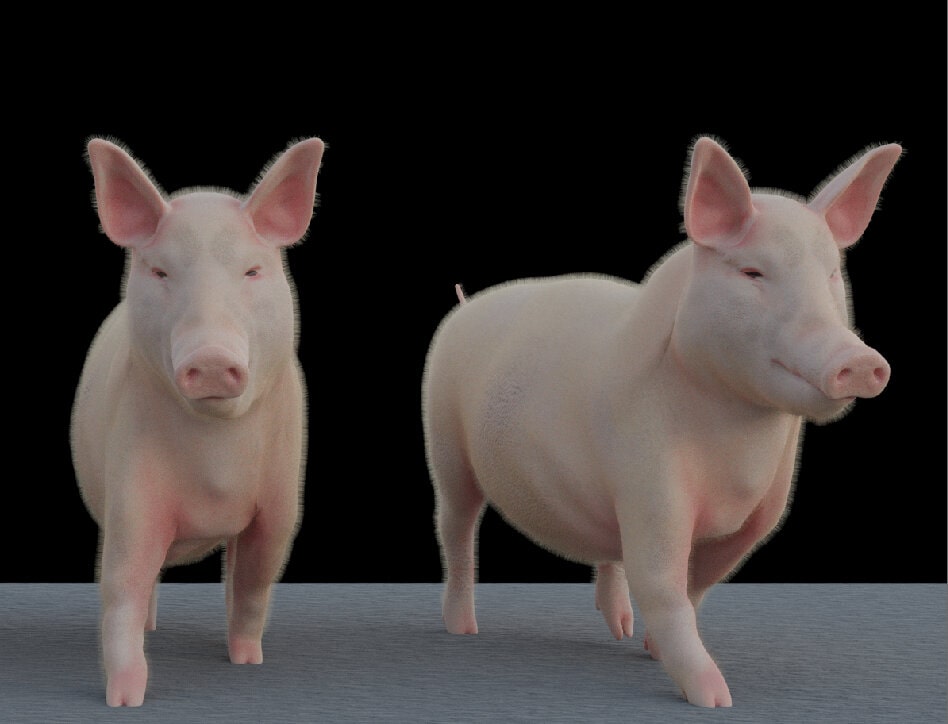
Here is the asset in Blender 3.2 once again. The textures were made for the original mesh but because the UV information is preserved in our alembic file, we can apply the textures without any problems. It was also very pleasantly surprising to see that adding hair particles to the alembic object was also possible! Note that the textures and particles can be applied directly within Cinema as well. With a bit of lighting and camera work, we have a scene ready to render!
And that concludes this article! Cinema 4D seems to have quite a few features that would benefit less Motion Design-oriented workflows, and thanks to its strong integration of the Alembic format, we can leverage the best of Cinema and other DCCs that we have access to, and minimize the need to go through the (sometimes steep) learning curve of learning a new program. We hope you found this useful, and as always, Happy Rendering.
Register Now and Get $50 FREE Credits!