In the world of 3D art, procedural texturing has become one of the most powerful tools at an artist's disposal. Unlike traditional image-based textures, procedural textures aren’t made by painting pixels or capturing photos; they’re generated mathematically.
What Is Procedural Texturing?
Procedural texturing refers to the process of creating textures using algorithms, functions, and mathematical operations instead of image files. These textures are often built using nodes (in apps like Blender or Substance 3D Designer) or code (as in shader programming). Unlike hand-painted or photo-based textures, procedural textures are fully editable (no repainting required) and scalable (they can be reused across assets with variation built-in).
Advantages of Procedural Workflows
Parametric Control
Every parameter from color and roughness to pattern size can be tweaked at any time. You can generate dozens of variations from a single shader setup just by adjusting sliders. For materials or textures that are premade, there are usually already a number of sliders available. However, making it the texture itself can open up to different kinds of possibilities and more control of what sliders the user wants to include and tweak.
Non-Destructive Editing
Unlike the usual workflows where you may need to repaint or export new maps, procedural textures let you make changes on the fly. If you want to make a dirt layer thicker or the moss more vibrant, you can simply just adjust a node or two. This also gives users the ability to test and see the various changes as soon as they are made.
Efficient Variation
Procedural workflows shine when creating large environments. For example, using randomized inputs or noise masks, you can texture hundreds of rocks or tiles without having to paint or adjust everything manually. They can also be added into any asset, making it easily reusable.
Core Concepts in Procedural Texturing
Noise Functions
Noise is the backbone of many procedural shaders. It introduces randomness and organic detail. By layering, scaling, and combining noise types, you can mimic anything from rust to marble veins to abstract surfaces. Some noises include:
- Perlin Noise: Soft gradients, good for natural patterns
- Voronoi Noise: Cell-like patterns, great for stone, skin, or sci-fi
- Musgrave Noise: Highly customizable fractal-based noise
- White Noise: Random static, ideal for variation masks
Coordinate Systems and Mapping
Procedural textures don't rely on traditional UV maps. Instead, they use coordinate systems to determine how textures are projected. These include:
- Generated: Blender's default, seamless but not tied to object scale
- Object: Uses object space for consistent texture scale
- UV: Still useful for manually unwrapped assets
Mapping nodes allow you to scale, rotate, or offset patterns non-destructively.
Color Ramps and Masking
Color Ramps let you remap grayscale data into controlled gradients, adding color, contrast, or separating areas for masking. You can use them to:
- Define material transitions (e.g., moss to stone)
- Add edge wear or dirt buildup
- Stylize shading with artistic color zones
Masks created from noise, curvature, or geometry data become the logic behind blending materials.
Layering and Mixing
This is where procedural shaders really come alive. You can layer surface details (dust, scratches, grime) without overlapping UV maps and create multi-material looks such as peeling paint, corroded metal, or moss-covered rocks with just a few nodes. There are also variations of a Mix Shader node to blend different maps or BSDFs based on a factor (like a noise map)
Procedural Texturing Across Tools: Blender, Substance, Houdini & Game Engines
Blender
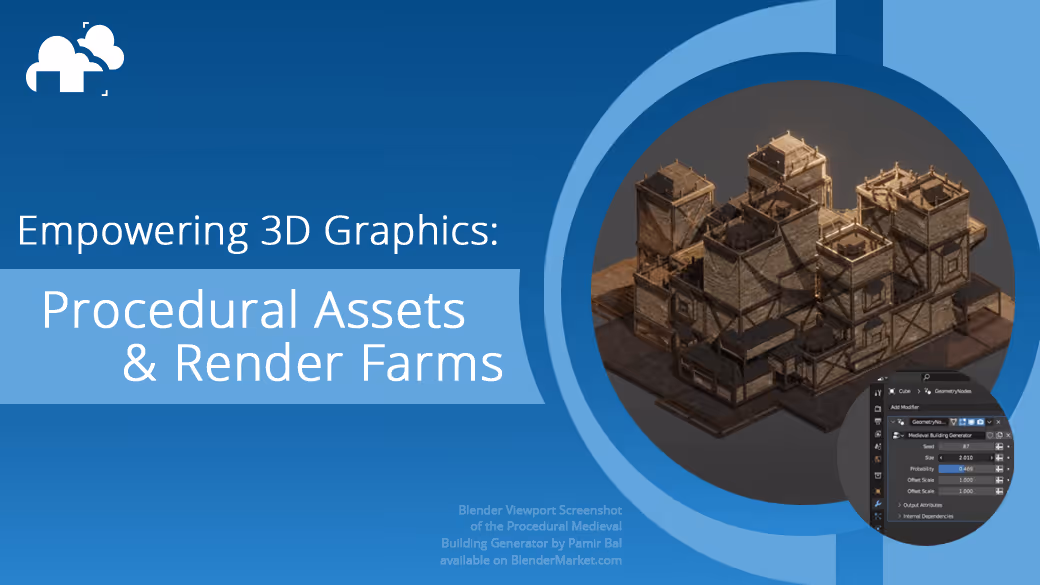
Blender’s Shader Editor is a procedural playground and is one the most popular software. Blender’s Eevee and Cycles both support real-time and ray-traced procedural shaders, respectively. And with Geometry Nodes, proceduralism now extends to modeling and animation too. With a bit of practice, you can do a multitude of things such as create stylized, grunge, organic, or even toon-style textures entirely in the node tree.
Substance 3D Designer
If you’re serious about procedural texture authoring, Substance Designer offers a node-based system built for it. You can design tileable materials entirely from scratch and use generators and filters to create dirt, edge wear, and complex surfaces. You can also use Substance 3D Designer to export baked maps (Base Color, Normal, Roughness, etc.) to use in other engines or software. The advantage here is platform-independence as once baked, these materials work anywhere.
Houdini
Known for procedural modeling and effects, Houdini also brings procedural logic to materials. You can generate massive asset libraries with dynamic variation and drive material attributes using geometry data (like curvature, age, or exposure). You can also automate complex surfacing tasks on a massive scale, all in which makes the software perfect for studios with pipelines built on automation and control.
Unreal Engine & Unity
Real-time shaders can also benefit from procedural techniques. You can use the Material Editor (UE) or Shader Graph (Unity) to create procedural logic and even blend materials based on world position, object scale, or vertex colors. One cool and useful use case is to also use procedural masks to add dirt, snow, or weathering dynamically.
When to Use (and When Not To)
Use Procedural Texturing When:
- You need tileable, scalable materials (stone, dirt, fabric)
- You want to create many asset variations without unique textures
- You want quick iteration without repainting textures
Avoid It When:
- You need specific, unique detail (logos, inscriptions, fine decals)
- You're texturing hero characters or props requiring baked high-poly detail
- You need hand-painted charm or specific artistic nuance
Common Pitfalls and How to Avoid Them
Everything Looks the Same
Overusing noise or default patterns can lead to a "procedural look." Tweak your values, mix noises, and add deliberate asymmetry. There are also several techniques on how to eliminate the repeating patterns when the procedural texture is scaled.
No Clear Art Direction
Procedural doesn’t mean random. Start with a reference, build toward a style, and treat your shaders as artistic tools, not just technical solutions. Moreover, creating a material without a reference can sometimes make the texture turn out unbelievable or out of place.
Overly Complex Node Trees
Just because you can make 50 nodes doesn’t mean you should. Group nodes, label them, and optimize your setup for clarity and reuse. In game engines, heavy procedural shaders can tank frame rates, so remember to still keep things organized and efficient, and take your results into textures or limit complexity based on screen importance.
Conclusion
Procedural texturing opens up a new world of freedom for 3D artists. It’s flexible, powerful, and deeply rewarding. But like all tools, it shines brightest when guided by clear artistic intent. Whether you're building a stylized fantasy world or a photoreal sci-fi corridor, procedural materials can get you there faster and with more control.
Register Now and Get $50 FREE Credits!