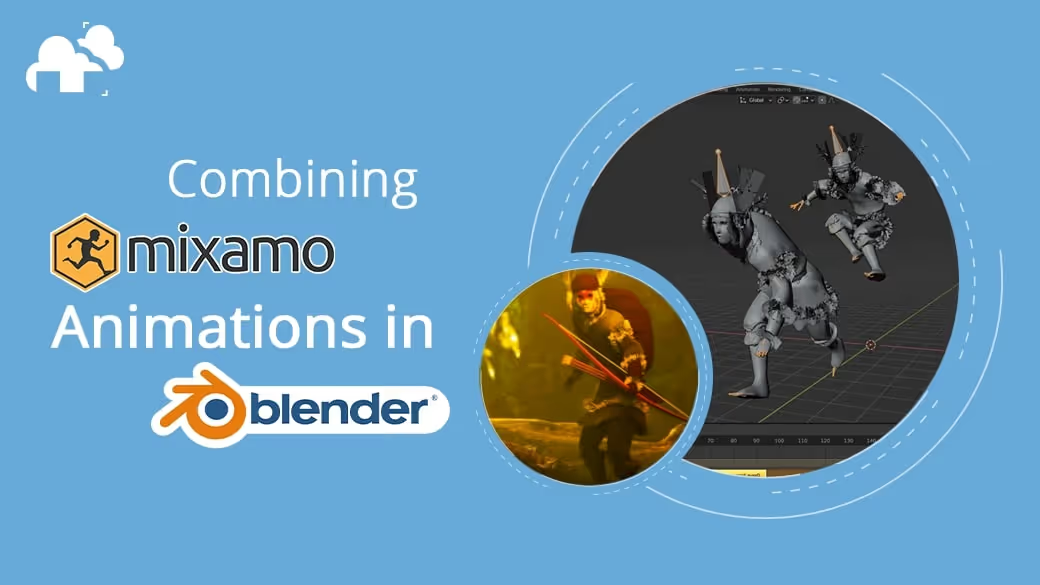
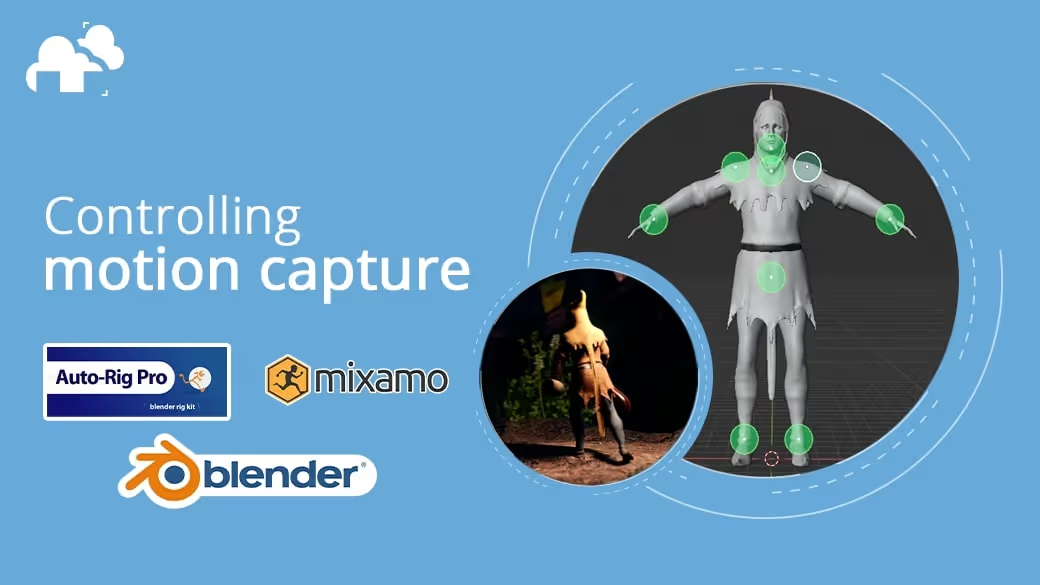
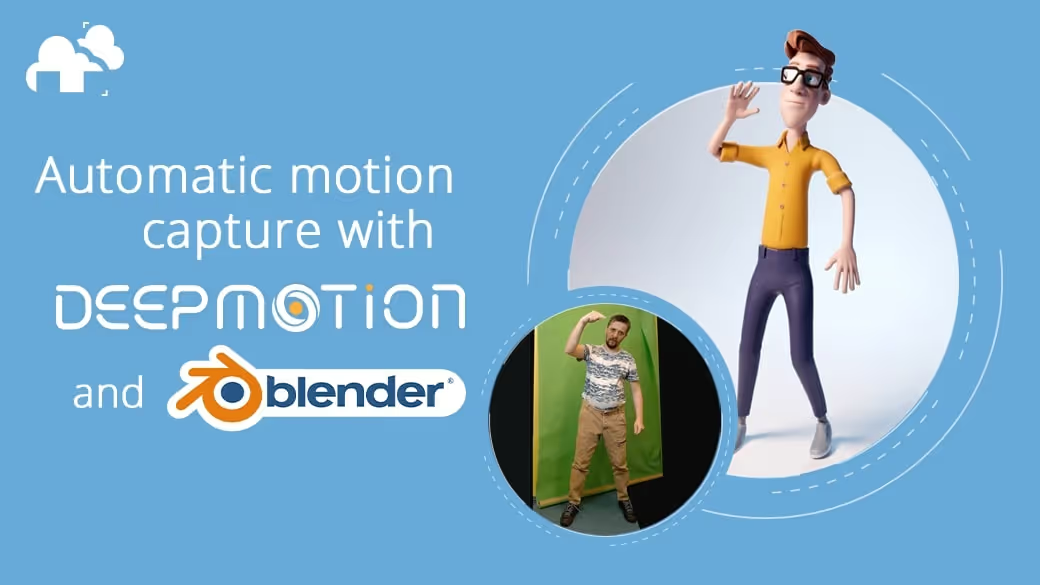
Mixamo, a web-based service by Adobe, provides a vast library of pre-made animations that can be easily applied to 3D models. By utilizing Mixamo animations with Blender, artists can quickly add lifelike movement to their characters without the need for complex rigging and keyframe animation. This seamless integration between Mixamo and Blender empowers users to create engaging and dynamic animations with ease, saving valuable time in the animation production process.
The scope of work involved in producing a 3d animation is vast, and that studios producing any level of animated shorts for Film and Games consist of numerous specialists working on the animation process such as Modeling, Texturing, Rigging, Lighting, and Animation is enough to make a lone creator rock back and forth in fetal position while showering, contemplating on how the shampoo foam slowly making its way down the drain is an apt metaphor for his dreams of ever creating a short of his own.
But lo, the golden dawn of technological advancements hath come, and like Prometheus’ blazing fire numerous software and browser applications now reignite lost hopes of single-handedly creating animated 3d content to one’s heart’s….satisfaction. One such marvel is Adobe’s Mixamo, in which you can upload a mesh to be automatically rigged and animated from a repository of motion capture animations, all for free and from a browser. Offloading 3d character animation alone could save months of work for almost any animated filmmaker!
I tried it, and after the first hour of raw excitement, I came to realize that a bunch of ten-second clips still won’t be enough to create a full short, let alone a few scenes. A 3d character standing idly and breaking into a run would take two separate clips from Adobe Mixamo, and unfortunately, joining them together isn’t enough to sell the movement. I knew using premade mocap would never replicate the beautiful subtleties of professionally hand-animated work, but the jerking effect of one clip after another just wouldn’t do.
Thankfully, animations with Blender’s Non-Linear Animation editing system not only allows us to blend clips but to also edit them per transform channel of each bone, making it an excellent way to mix animations and even add a personal flair to them if we were so inclined.
We’ll go through several ways we can use the NLA editor as shown in our Blender tutorial on YouTube to help us bash Mixamo animations and make some edits in between.
Collating Mixamo Animations
Downloading a clip from Mixamo to Blender is pretty straightforward, and once you’ve got your exported format of choice in your local drives, simply perform an import operation from within Blender.


In this case, I downloaded and import FBX files. This is Mixamo’s default format. The asset comes in scaled-down ten times. Clearing the scale using Alt + S. After doing this you should see your asset in the viewport. Rinse and repeat the process for all of the clips you plan to use.
Using the NLA Editor

You can access the NLA editor by expanding the View Icon as shown above. Select Non-Linear Animation and you should see this interface:

The orange bar represents the keyframes of the Armature you’ve imported, which, incidentally is named “Armature”. Pushing the keyframes down by clicking on the icon indicated by the mouse cursor transforms these keyframes into “Actions”.

By repeating these actions for every armature imported we can build a pool of actions that we can call later on.
Once all our downloads have been imported from Mixamo to Blender and saved as actions, we can delete all the armatures except one.
As long as we create actions from assets downloaded from the same mesh we brought into our Mixamo animation, we can add them to one of the fbx armatures we imported so that one armature contains animation data from all the others.

With all our actions saved, we can add tracks to our working armature to allow us to position clips better.

In the image above we have two actions residing in 2 separate tracks that overlap as they transition into each other. We’ll see why later.
Here is a common problem seen in importing mocap data in general:

Notice how as we enter the second clip, our 3d character arrives at the starting location as indicated by Blender’s 3d cursor instead of starting there.
This is where the power of the NLA editor comes into play.
We can hit TAB on an action strip to expose its keyframes, essentially entering “edit mode” for that action strip.

We can switch to the graph editor the same way we got to the NLA editor.

And by entering pose mode on our armature we can select the bone in our rig that we would like to make adjustments to.


In this case, we select the Hip Bone, which is also the root of our armature. The root serves as the Parent to all of the bones. Any transformation that occurs in this bone affects all the others. We can assume, therefore, that this bone is where the movement of our 3d character from point A to B exists.
At this point, we are going through all the keyframes for every transform channel on JUST the armature’s hipbone.

The vertical numbers on the graph editor correspond to the value assigned to the key on a particular frame in time (horizontal numbers are the frame numbers, as in the main timeline).
Because the z location channel’s graph is a dramatic spike in value over time, we can deduce that this channel’s keyframes represent the 3d character’s movement forward. (normally in Blender animations this would be the Y-axis transforms, but the FBX format recognizes Z as Y and vice versa).
Of course, in many cases, things won’t be so easy, so some trial and error is to be expected. Tedious, I know, but it still beats hand animating and refining a single movement over days and days.
Now that we’ve found our keyframes to edit, we can isolate the Z location channel by using shift + h, and by selecting all keys with “a” we can now move them up until our character starts the movement from the 3d cursor.

So we now have our character breaking into a run at the proper position from the previous clip.
However, at the frames where the clips transition, we still get a very awkward jump from one stance to another- this gives the feeling of watching someone controlling a 3d character from a low budget video game
To remedy this, we can tab out of the action strip edit mode in the NLA editor, and in the Strip properties panel, we can increase the blend in value from the second clip to something above the default 0.

Doing this will cause the keyframes from the previous clip to interpolate to the next, and what was initially a cut from standing to running now becomes a new animation in itself, with the stationary leg moving to take the first step in the run animation.
By entering Pose Mode on the armature and selecting both action clips, we can search for the Bake Action operation to combine our clips into one set of keyframes from which we can more easily edit to personalize poses and movements.

This can be done from the graph editor as shown earlier, or even in the dope sheet editor.

And this is how we can turn disparate movements collected from our Mixamo animation into a fluid and new movement for our scenes!
I hope this overview was enough to pique your interest, and if you’d like to see more Blender animation tutorials, have a look at GarageFarm Academy Youtube Channel.
Happy Creating!
Register Now and Get $50 FREE Credits!


