


Key takeaways
- Blender's community remains one of the largest in the 3D industry, with hundreds of thousands of benchmark submissions recorded through Blender Open Data (Opendata.Blender).
- The camera to view feature allows users to position a camera directly through viewport navigation.
- Camera to view is commonly used for animation, product visualization, architectural rendering, and cinematic scene creation.
TL;DR
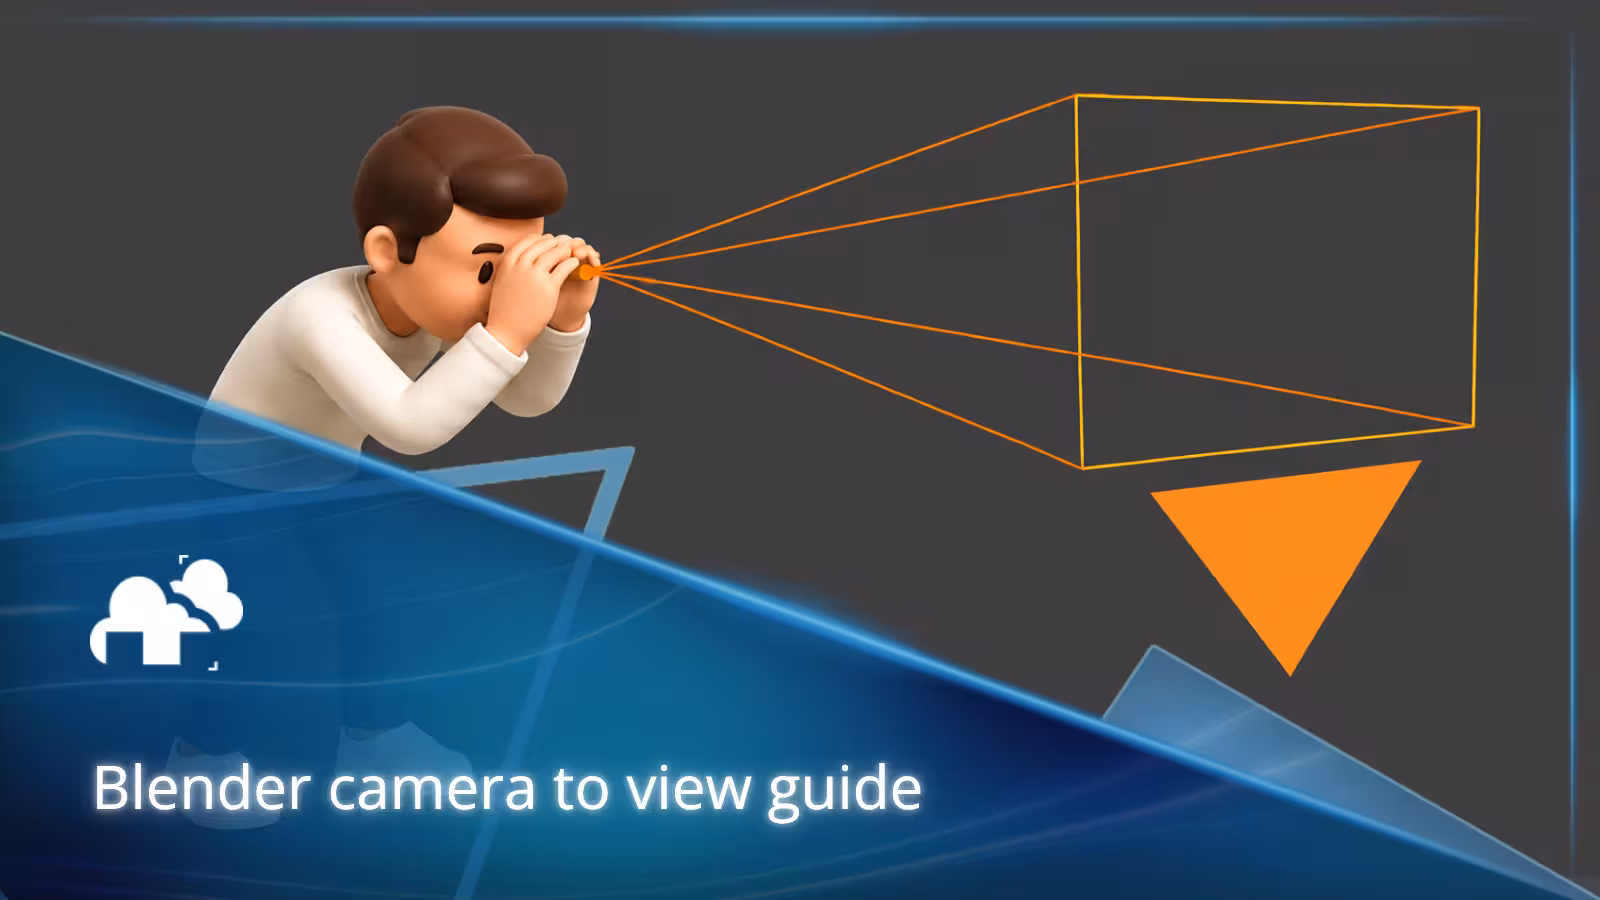
Blender camera to view is a feature that lets you move the active camera by navigating the viewport while looking through it. Instead of manually adjusting camera transforms, you can frame shots naturally using familiar navigation controls. It is one of the fastest ways to compose scenes, test different angles, and create polished renders with less effort.
What is Blender camera to view?
When creating a scene in Blender, the camera determines what appears in the final render. What’s rendered is what the camera sees, and not what we see in the 3D viewport; and while cameras can be positioned manually using transform tools, Blender's camera to view feature makes the process much faster and more intuitive.
The feature works by linking viewport navigation directly to the active camera. Once enabled with Lock Camera to View, every orbit, pan, and zoom adjustment affects the camera itself instead of only changing your viewport perspective. For many artists, this becomes the primary method of framing scenes because it feels closer to using a real camera.
Why camera positioning matters
A great render is not only about materials, lighting, or modeling. Camera placement plays a major role in how viewers experience a scene.
Directing attention
Camera placement guides the viewer's attention and establishes the visual focus of a scene. A small change in angle can completely alter the focus of an image. For example, a low camera angle can make an object feel larger and more dramatic, while a higher angle can make the same object appear smaller or more distant.
Creating depth
Careful camera placement helps create a stronger sense of scale and depth. By adjusting the camera position and focal length, artists can make environments feel expansive, intimate, realistic, or stylized.
Improving storytelling
In animation and cinematic projects, camera movement often communicates emotion and narrative. A slow push toward a character can build tension, while a wide shot can emphasize isolation or scale.
Understanding camera view in Blender
Before using camera to view, it helps to understand how Blender handles camera navigation.
Viewport navigation
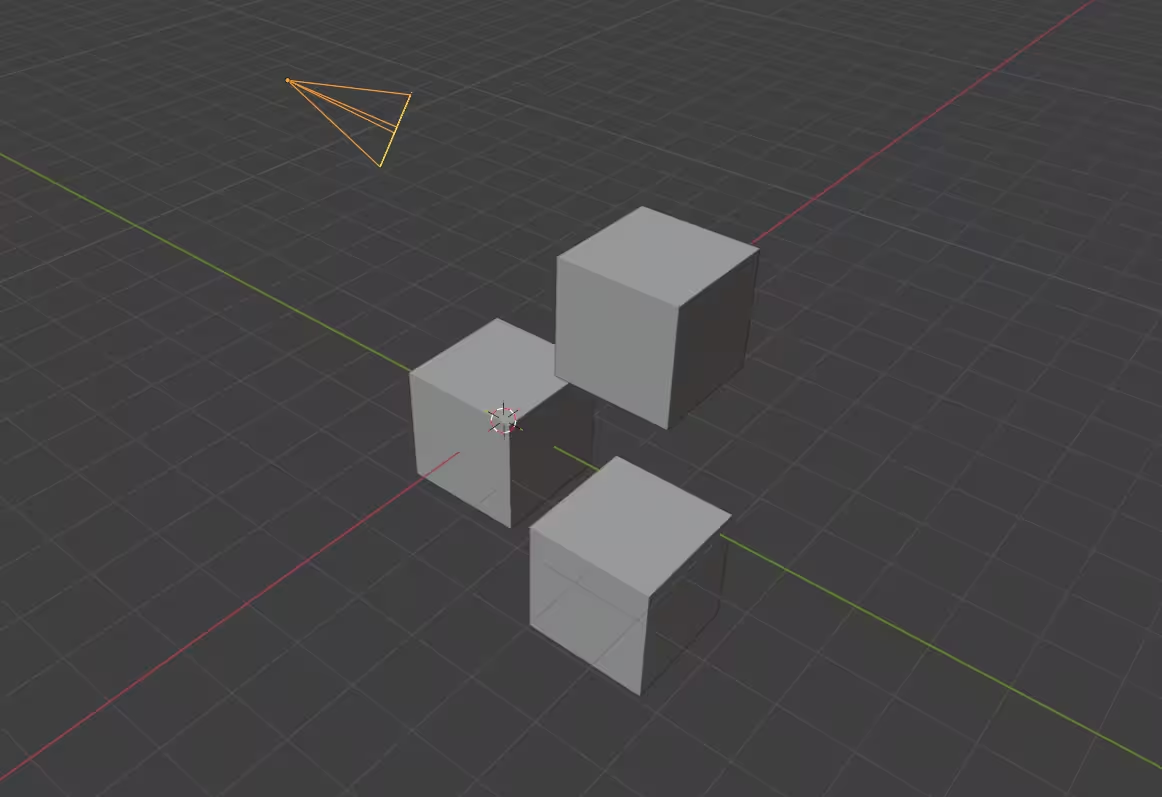
Normally, when you rotate or move around a scene, you are only moving your viewport. The camera remains in its original position. This allows you to inspect objects from different angles without affecting the final render.
Camera view
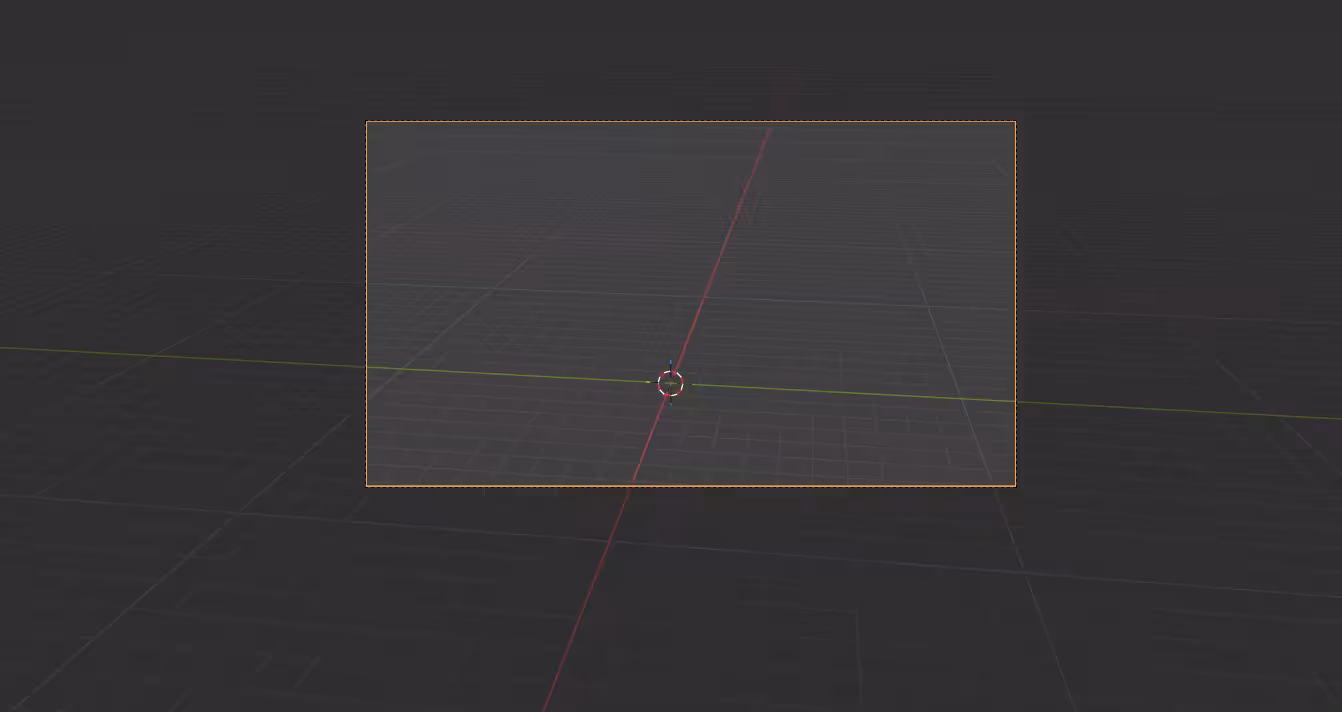
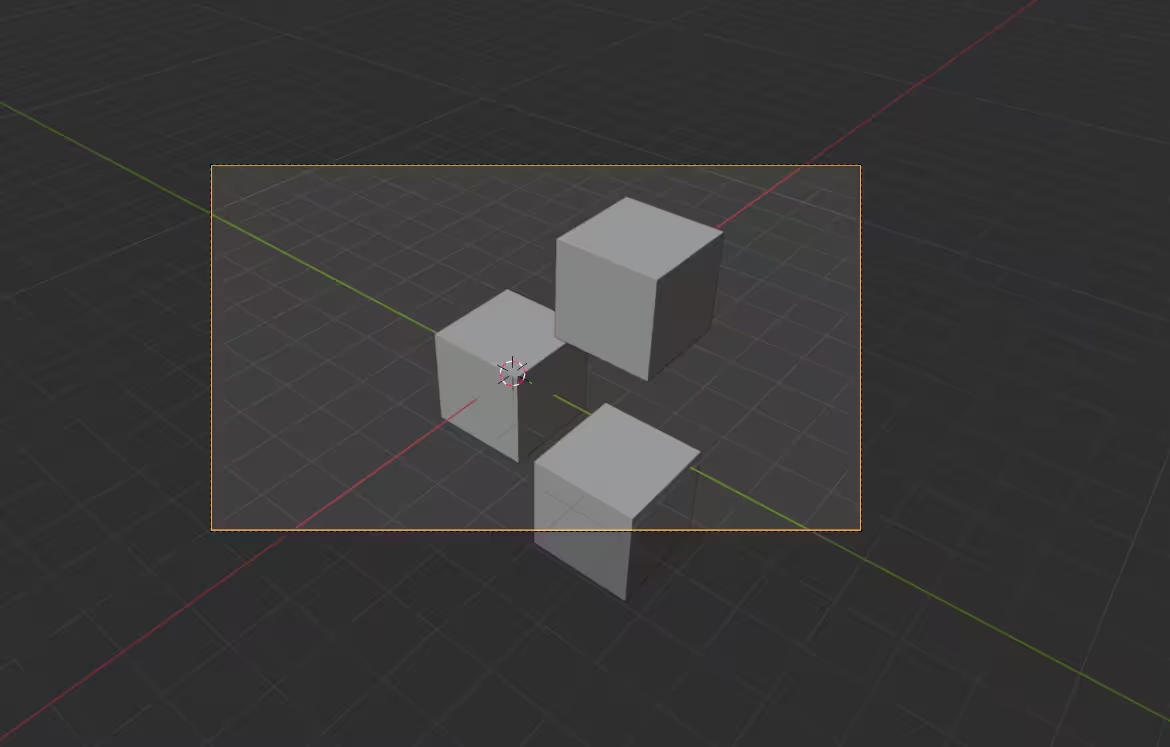
When you enter the camera view, Blender shows exactly what the active camera sees. Everything outside the camera frame becomes darkened, making it easier to focus on composition. This view acts as a preview of the final render.
Active camera
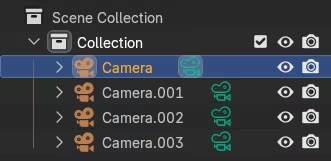
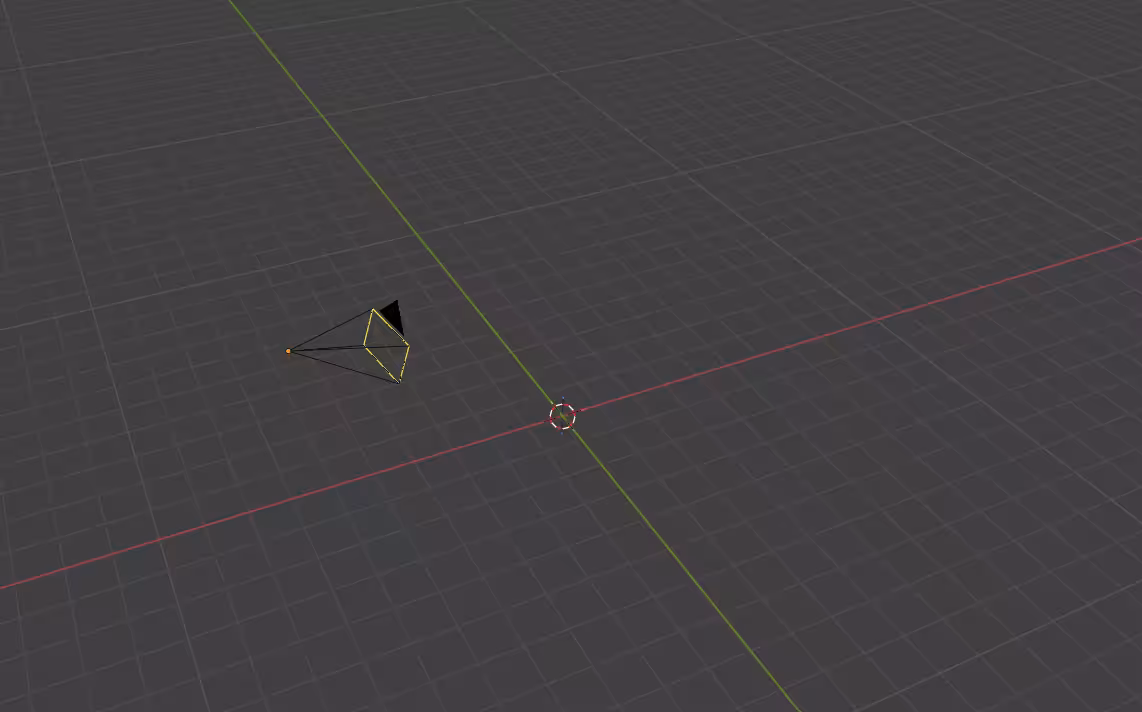
A Blender scene can contain multiple cameras. Only one camera is active at a time, and that camera determines the final rendered image unless a camera switch is used during animation.
How to enable camera to view
The setup process is straightforward:
First, go to a view or position in the viewport that you want the camera to capture. Select the camera you want to move.
Then, go to View -> Align View -> Align Active Camera to View (or simply hit Ctrl Alt Numpad 0).
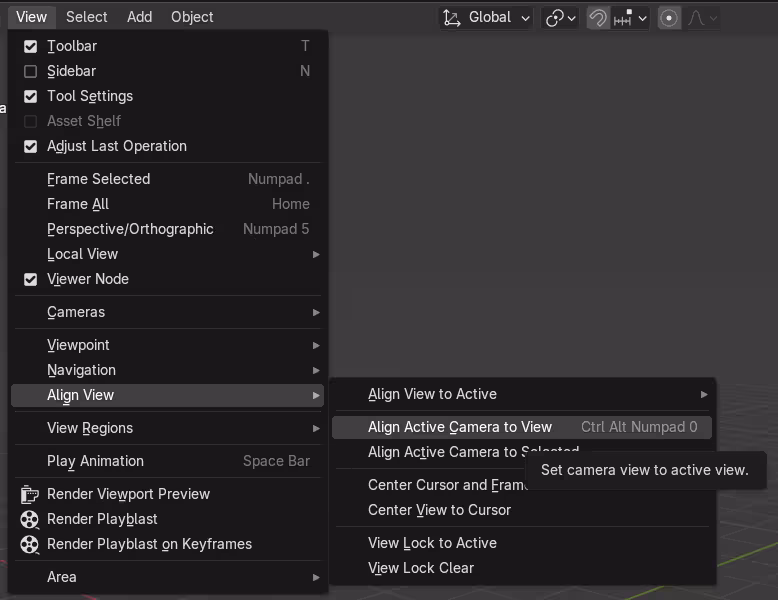
Once done, the camera automatically goes to your view and the viewport navigation controls begin moving the camera directly (as long as the camera is selected as an object). However, if you want to continue viewing through the camera’s view without having to select the camera object or messing up the view, press N to open the Sidebar, go to the View tab, and enable Lock Camera to View under View Lock.
Once Lock Camera to View is enabled, normal viewport navigation will move the active camera directly. Disable it after framing your shot to avoid accidental camera movement.
For most Blender users, the fastest workflow is to first use Align Active Camera to View to roughly frame the scene, then enable Lock Camera to View to fine-tune the composition without accidentally going to the viewport navigation. Once you're satisfied with the framing, disable Lock Camera to View to prevent accidental camera movement.
Blender Camera to View shortcuts
The following shortcuts can help you work more efficiently when positioning and adjusting cameras in Blender:
Note: Lock Camera to View does not have a default keyboard shortcut. To enable it, press N to open the Sidebar, go to the View tab, and enable Lock Camera to View under View Lock.
Benefits of using camera to view
Faster composition
Camera to view makes composition faster because adjustments happen immediately from the camera’s perspective. You can move, rotate, and refine the shot while seeing exactly what the final frame will capture, which saves time and keeps the focus on the image.
More natural workflow
For artists familiar with photography or cinematography, camera to view often feels easier to understand. The process feels closer to physically moving a camera around a scene, making it more intuitive than adjusting camera values from a distance.
Better iteration
Creative work often involves testing several ideas before choosing the best one. Camera to view makes it easier to explore different angles, compositions, and focal points without breaking the flow of the scene setup.
Easier workflow recording
I made a FREE Blender add-on that records amazing time-lapse videos by designersoup
Camera to view can also help when recording a Blender workflow, especially when using screen capture tools or viewport recording add-ons. Since the camera view shows a cleaner and more intentional frame, it becomes easier to demonstrate modeling, lighting, composition, or scene setup without constantly adjusting the viewport for the viewer.
Improving composition after framing
Finding a camera position is only the beginning. Once the main view is set, Blender’s camera settings can help improve the final image by adjusting perspective, focus, and composition guides.
Focal length
Camera Focal Length & Dynamic Zoom | Quick & Easy Technique On Camera Focus | Blender Eevee & Cycles - by 5 Minutes Blender
Focal length affects how much of the scene is visible and how perspective appears. Shorter focal lengths create a wider view with stronger perspective effects, while longer focal lengths create a narrower view and can make distant objects appear closer together.
Depth of field
Learn Depth of Field in Blender! - by BlenderVitals
Depth of field keeps certain parts of the scene sharp while softly blurring others. This is useful for guiding the viewer’s attention toward the main subject, especially in product shots, character renders, and cinematic scenes.
Composition guides
Camera Composition Overlays in Blender by blender 52
Blender includes camera overlays that help artists frame shots more effectively. Guides such as the rule of thirds, center guides, and golden ratio guides provide helpful visual references when balancing subjects, spacing, and focal points.
Troubleshooting common issues
The wrong camera is moving
Scenes with multiple cameras can sometimes create confusion. Verify that the correct camera is set as the active camera before making adjustments.
Navigation feels too sensitive
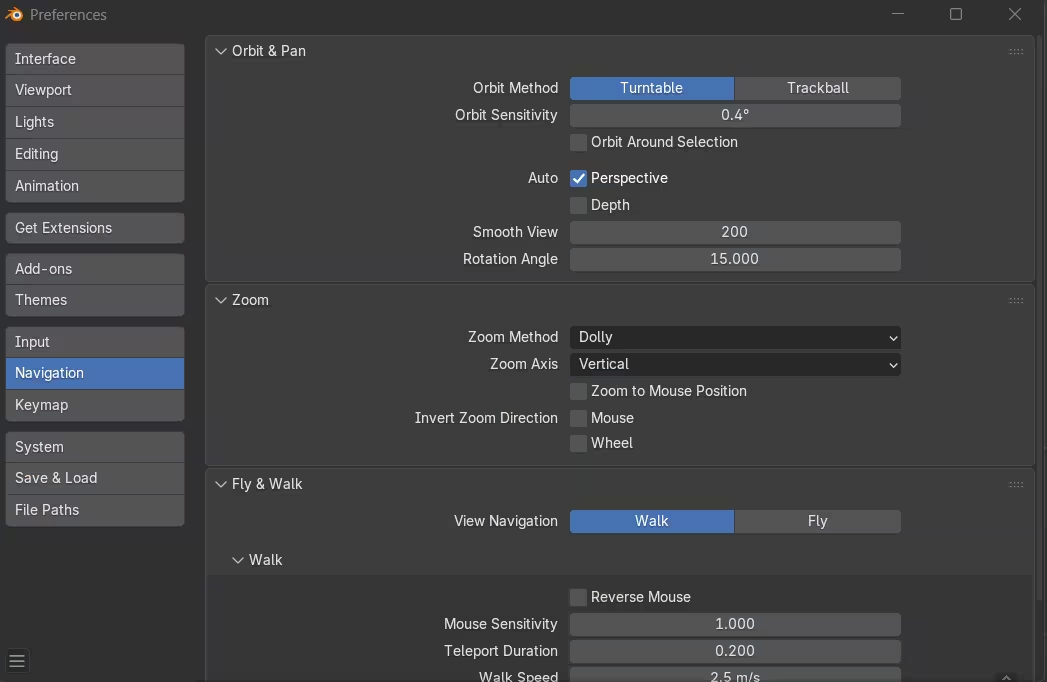
Viewport navigation speed can affect camera movement. Adjusting navigation preferences may help create smoother control.
The composition keeps changing accidentally
How to Lock Camera to View in Blender - by RenderHub
After finding a camera position you like, disable Lock Camera to View. This prevents unintended movements while navigating the scene.
Alternative ways to position cameras
Camera to view is popular, but it is not the only option:
Manual transforms
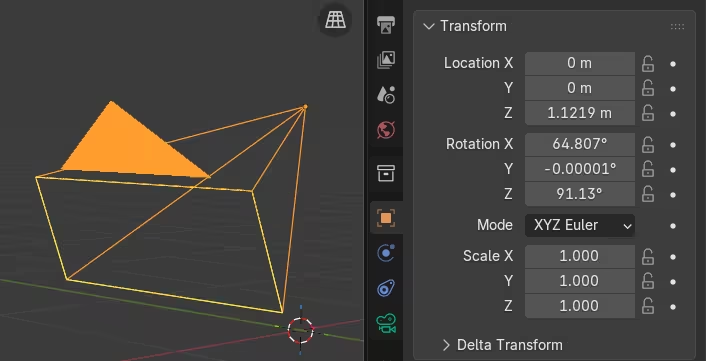
Artists can select the camera object and adjust its location and rotation values directly. This approach offers precise numerical control. You can adjust the camera object in the object properties panel like in this photo, or move it in the viewport by pressing G (to drag) or R (to rotate) and dragging your cursor and clicking the viewport to your desired position.
Blender Walk Navigation
Blender - Move With WASD Viewport Camera Controls - by Quick Tech Tips
Blender also allows users to walk through your 3D scene in the viewport. This method is useful when you discover an angle while exploring a scene. To do this, simply go to any view you want in the viewport, go to View -> Navigation -> Walk Navigation.
Camera constraints
Blender Camera Constraints - by Immersive Limit
Constraints can automate camera behavior. For example, a camera can be set to continuously track a moving object during animation, which can be helpful in some scenarios.
Camera workflow tips
Save multiple camera angles
Creating several cameras allows you to compare compositions quickly. This approach is especially useful in animation and visualization work.
Lock finished cameras
Once a shot is approved, lock the camera transforms. This prevents accidental changes later in production.
Preview before rendering
Checking the scene through camera view before launching a render can reveal framing issues early. A few seconds of review can prevent unnecessary re-renders.
Once you've finalized your camera angle, the next step is rendering the scene. If you're working with complex models, high-resolution images, or animations, a Blender render farm can help reduce render times and keep your workflow moving.
Keep composition simple
A well framed image does not need an extreme camera angle. Clear subjects and balanced composition often produce stronger results than overly complicated setups.
Quick FAQs while viewing through the camera
Why can't I move my camera in Blender?
Usually because you either did not select the camera object before moving the camera, or Lock Camera to View is disabled.
Why is my camera moving instead of the viewport?
Because Lock Camera to View is enabled.
How do I stop the camera from moving?
Disable Lock Camera to View or deselect the camera object before moving.
What's the difference between Align Camera to View and Lock Camera to View?
Align Active Camera to View moves the active camera to match your current view in the viewport. Lock Camera to View lets you continue moving the camera by navigating the viewport while in Camera View. It does not let you move the camera through the viewport. They are commonly used together but serve different purposes.
Conclusion
Blender camera to view is one of the simplest features in the software, yet it can have a significant impact on workflow speed and scene composition. By allowing direct camera control through viewport navigation, it removes much of the friction involved in positioning cameras. Whether you are creating product renders, architectural visualizations, animated films, or game assets, the feature provides a faster and more intuitive way to frame your work.
Register Now and Get $50 FREE Credits!